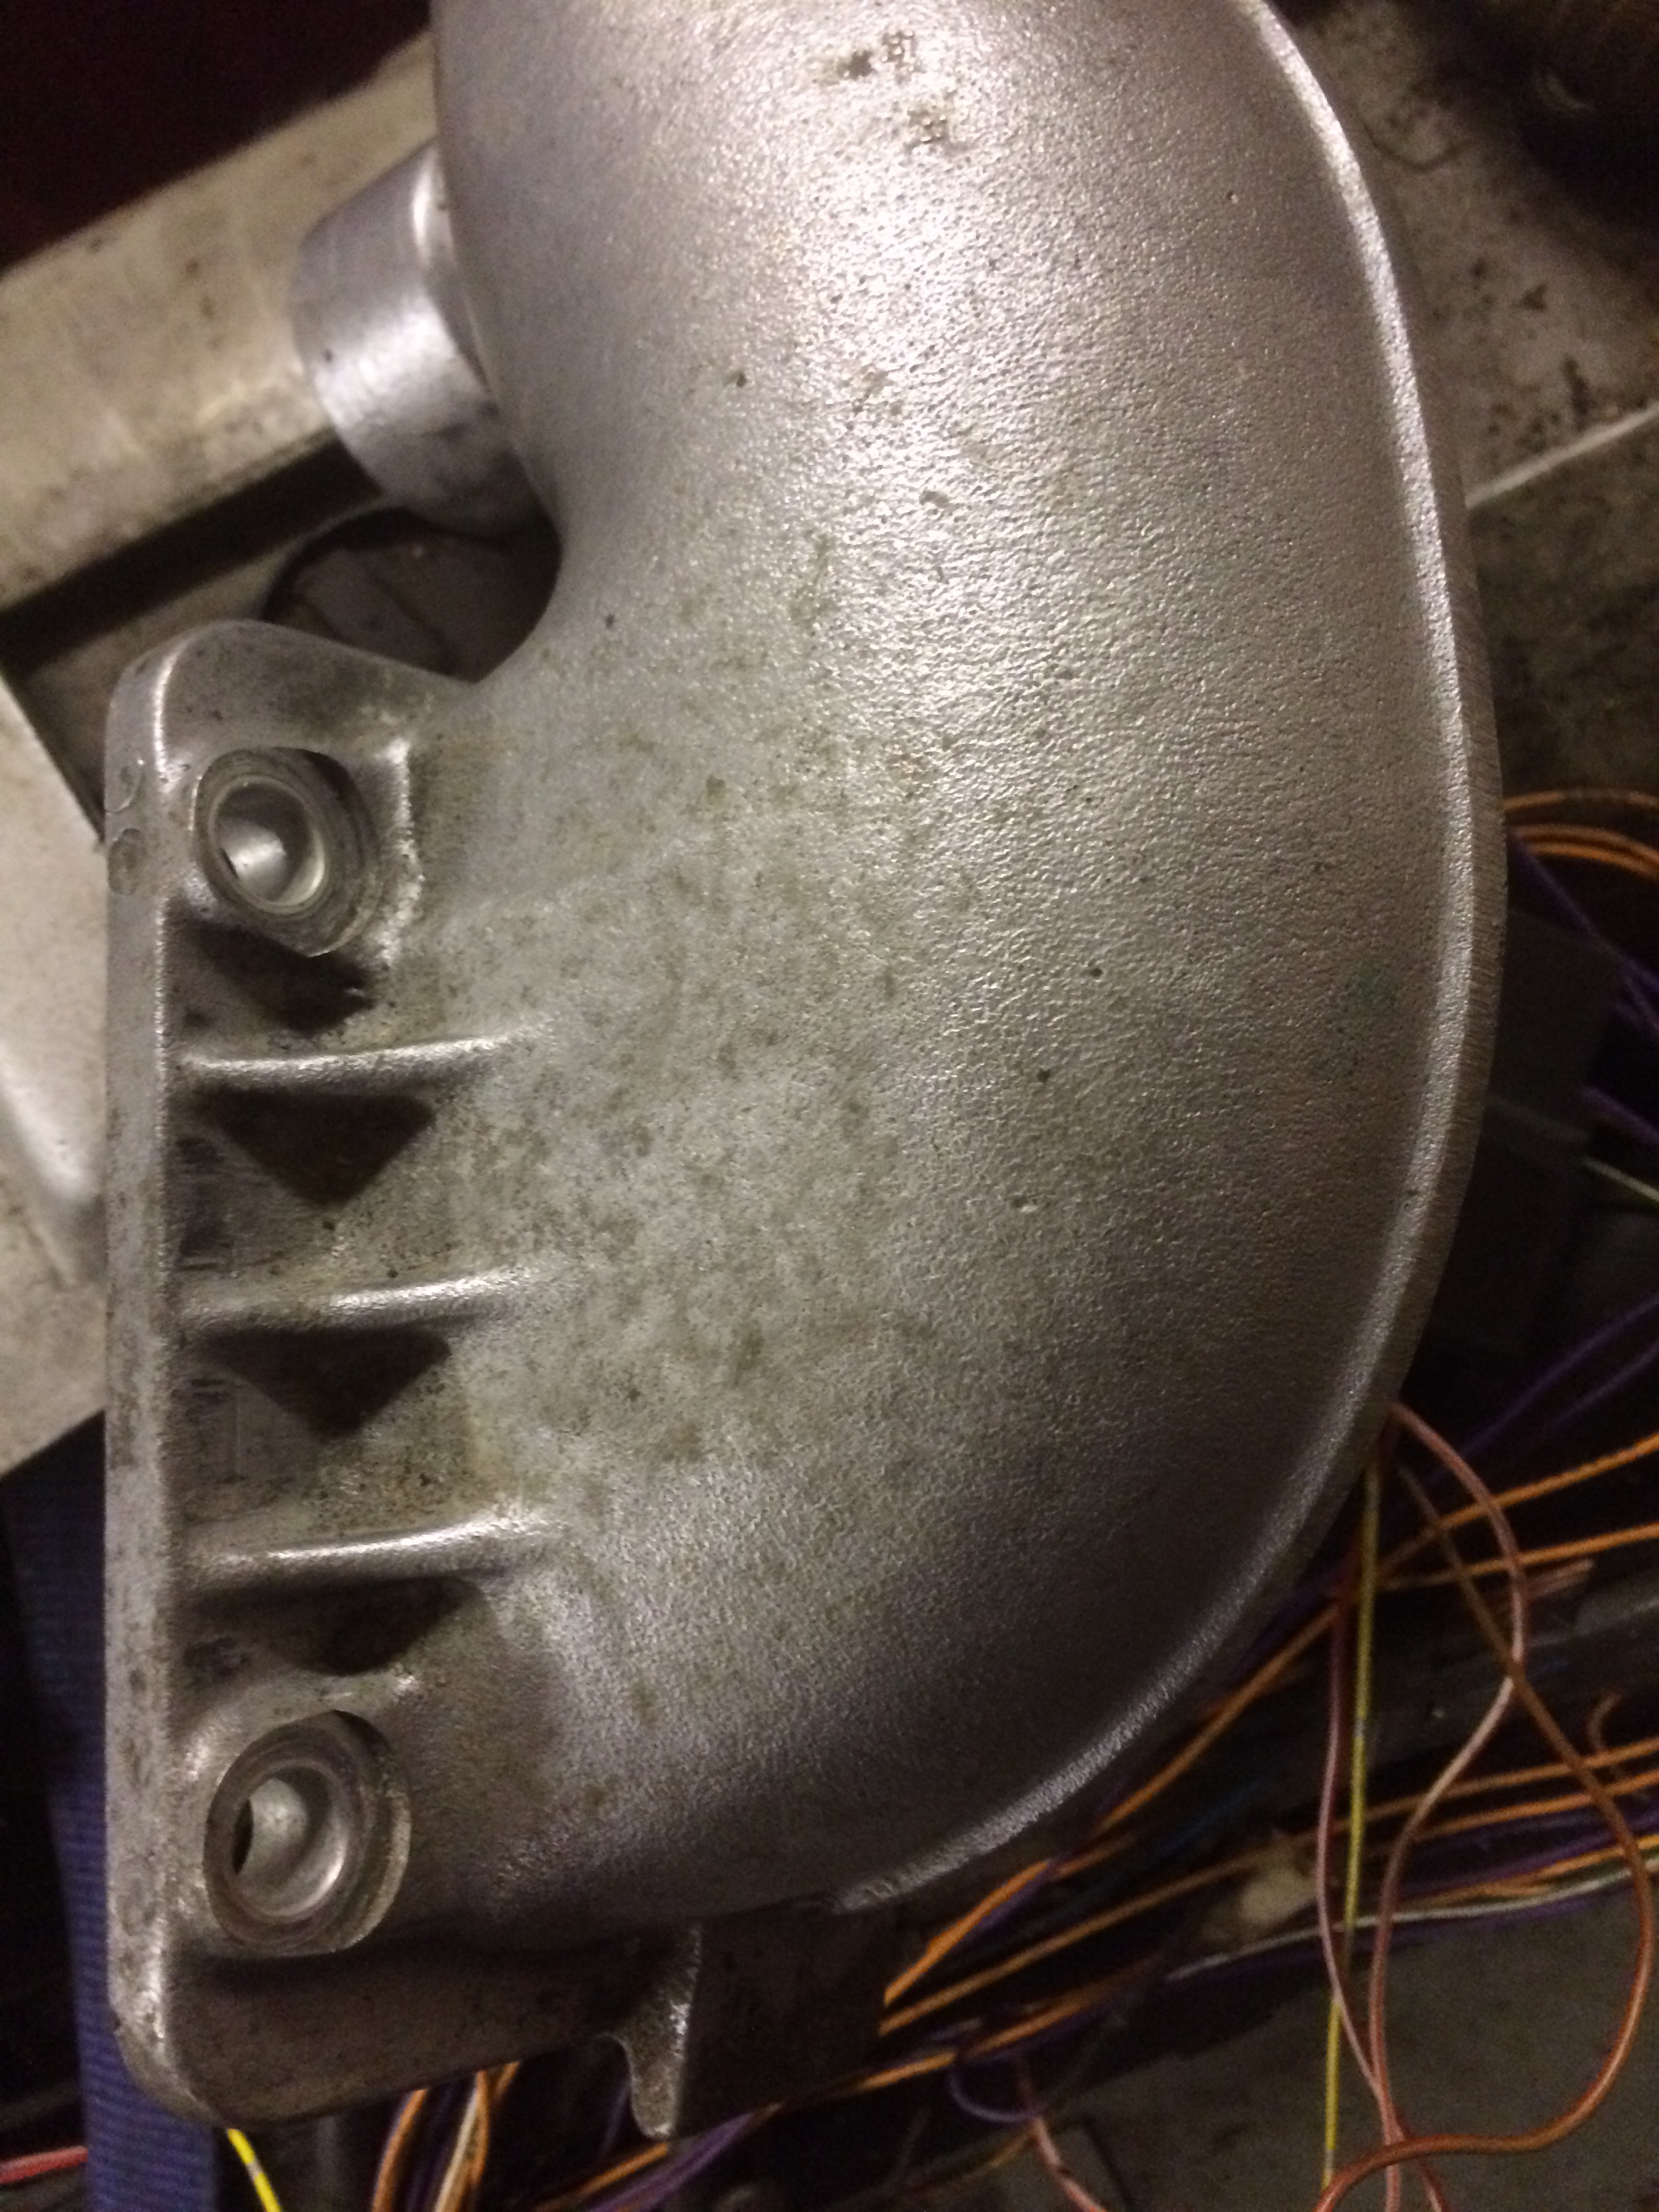
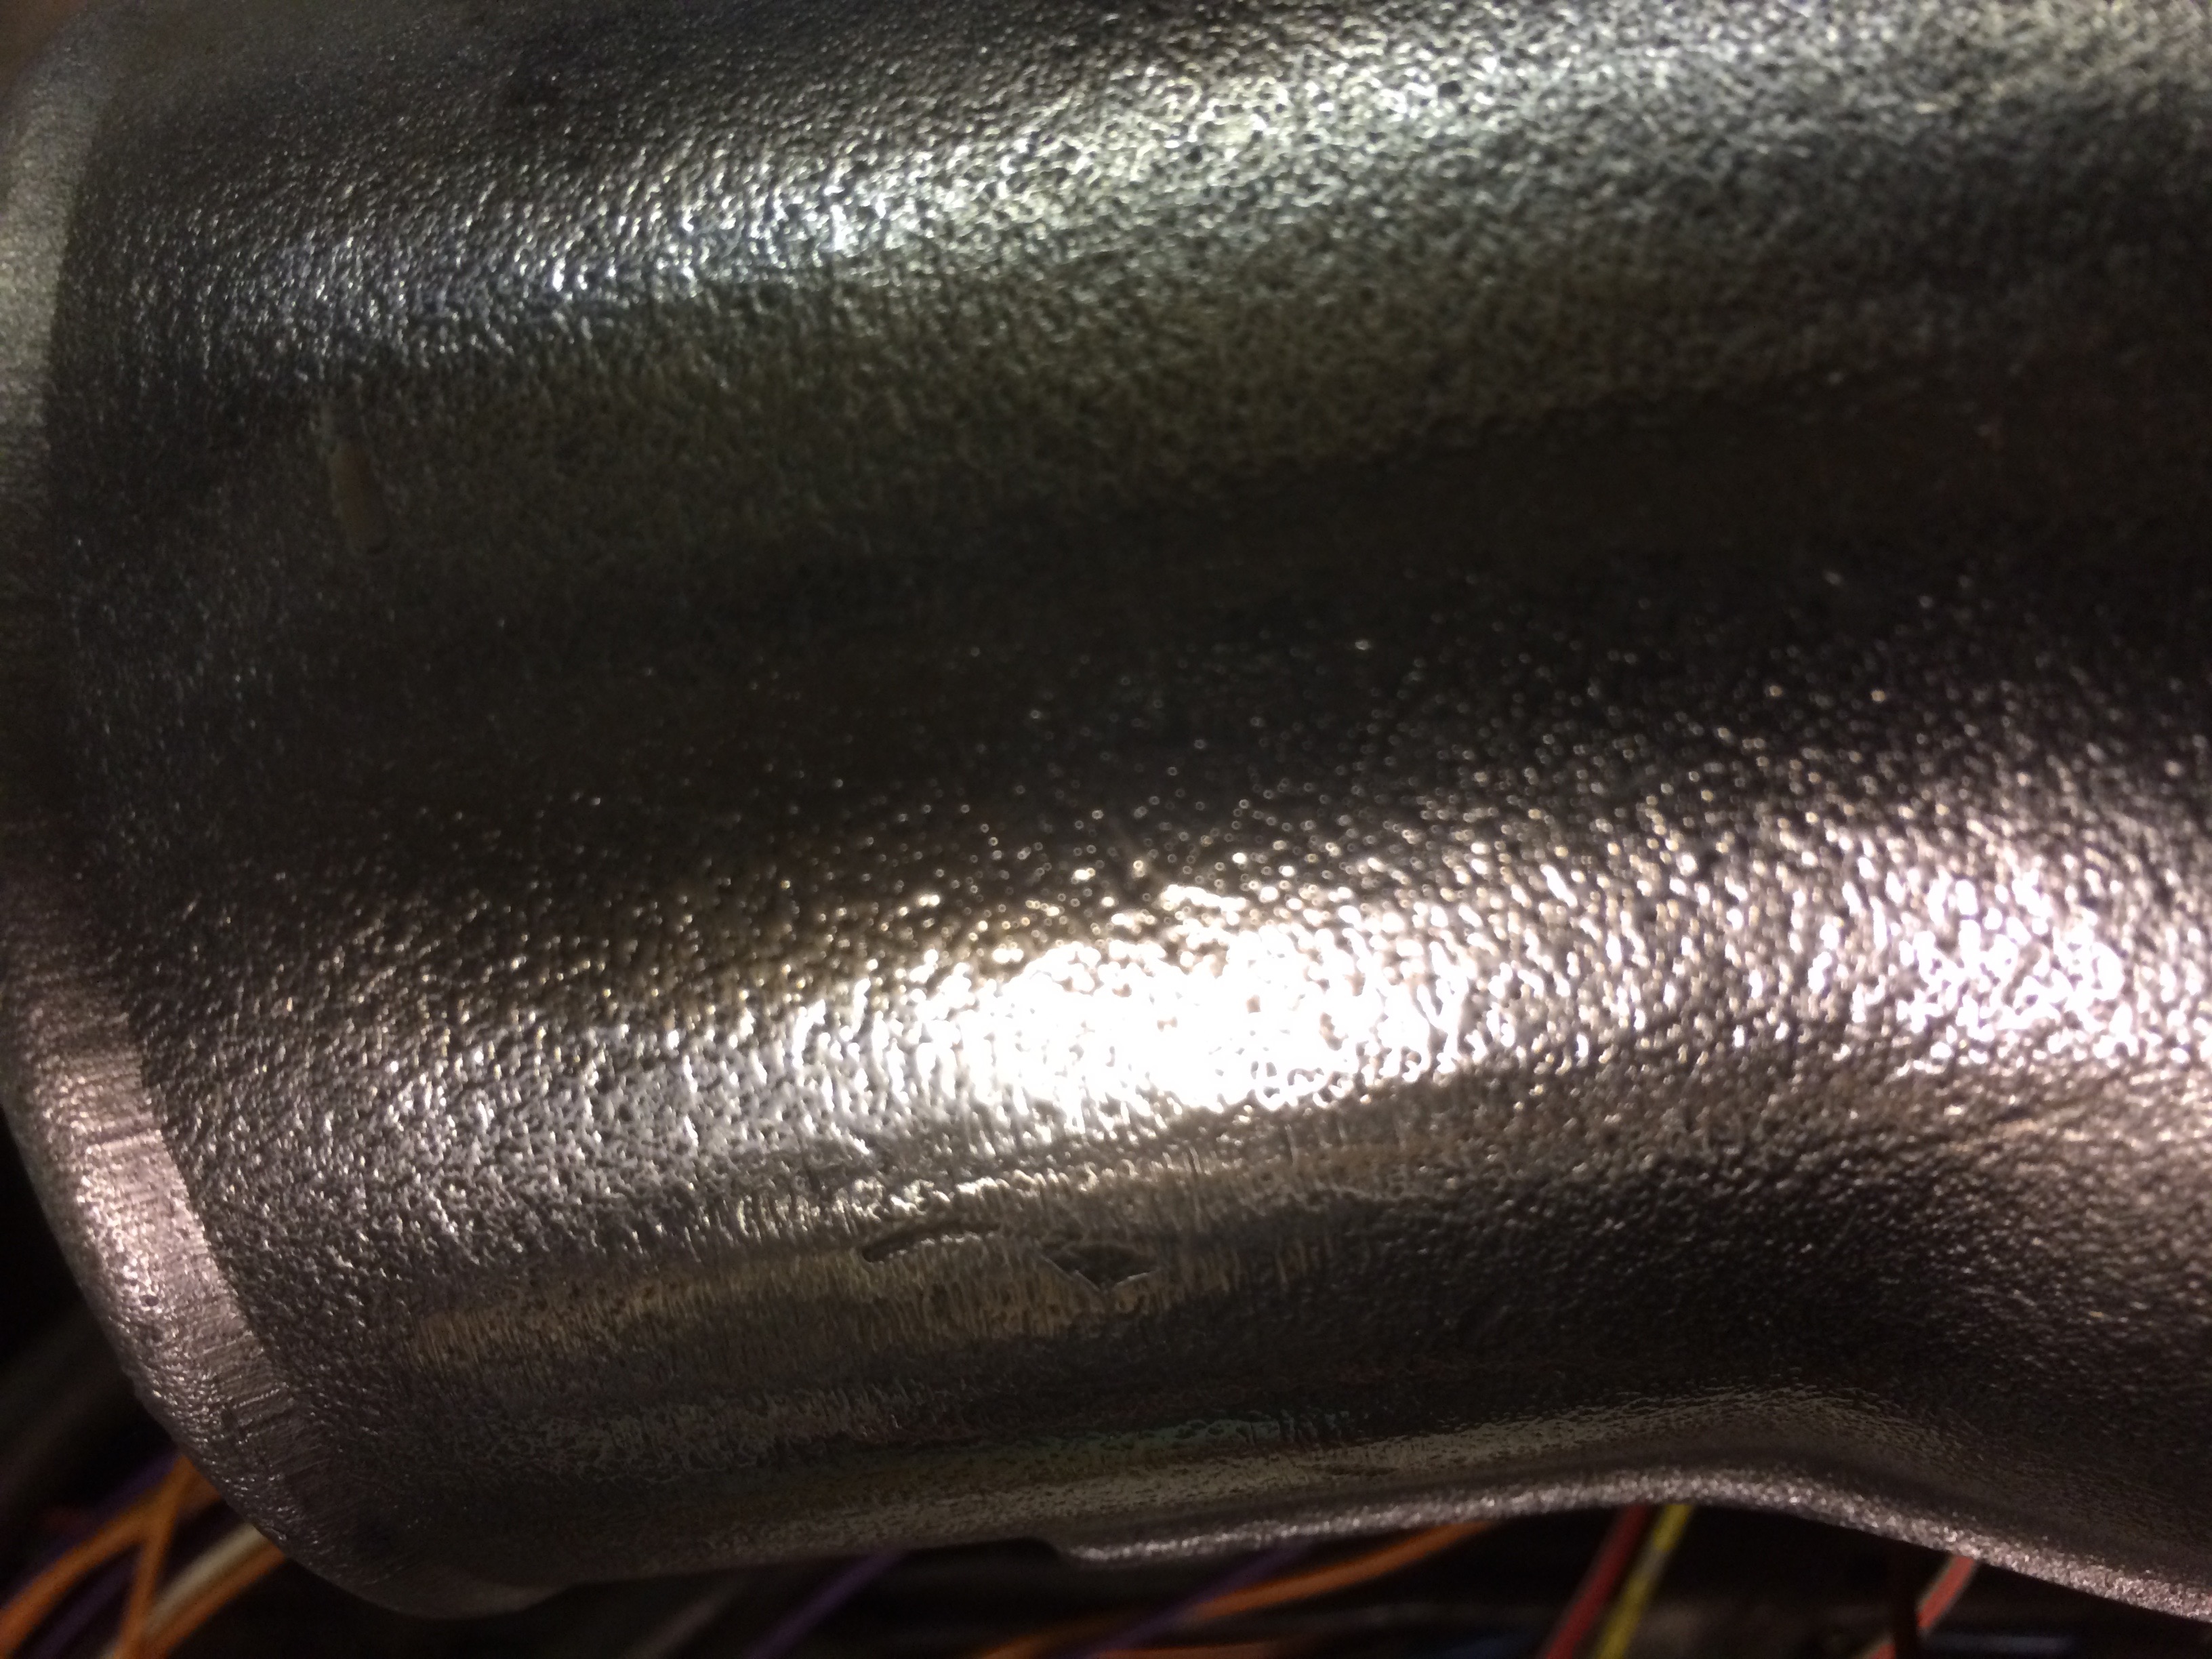
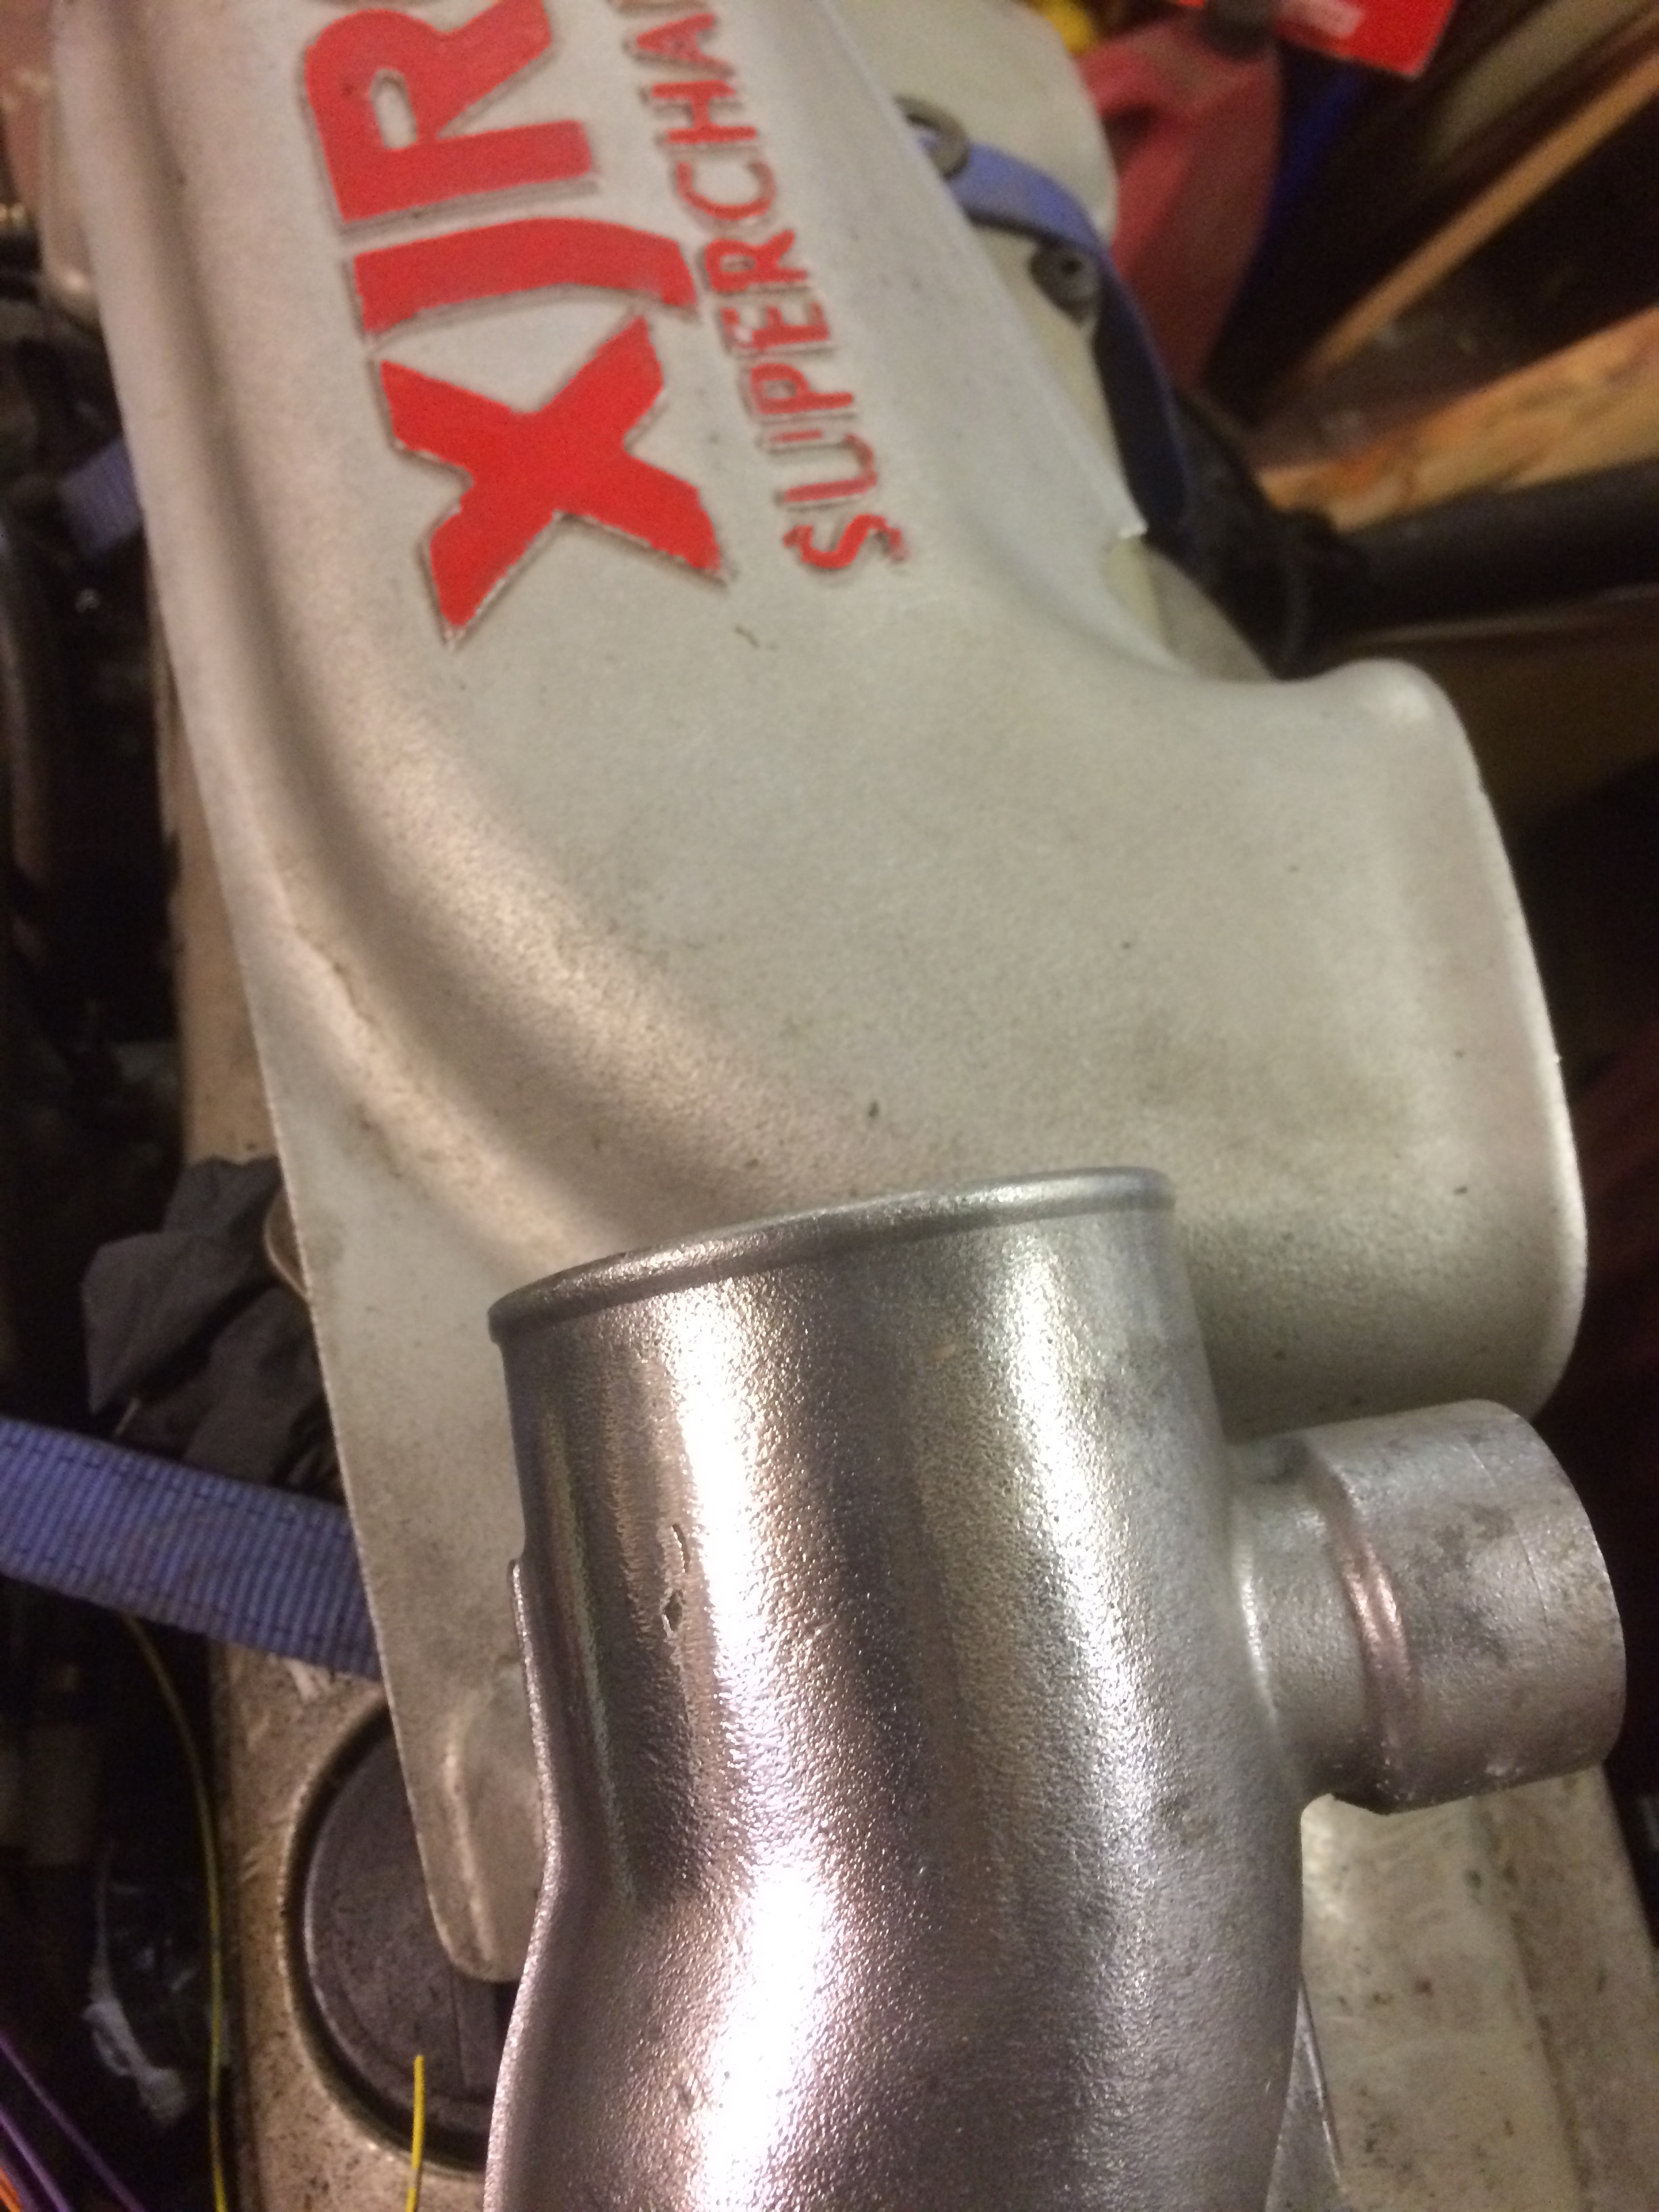
As mentioned previously (at the end of the post), I have seen an XJR6 engine in a polished state rather than the greyish silver that the engine originally came in. Having just purchased a bench polisher, I did a quick test of one of the air pipes (on the underside where you would not normally see), to get an idea of the possible outcome. Please view the images below and provide any feedback with your views. Any arguments over originality disappeared the moment I decided to do the engine swap. I think the only choice is to polish or try and find a spray paint that closely matches the original colour. Not an easy task. I cant clean up the original surface much more than the first photo without braking through the surface colouring. I think the “sand” finish provides extra surface area so it may improve cooling but at the end of the day I doubt if I could notice the tiny percentage in performance difference even it I sanded the surface flat and did a major polishing job. Does anyone have any idea of the paint colour code? I am going to have to decide very soon as this is stopping the installation back into the engine bay.
Pipe just degreasedPipe following a quick polishClose up detailtop cover and polished pipe
A fellow Jaguar enthusiast and I went to the London Classic car show at the Excel centre in London on Saturday. It was pretty busy for most of the day, so much so that during the parade sessions it was almost impossible to get a decent view. The very brief video at the end of the article shows that there were people three rows deep between the casual observer and those keen to ensure a good view by grabbing a front row view early. I did however like the idea of the “road” down the middle of the hall to allow for a bit of noise and excitement during the day.
E types definitely ruled the roost as there seemed to be at least one or more on every stand. Judging by the prices that some of those were listed for it is unlikely that I will ever be able to afford something like that. At the same time however, I don’t actually want a car that I can’t drive for fear of getting it dirty and loosing a massive amount of value. What’s the point of owning a £250,000 car if all you can do is keep it in a temperature controlled garage with the occasional visit to a show, taken by trailer of course. It takes all sorts of course and investing in a E Type has probably increased more in value compared to what you would receive leaving your money in the bank over the last few years.
I did expect to see more parts and component suppliers but I guess the costs for a stand these days is fairly high. One of my usual parts suppliers S N G Barratt were there and if I had got my act together I could have saved some postage on the parts I need. I would also have had to carry them around all day too.
There was another show going on in one of the adjacent halls which was similar to the Comicon type event. It was the London Super Comic Convention. Hundreds of colourfully dressed people wandering around certainly brightened up the day. I applaud those visitors who made the effort as I am well aware of the time needed to create the various outfits as my daughter attends these shows quite regularly.
It was certainly a different kind of car show to those I normally attend, if only for the sheer restoration quality of the cars on display. I doubt if I will go again as most of the cars were out of my reach financially and I was unable to to find any of those little bits and pieces I need as part of the ongoing Jaguar rebuild.
DIY was the order of the day for Sunday so no progress this weekend on the XJ6 either.
Here is a 10 second video of the noise reverberating in the hall from an Audi Quatro rally spec car. A bit of movement and noise makes a big change from the static displays. The Lotus F1 car and a Subaru WRX sounded great too but unfortunately I have no video.
I attended the Hortonworks Data Flow Masterclass on Thursday this week (18th). It is a very comprehensive, simple to configure, piece of software. It facilitates the rapid configuration of managing data in flight. HDF simplifies the configuration of many types of incoming data flows in different protocols and formats, transforming it, redirecting it, and sending it out to another type of data flow. You basically set up “processor” blocks, apply configurations to those block to handle the data in the way you want. You then add further building blocks to build up the overall data flow that you require. It has many many other features, far to detailed for this blog that make it a excellent tool to investigate if you are having any issues getting your data into a “Data Lake”.
There is a very simple GUI that has drag and drop features that is very easy to use to build complex data flows quickly. For example, Suppose you have an FTP repository location that files are written to and you want those written to HDFS, how do you do that? Now obviously, you can do the FTP to HDFS translation without any effort using Isilon due to its multi-protocol capability, but what if you wanted to do some transformation of the data? What if you wanted to apply some meta data, maybe time-stamp in the file name and then compress the files and then write to HDFS. You can of course script such a simple process but you then you have to support it moving forward and fix issues that occur should the data format change, locations change and so on.
With HDF, this data flow process would be created as followed:
You start with an input processor that looks at the remote ftp repository and moves files to the local location via FTP or most likely SFTP.
A second attribute process block could be used to rename the file to include the time-stamp and add the required compression method as a meta data object.
The output would be directed to a compression processor which carries out the compression of the data based on the the type of compression algorithm object specified in the previous step
The output of the above processor would then be directed to an HDFS file output processor writing the file into an Hadoop file system.
These processor block are dragged/dropped onto the page in the GUI and configured with a few mouse clicks. They are connected together by clicking on the source processor and dragging an arrow to the next processor. The above configuration would take just a few minutes to build. It is then started using stop/go buttons and can be tested. Each block shows ingress/egress statistics and you also have very detailed data lineage visibility at every stage of the process. You can look at the actual data anywhere along the process and even replay the data back through the data flow to retry should you find any errors or want to add additional data processing into the path.
Some immediate use cases are apparent straight away.
Sure you can write scripts to do any kind of data ingest, transform and output data but those are the boring tasks. Why not offload those tasks to a very simple to use tool that can carry out the process without any scripting with great visibility of what is going on. It has many inbuilt functions to simply add to the outlying error cases that will crop up over time. That allows your staff to get back to the real work of generating business benefits from the data you have captured rather than spending all their time just managing the data flow processes.
What if you use a BI tool that charges per TB ingested and although you want to keep all of the data eventually, a lot of the incoming data is noise. Why not filter the noise off into a data lake and only pass the relevant data into your BI tool thereby reducing the per TB ingest costs dramatically.
…. many others
I could go on and on about this. A number of my colleagues have seen the product and have all been excited about the possibilities it raises. If you are involved with any kind of data management requiring the collation of data (hopefully you are if you have found these pages) then please take a look at HDF and see what you think. Of course, please feel free to feed back any comments below.
I managed to get a few short hours in the garage over the weekend when it was not raining outside. I needed it to be dry so that I can put my small compressor outside to feed fresh air to the face mask. I had done some wet sanding to get rid of the worst of the paint runs (from part 1) and of course I had gone through the paint and back to the metal in a couple of places. I re-masked off the various parts and resprayed the inner wing again. Although not as good as I would like, it is passable. Especially as this is the side where the Supercharger goes, along with a few ancillaries so there is not a lot of room left for you to see any bad paint work! I will let it harden for a few more days and give it a light buff and polish. Apologies for the picture quality, trying to show a paint finish is very difficult at the best of times but this is black in a fairly dark part of the garage. Also the phone camera is not that good either.
Inner Wing
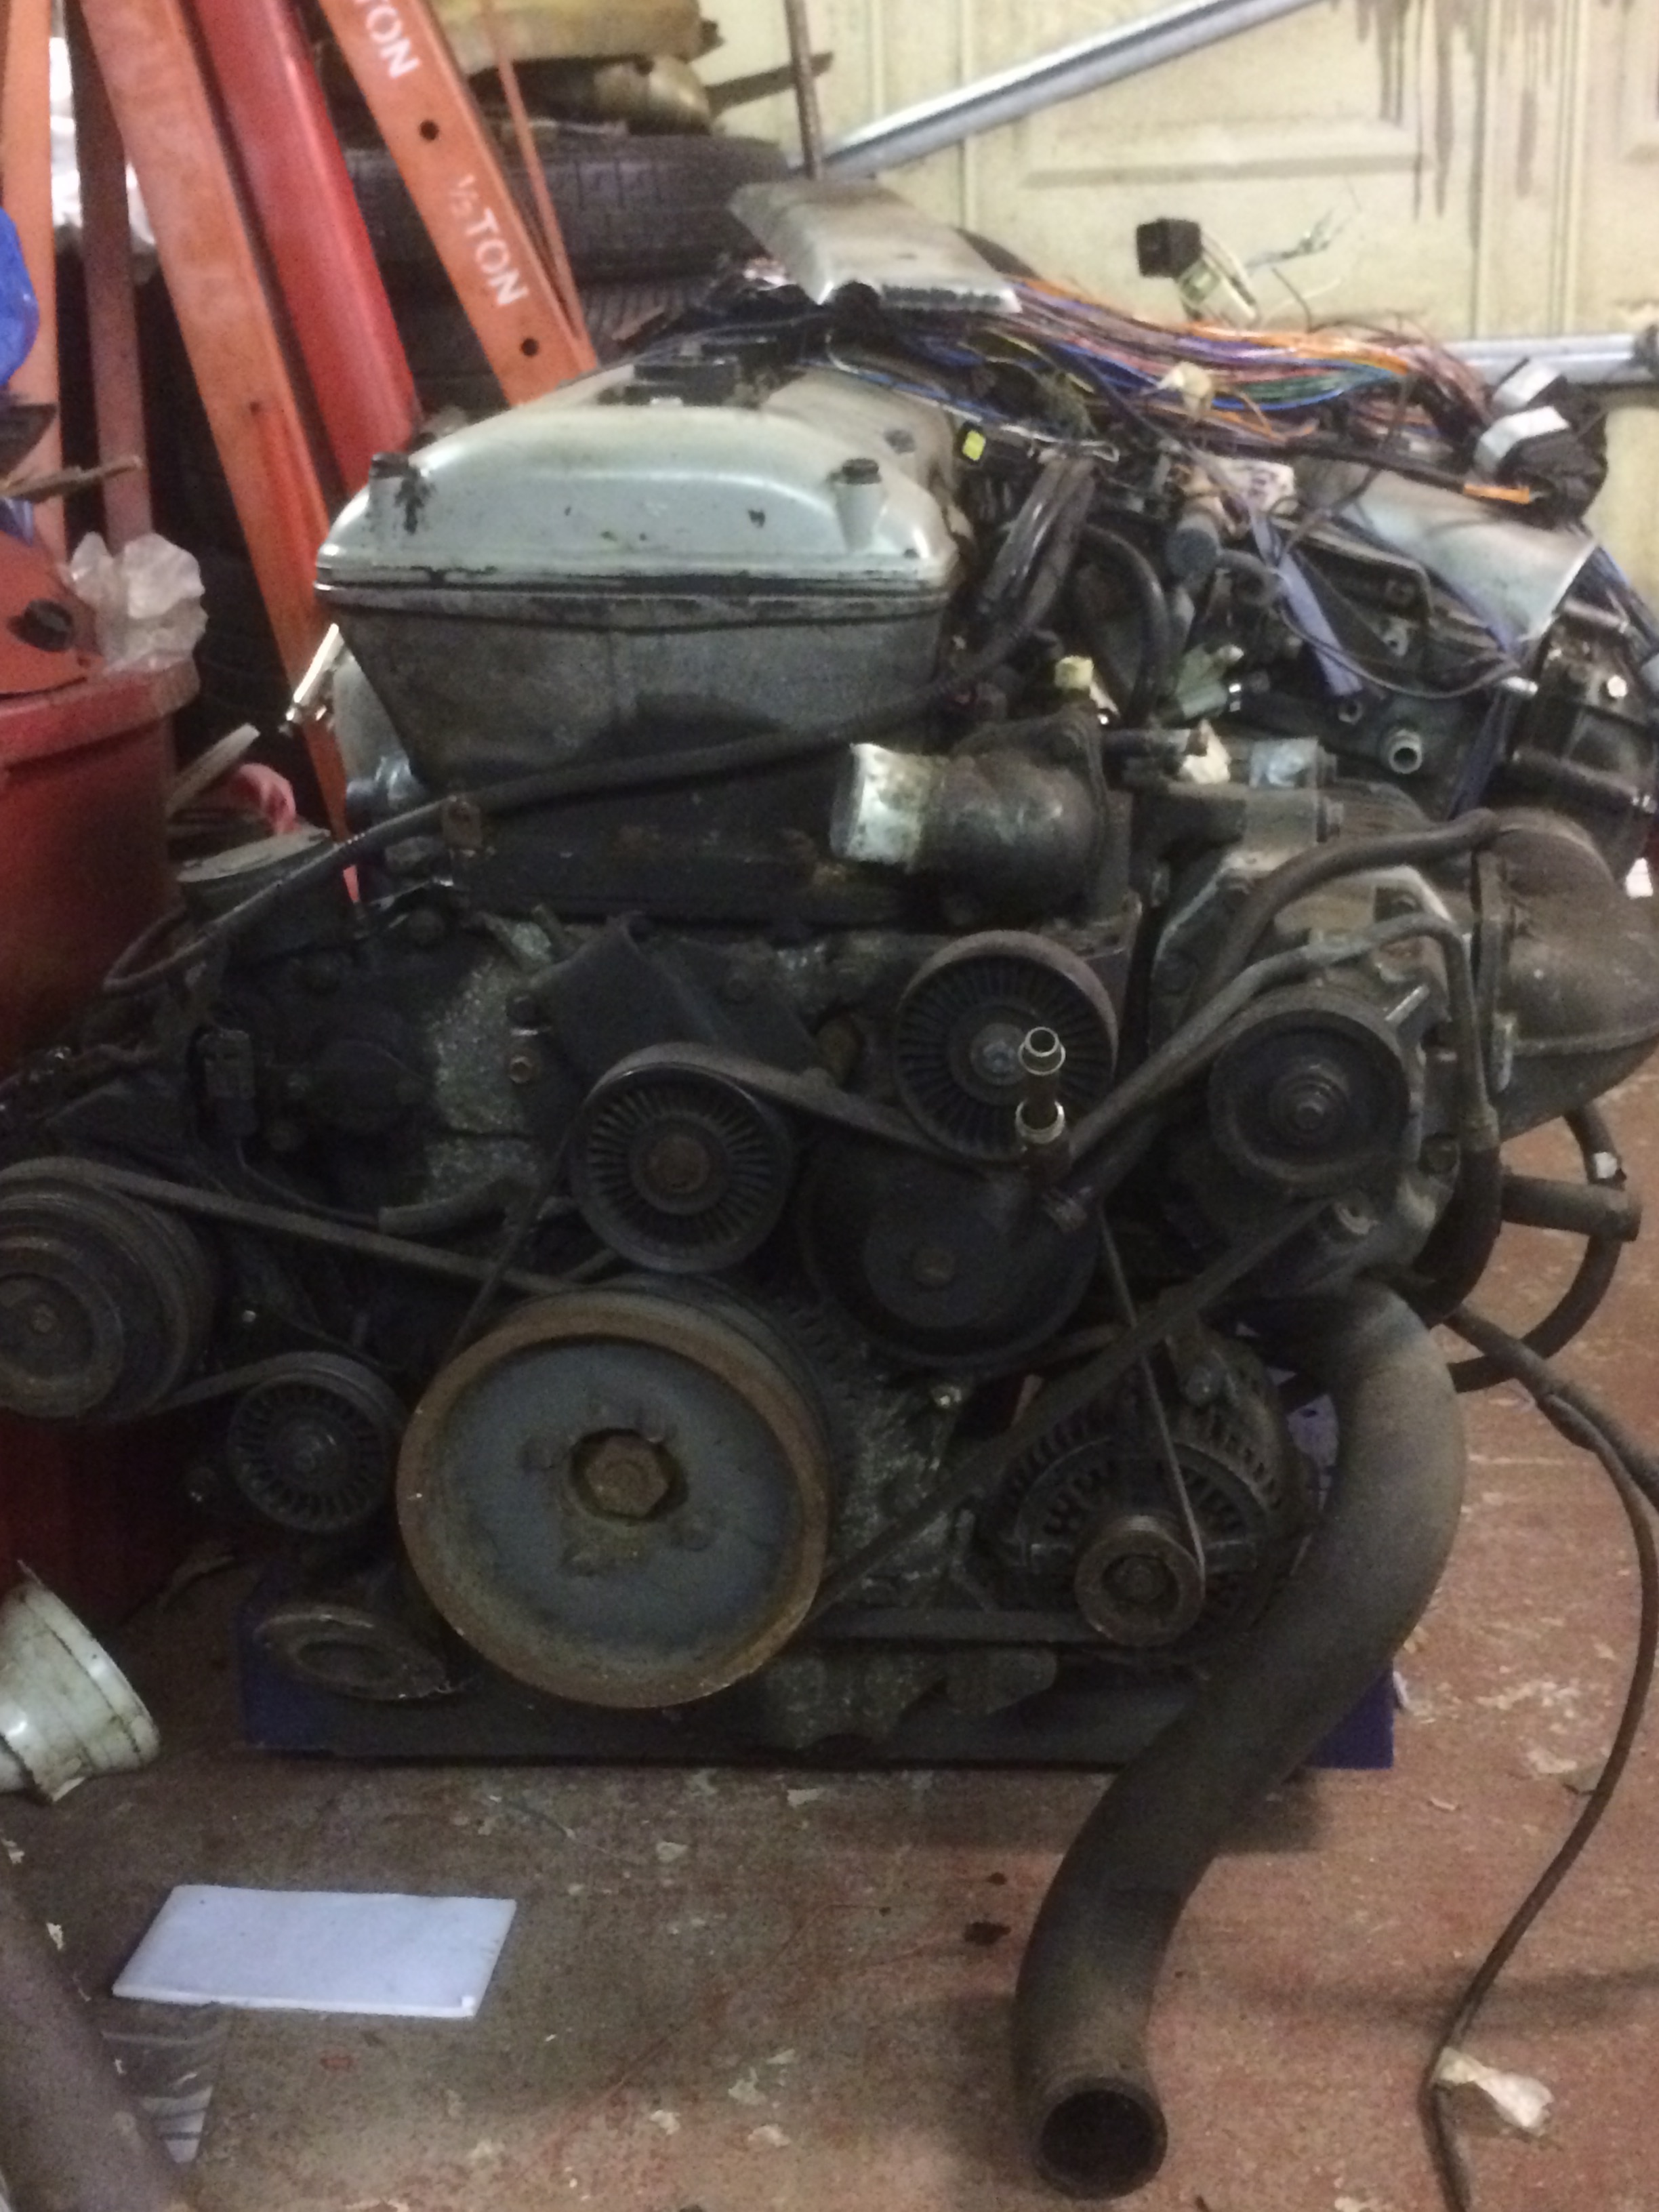
I also made a start at cleaning the engine up a little as it looks quite a mess. I removed some of the metal work that makes up the inter-cooler air feed pipes and washed them in solvent. They do look a lot better but I might have to resort to polishing them or even spraying them. They are aluminum but have a kind of textured finish to them. I guess that there is more exterior surface area meaning that it might allow more cooling from passing air? I was wondering what other people have done with these engines. I did see an E-Type with a fully polished (very shiny) XJR6 engine installed so maybe that’s the extreme.
Engine prior to cleaning
It is -2 outside so I will do some more research and planning!
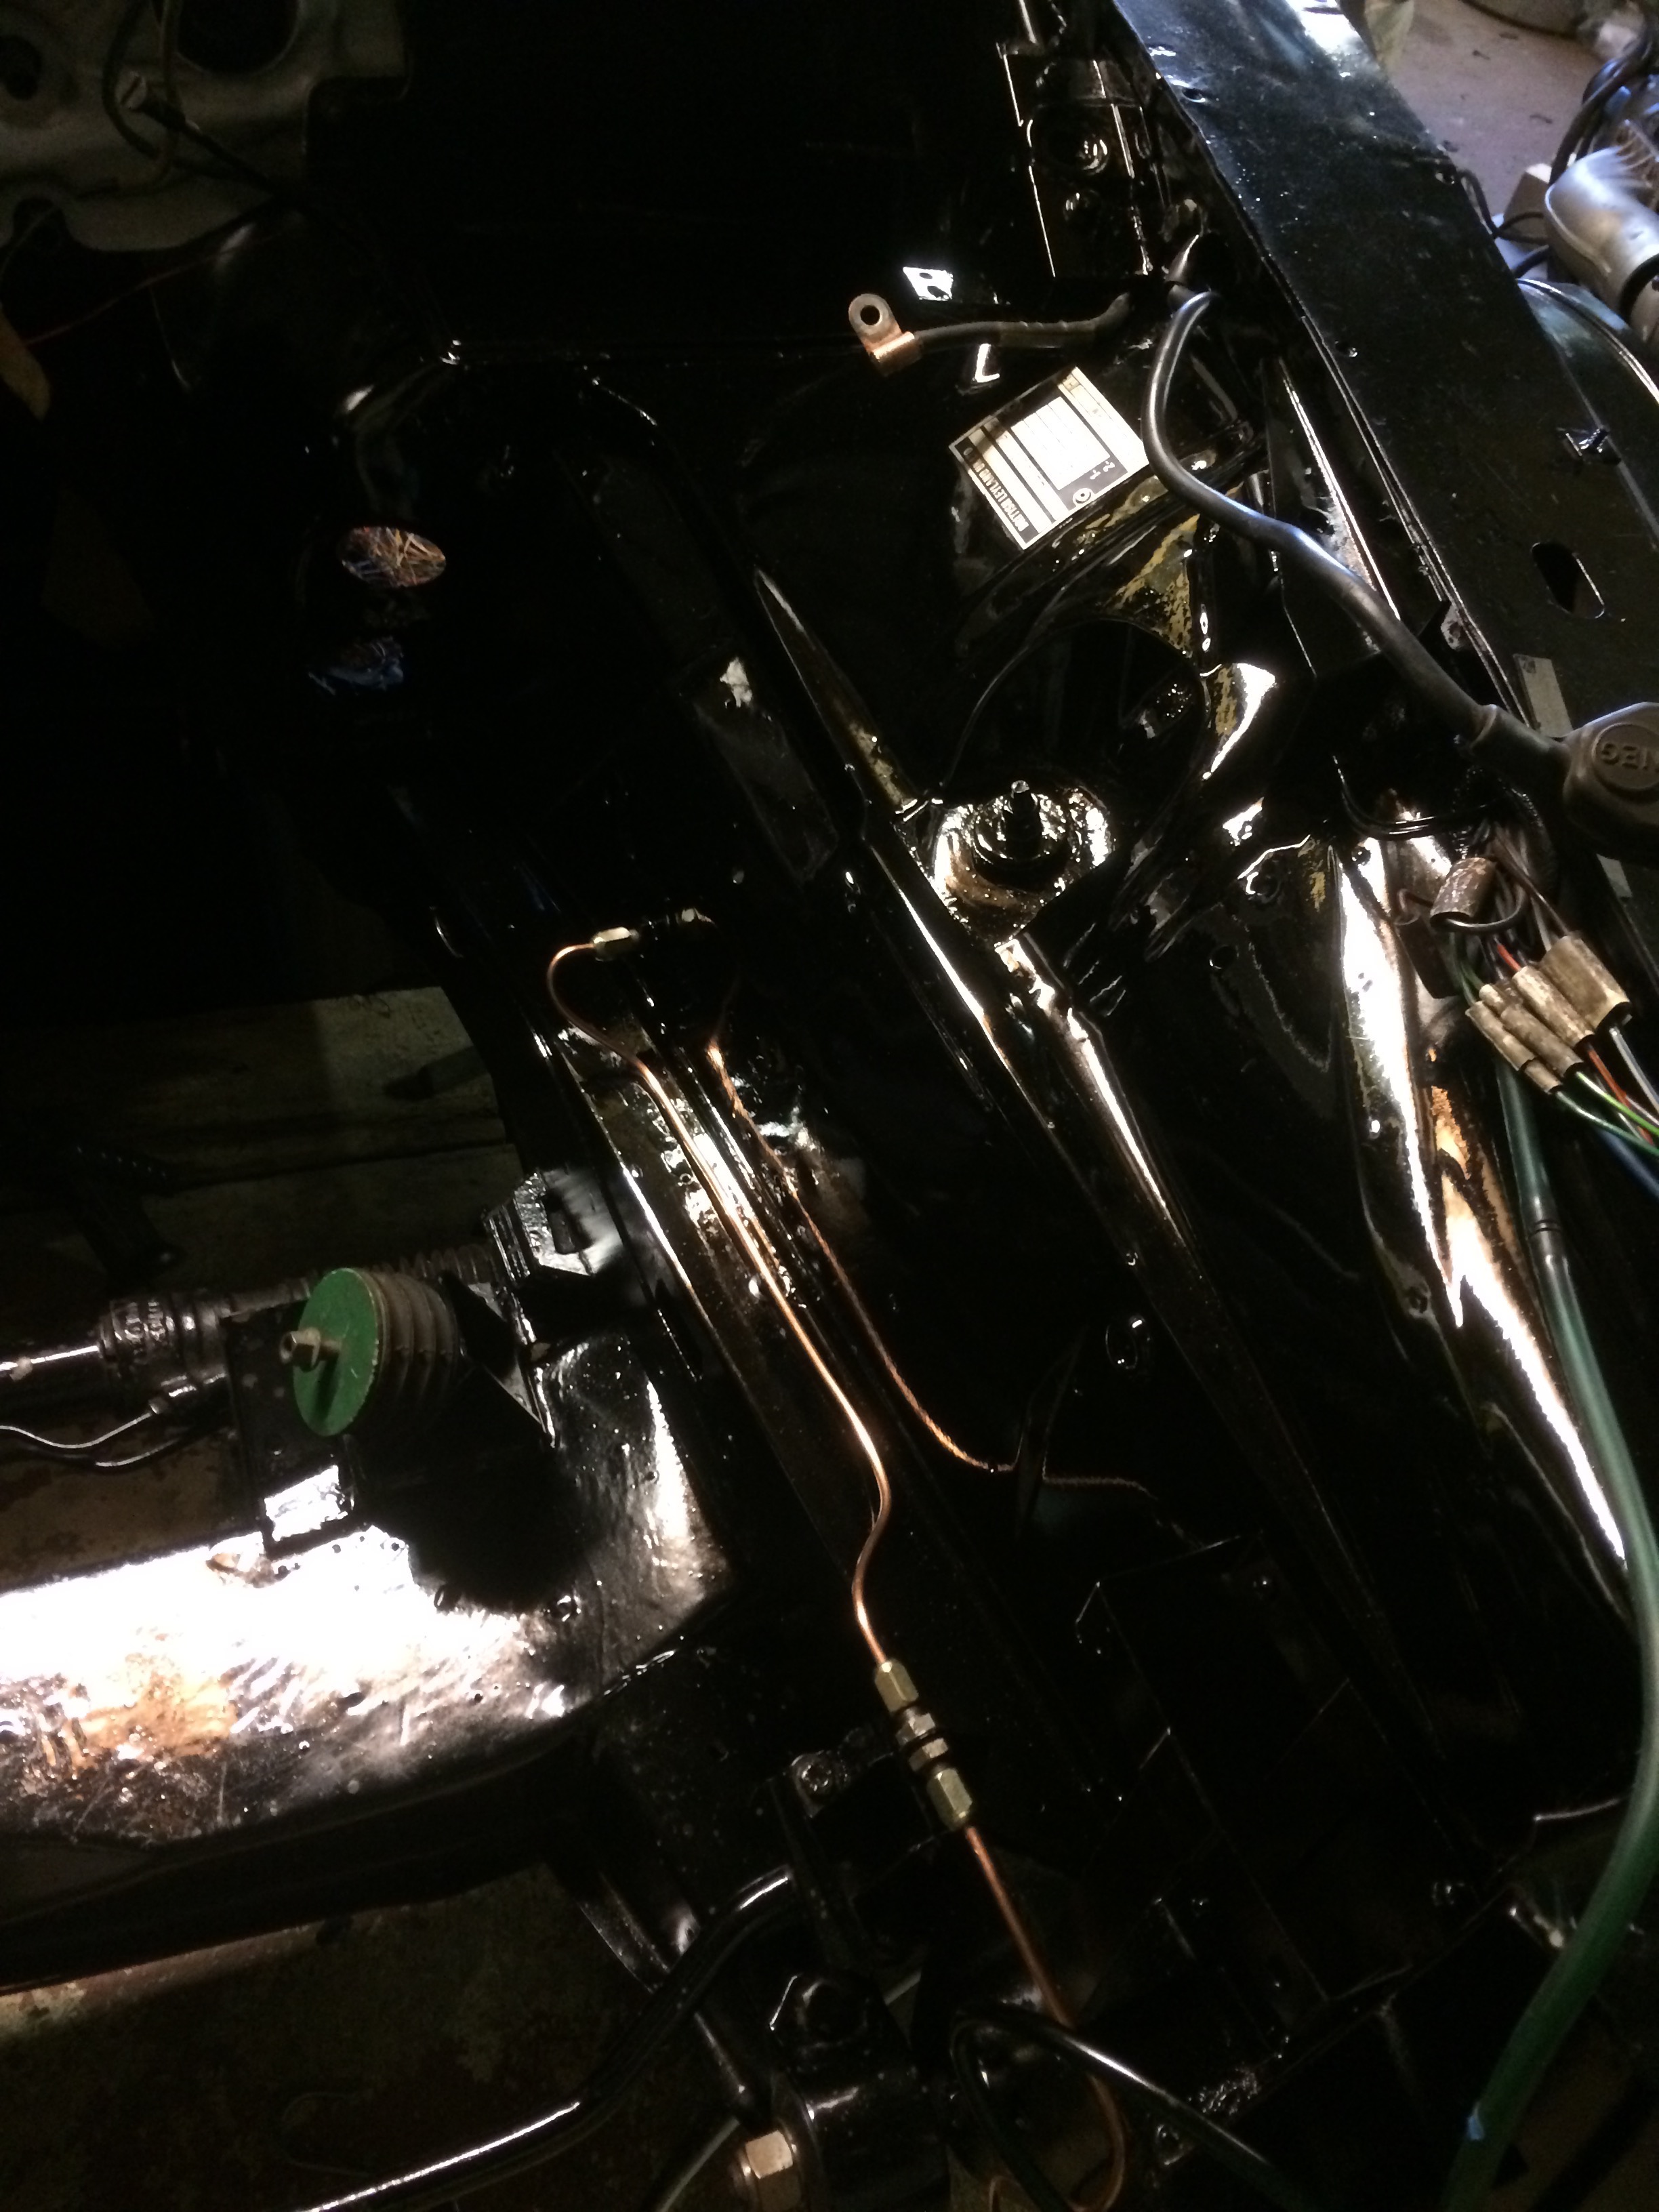
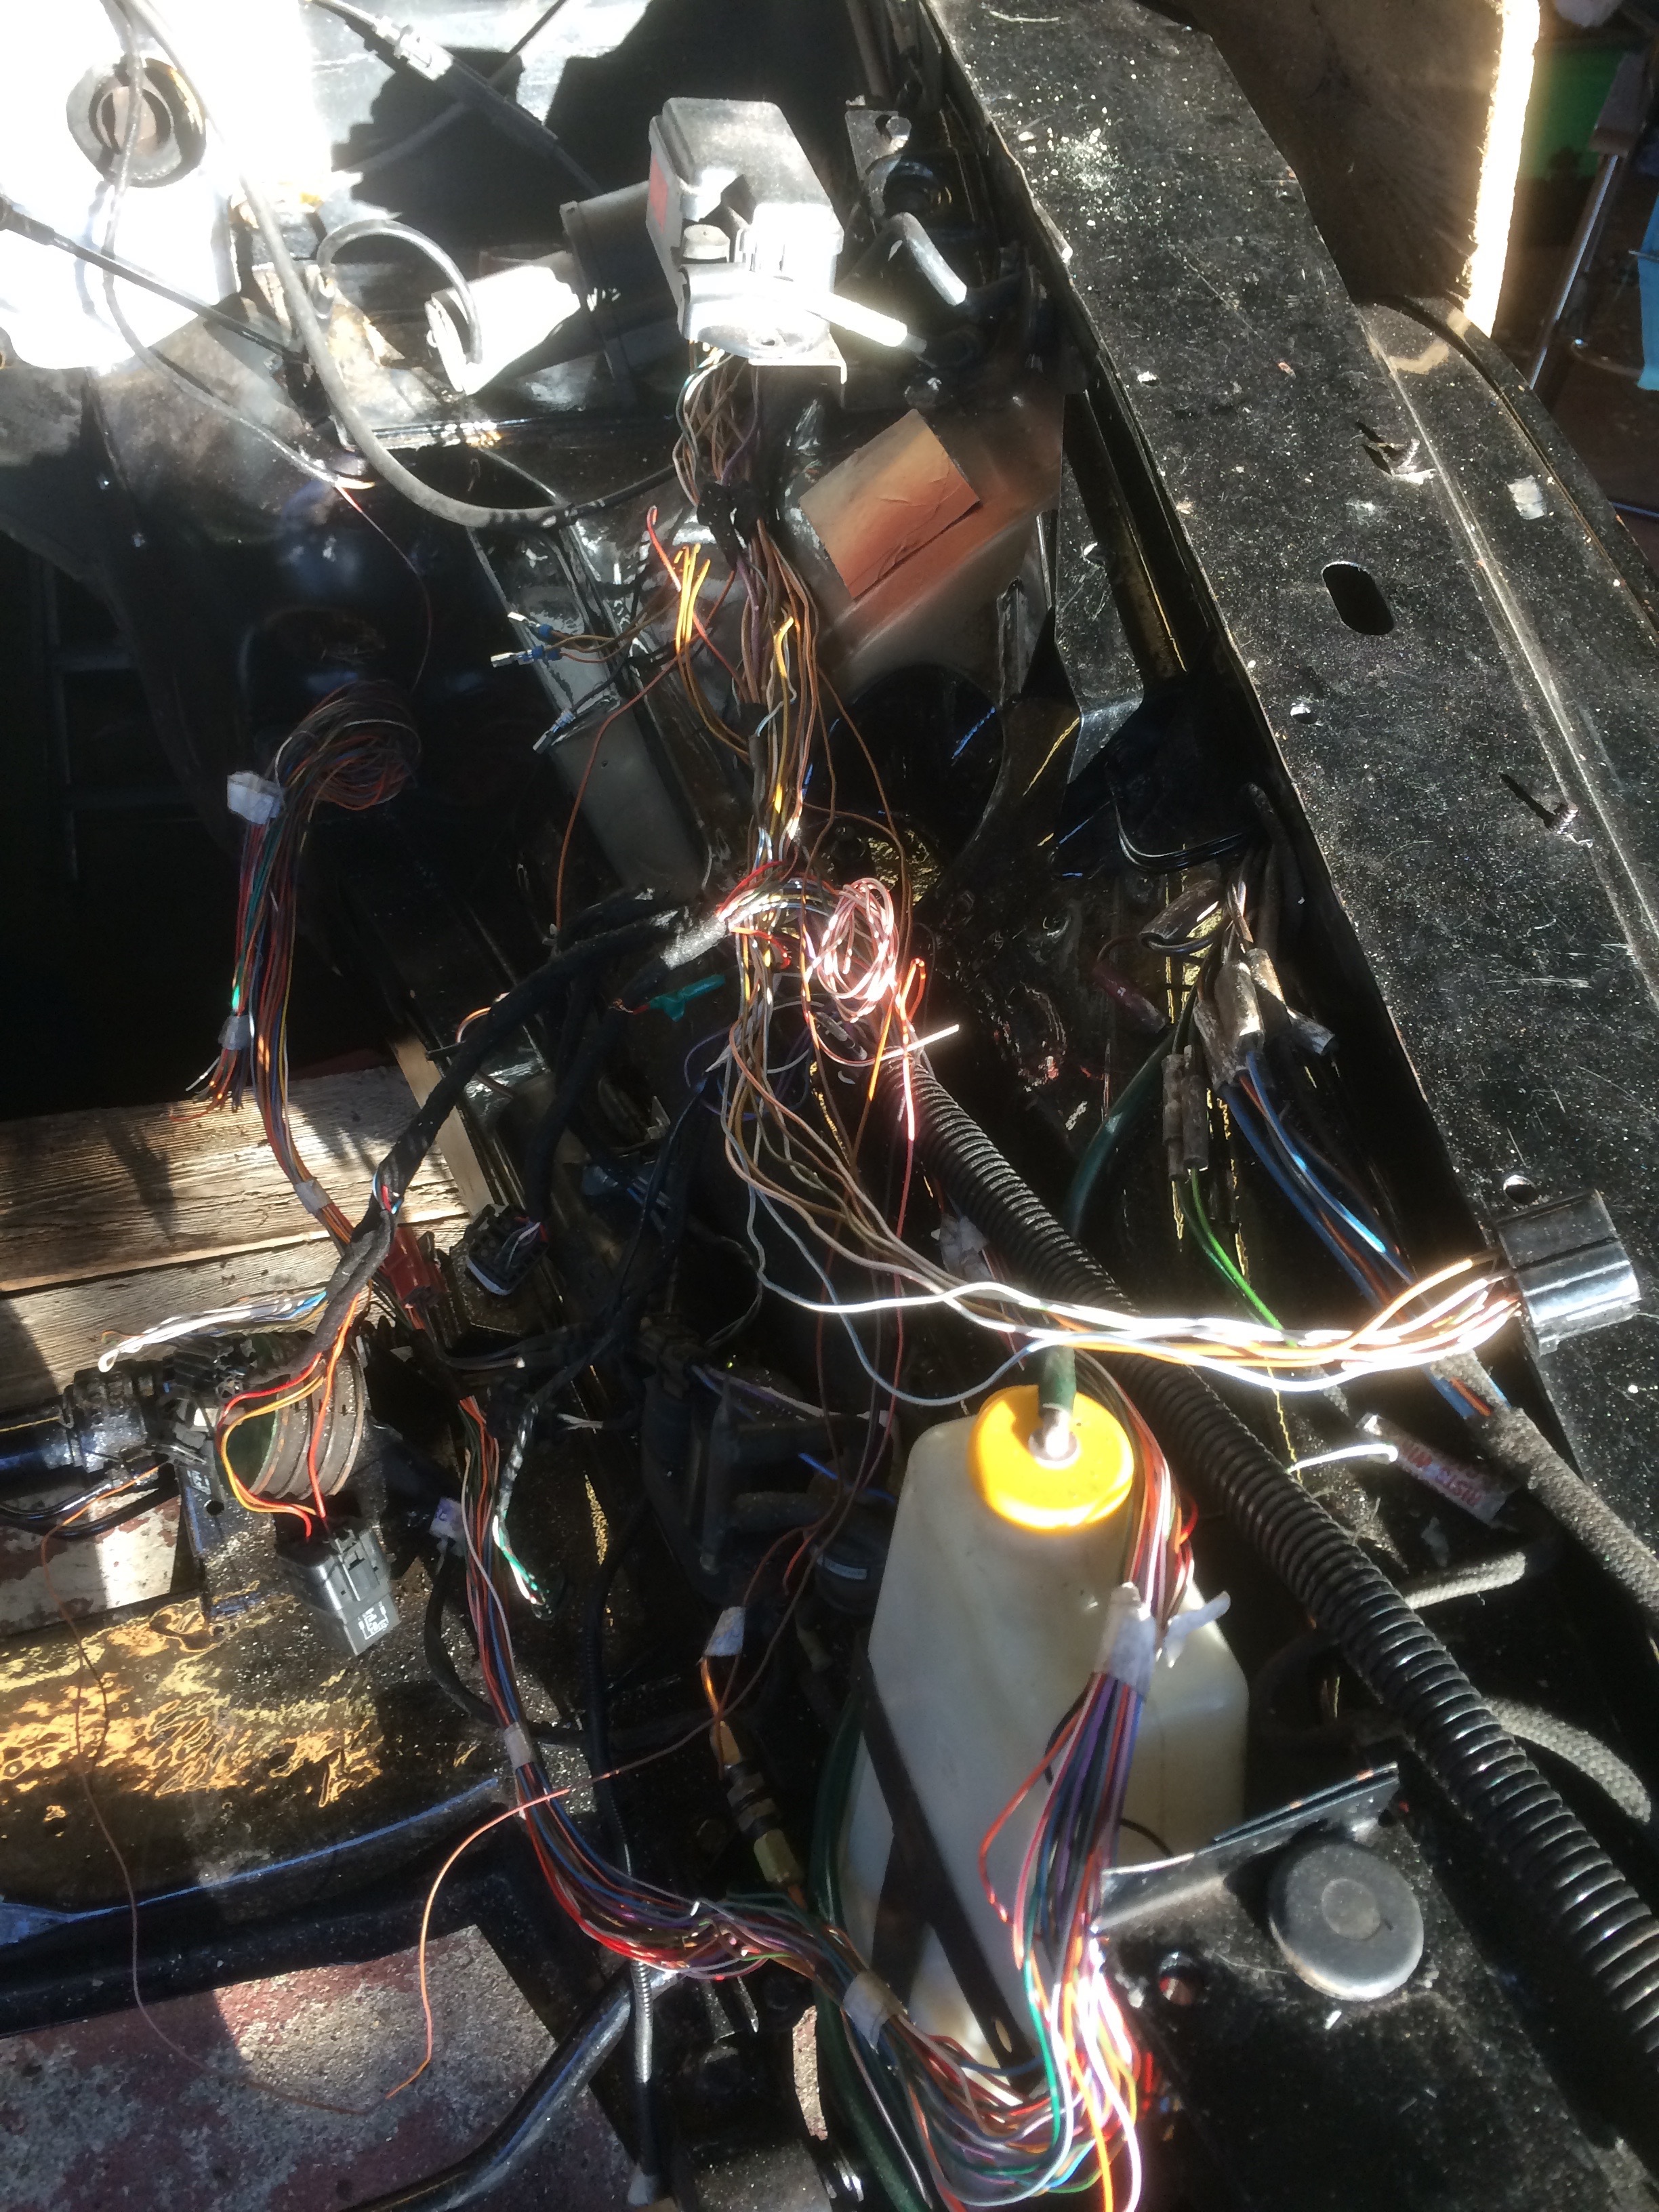
I had mucked up an earlier attempt at respraying the passenger side of the engine bay. Firstly I had covered part of the inner wing with tape around the VIN plate so that needed redoing and I also scratched the side during the fitting of some of the new items needed in the engine bay. You can see the initial repairs highlighted by the red primer and can also see the new wiring (temporarily laid out).
Side view temporary wiringTemporary Engine Bay Wiring
Rather than repair it and then damage it again as I carried on working on fitting the items and the new wiring needed in the engine bay. I also needed to cut a hole as that discussed in the cutting a hole in the bulkhead post.
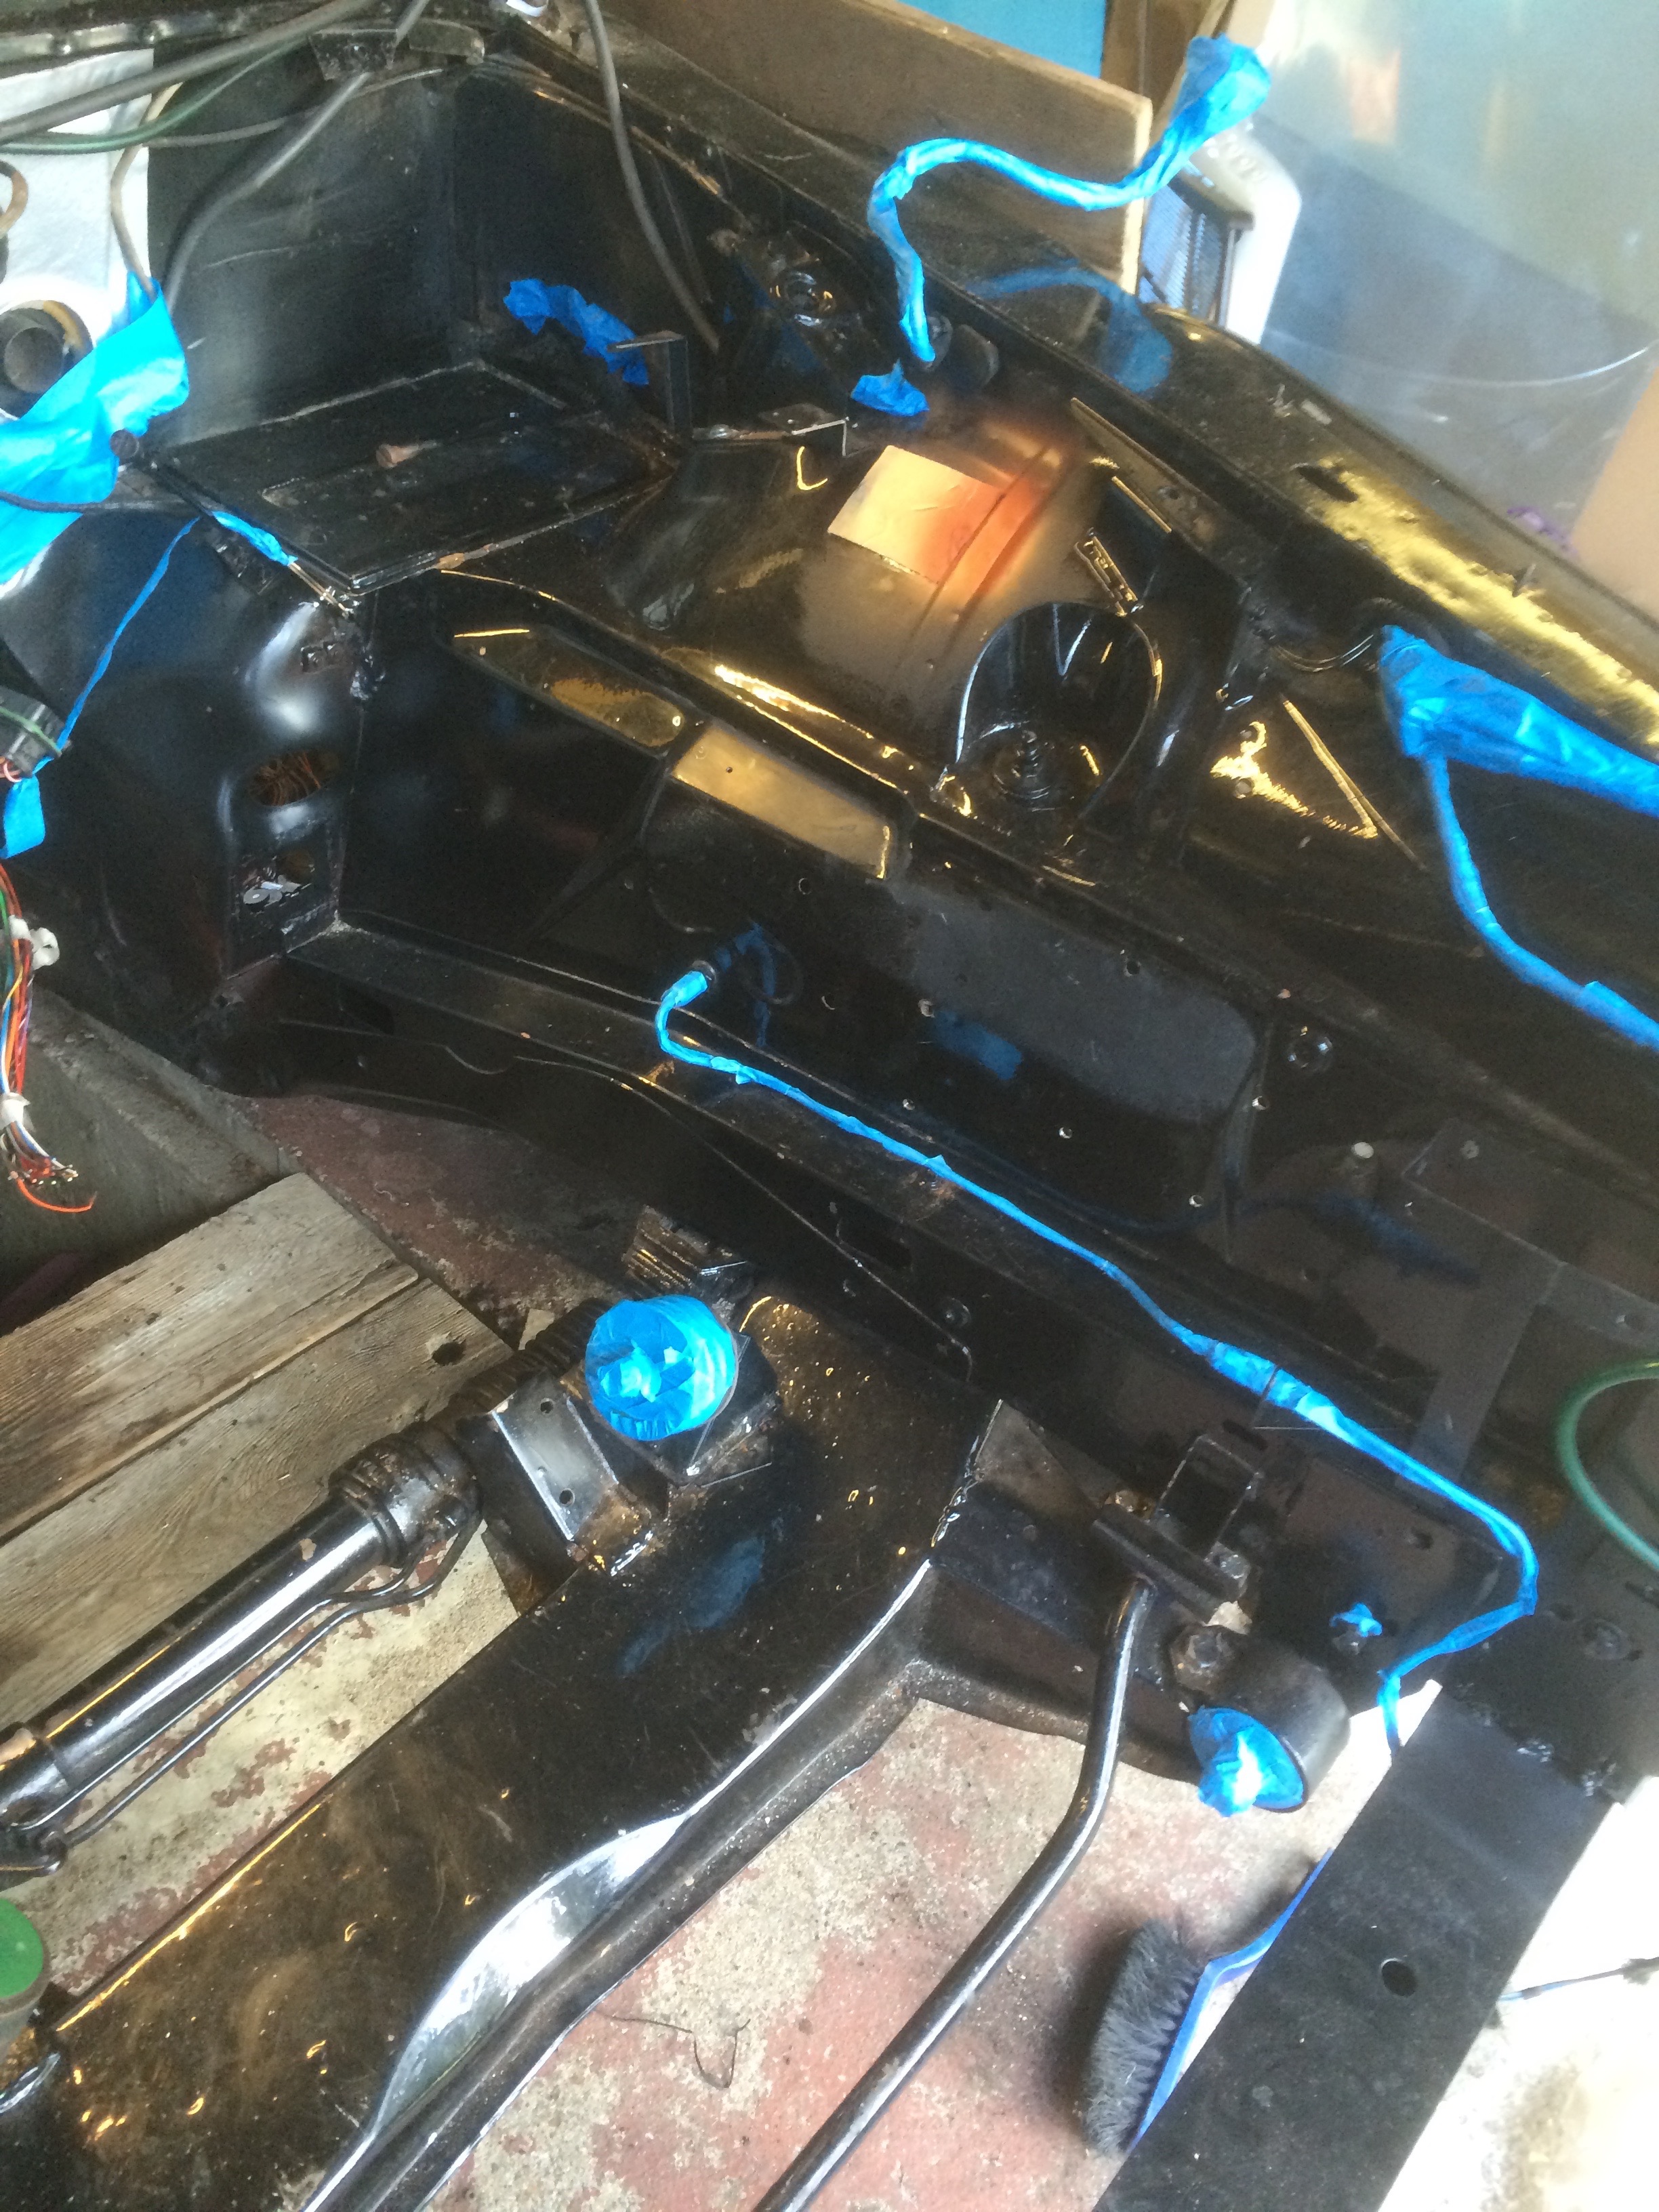
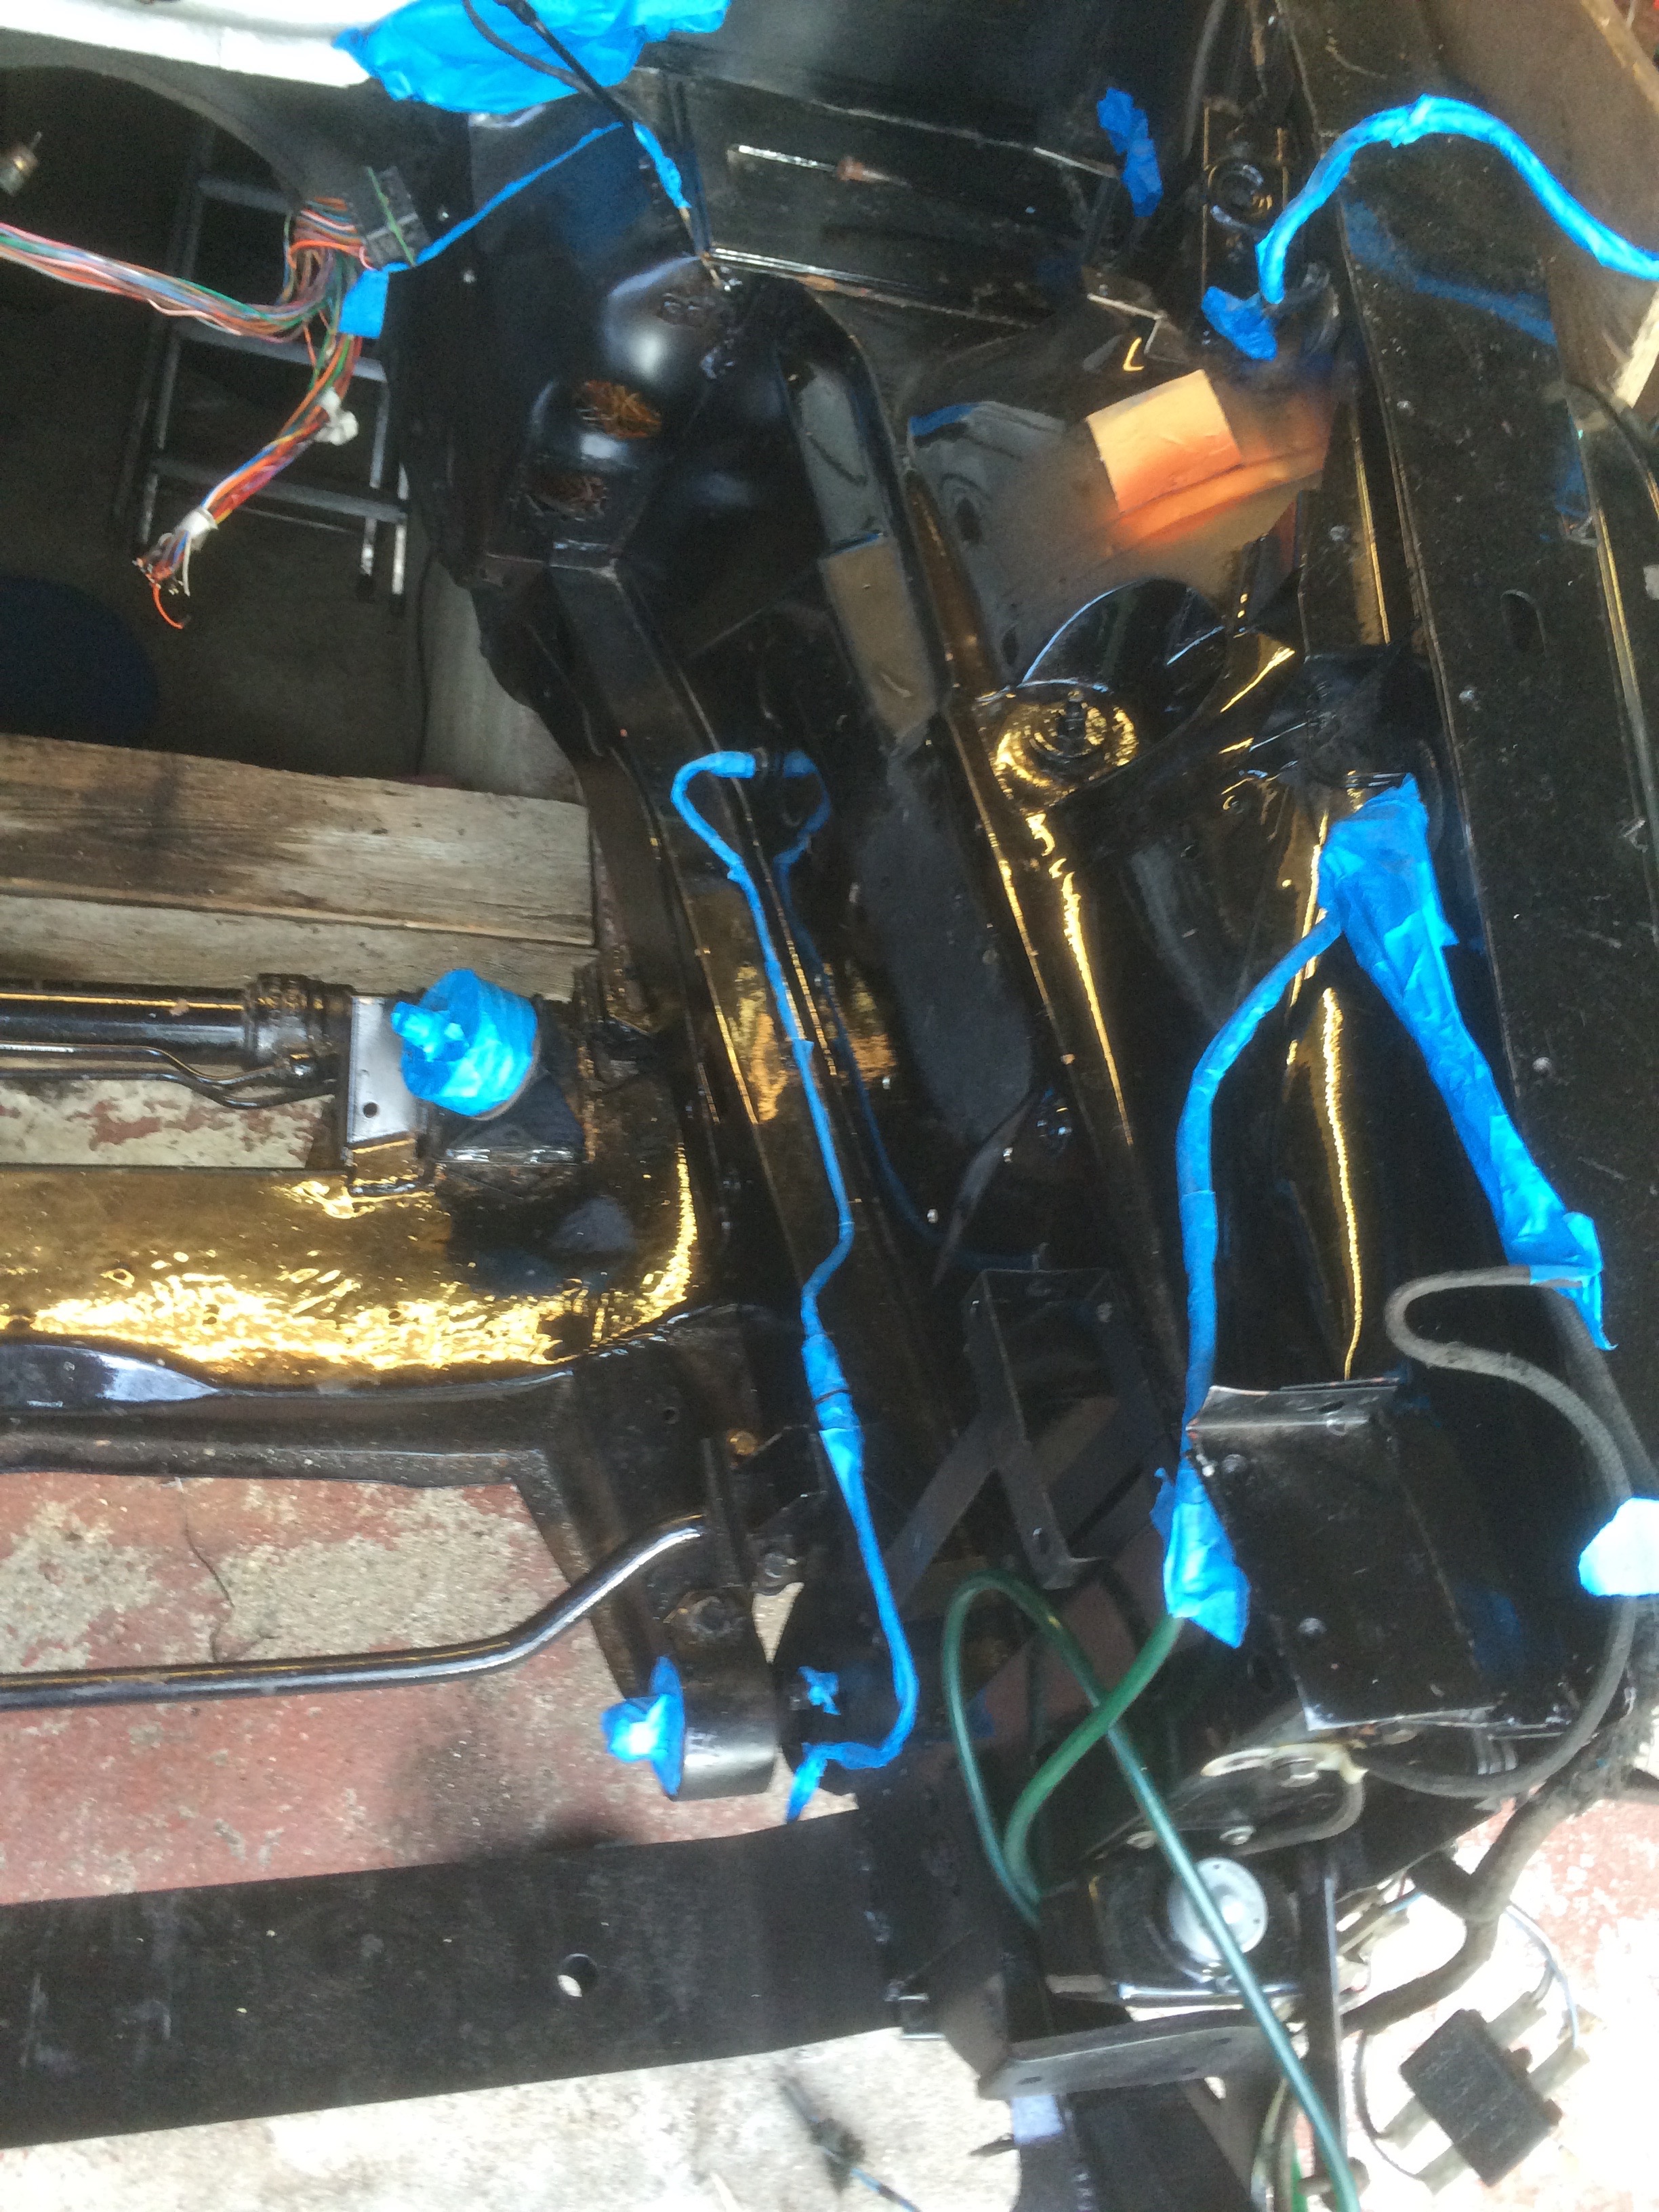
Respray Preparation
The first step was to remove the new wiring, the fuse box and the newly added modules to allow for the respray. The blue tape masks off the various parts I did not want to remove.
Taped up, prepped for sprayingFront view, prepped for spraying
Well I tried to respray it and obviously had some setting wrong because no matter how delicate and fast I was, I still ended up with a significant amount of paint runs. I guess I am a better storage technology guy than a paint sprayer 🙂
I have left it for now. I will carefully wet sand out the paint runs and see what it looks like in a week or so. stopped there as I decided to write this and then look to see if I can find some of the items I need to purchase.
Here is my current list of items to locate and buy next.
Reconditioning kit for the steering rack plus the bellows
Front shocks
Front suspensions ball joints
Alternative fuel pump as the ones in the twin tacks will not provide enough pressure on their own
need some more thought regarding the fuel system such as can I use the XJR tank or do I use a surge tank as suggested by Larry Louton on the Jaguar forums page
The rubber pipe that connects to the battery tray and the air inlet by the windscreen (BD4654) because mine is split
I spent some time in the garage over the weekend. Most of it was spent inspecting the Brake Master cylinder for the car. I had a pair of these for the XJ6. One I rebuilt, maybe 15 years ago and put in a drawer and the rusty looking one that was the original still in the car. The rebuilt one looked OK externally but had the wrong rubber fittings on the top where the reservoir should sit. It had the two identical rubber fittings that I believe go to the later versions of the car. These had a separate reservoir attached to the bulkhead via two pipes. My car has the reservoir fitted directly on top of the master cylinder. I had problems getting the pins out that hold the reservoir onto the master cylinder. I ended up cutting and eventually drilling out one of the pins. I then started to disassemble the cylinders themselves. The original master cylinder was very rusty and took a little persuasion to disassemble. Having removed the first of the two plungers, a quick look inside at the cylinder wall proved that it was beyond repair. I think you can see the rust damaged cylinder walls in the photos.
Original Master CylinderThis was the spare, no good either!
I then started on the one that had new rubbers fitted years ago to see if that was in a usable state. Unfortunately not! It looks like a new master cylinder is needed. They are no longer available from Jaguar Heritage. A quick look through the suppliers I often use reveals that there are superseded items available. Not a cheap item but better safe than sorry!
ODBII Socket
As I could do no more to the braking system, I spent a while reviewing some of the wiring and finally decided where I would place the ODBII connector. It is going to go inside the drawer in the central arm rest, between the driver and passenger seats. Not too difficult to wire up, deciding on where to put it took longer than wiring it 🙂 I was initially looking at somewhere under the dash but the centre console seems a better place. I will no doubt require access to it quite frequently, at least in the initial stages of installing and getting the engine running. I still need to check for clearance under the drawer as there are a couple of large pipes feeding the heating/AC flow to the rear of the car. I have left a fair amount of slack in the wiring to allow a lot of positioning options just in case.
There are just a few connection needed.
OBDII Socket wiring
Brown/Red – Box 101 is a fused but constant +12v supply
White/Pink – Circle 5 is a switched +12v when key is in position 2 which is normal running position
White/Orange – Hexagonal 3 is a switched ground signal also when the key is in position 2
Pink and Orange are CAN bus serial data lines
Black is chassis and Black/Pink is logic ground.
I had previously wired/reserved the constant +12v, and the switched +12v using the fuse box I installed into the passenger foot well by the door hinges. I had also implemented a relay to provide the switched ground connection elsewhere so I just tapped a wire off of that feed. The rest were either available to tap into around the J-Gate assembly or running across the area to get to the Instrument PCB. The Instrument PCB is going to be installed vertically on the drivers side of the centre console.