XJ6R – Rear Suspension
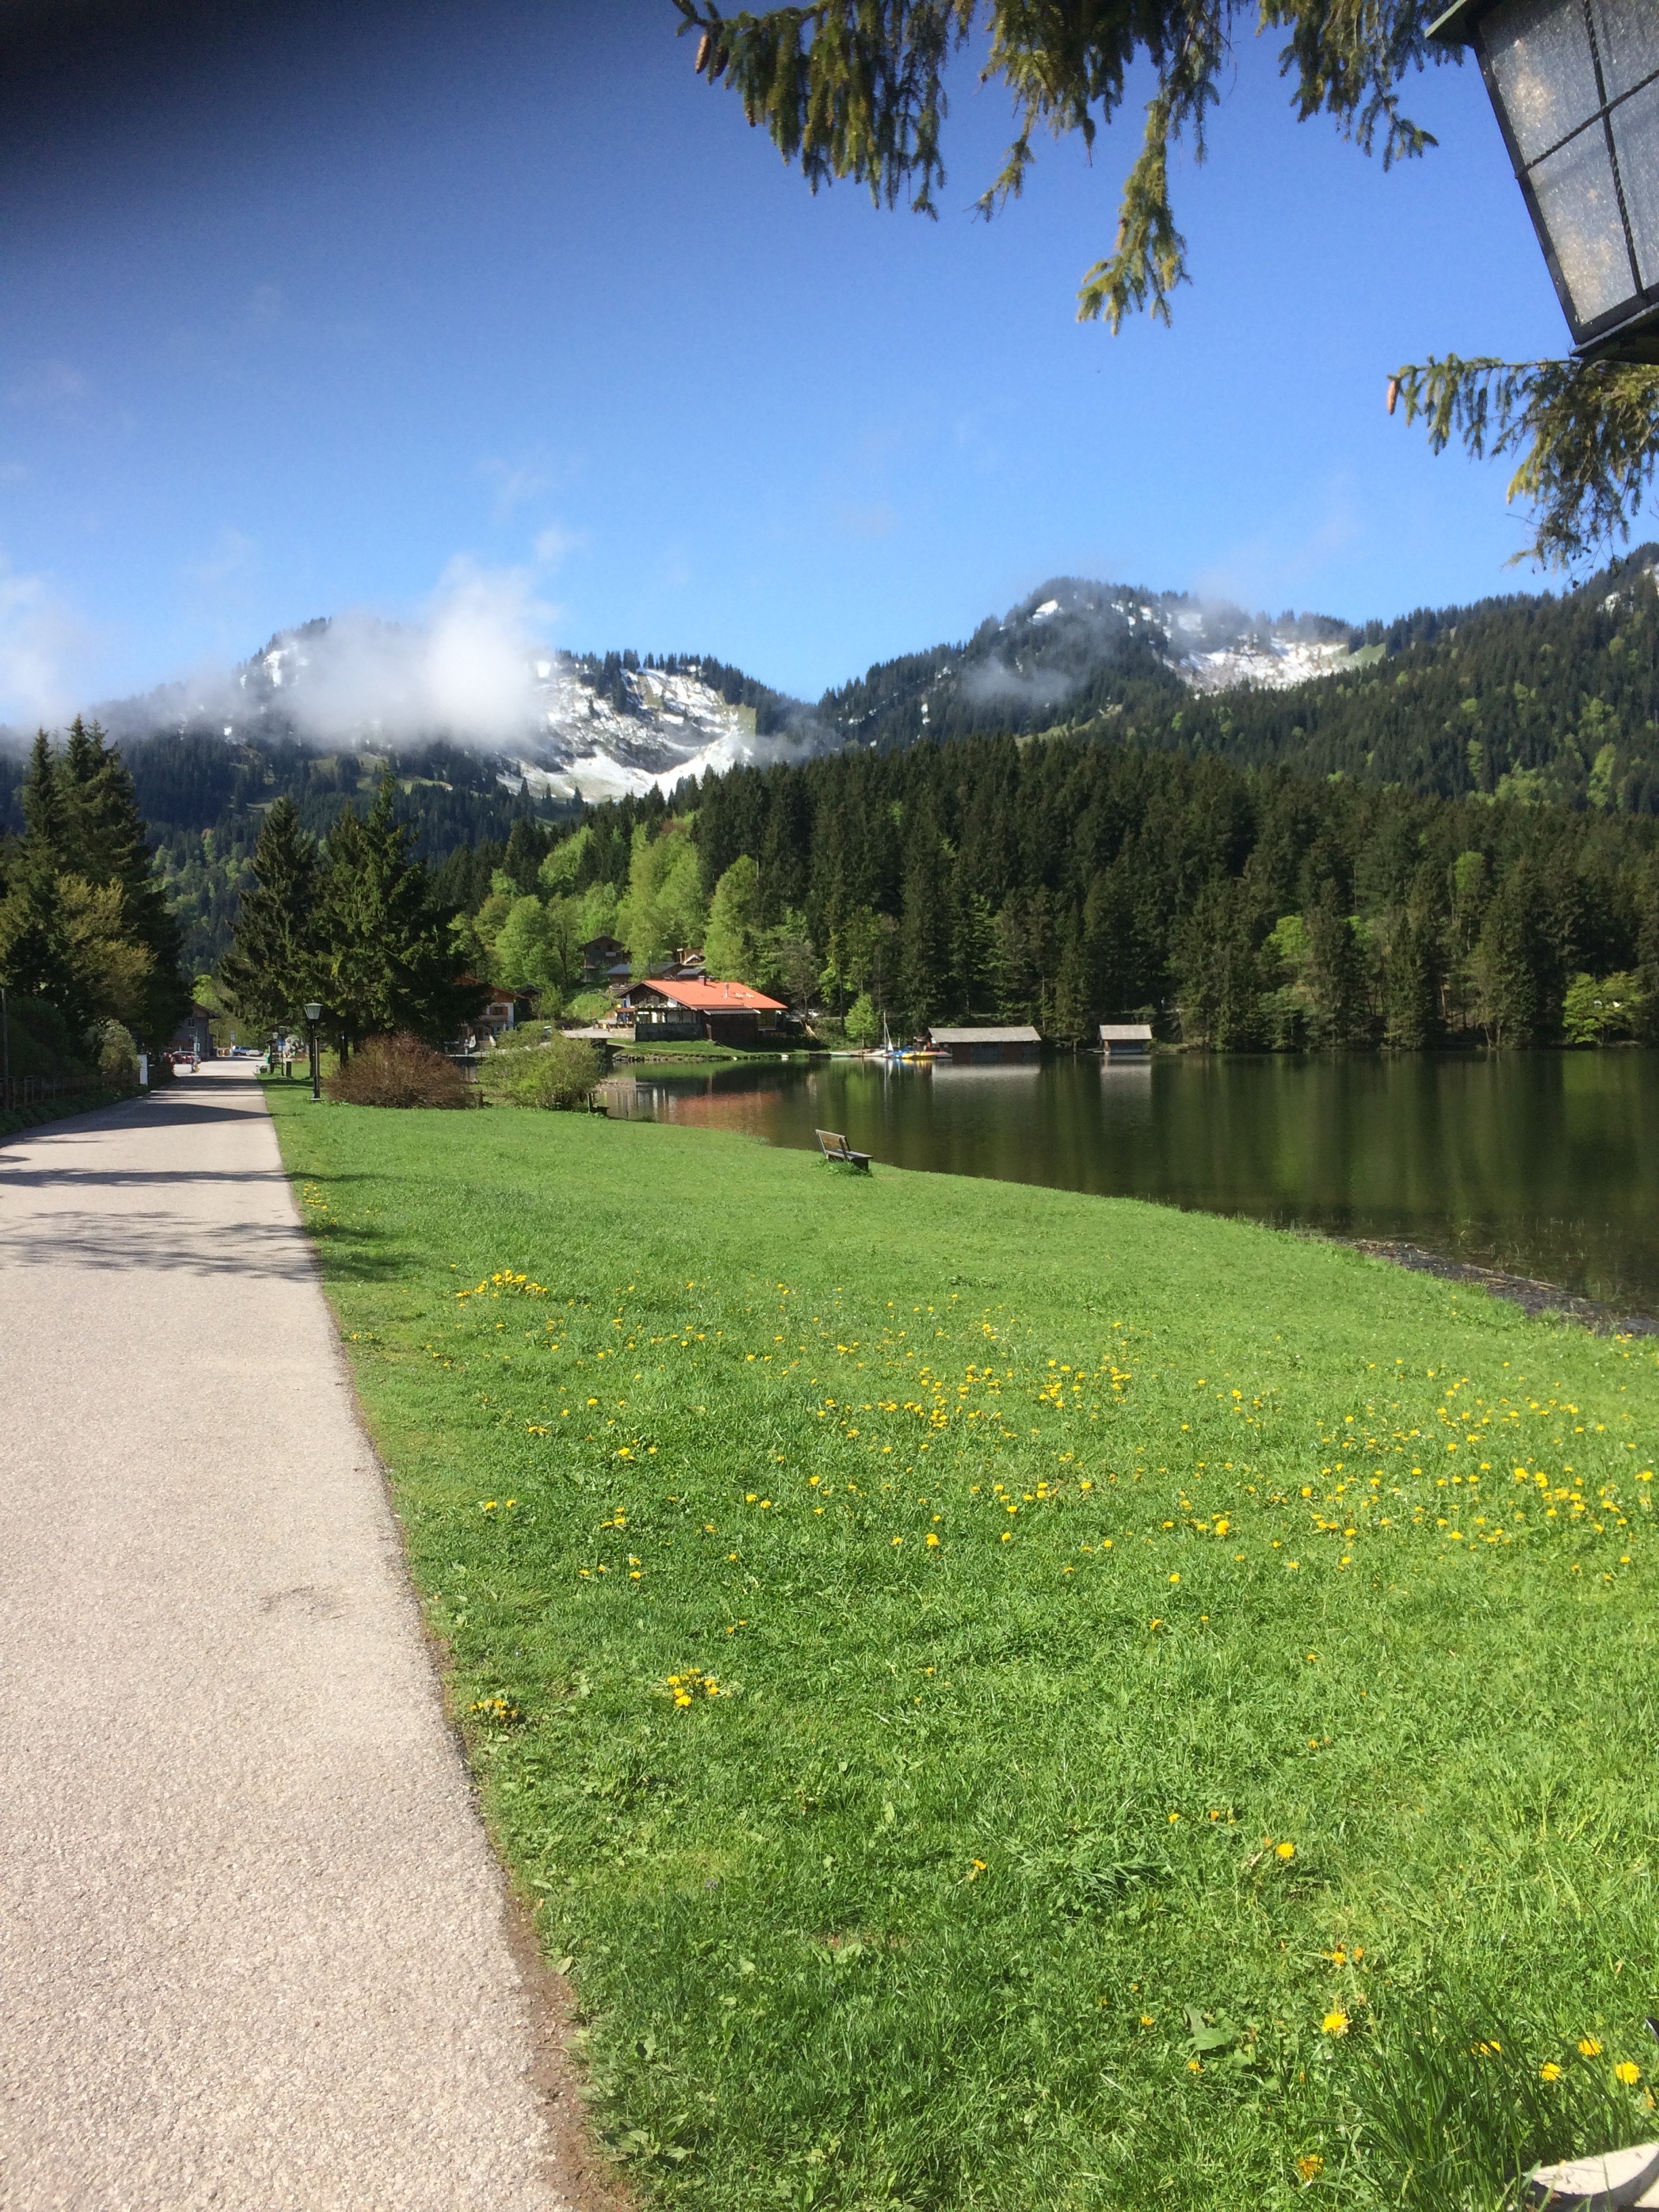
Life has been busy recently, I have been on a couple of work trips, great trip to Spitzingsee Lake in Schliersee, Germany not far from Munich for an EMEA team meeting. Great venue even if it only stopped raining on the last day.

As per usual, DIY, Gardening and even the occasional trip to a car show took place and kept me out of the garage. I did snatch a few hours here and there. I had refitted the refurbished steering rack but a much longer task was running the fuel pipes over the rear suspension cage.
Rear Suspension Cage Drop
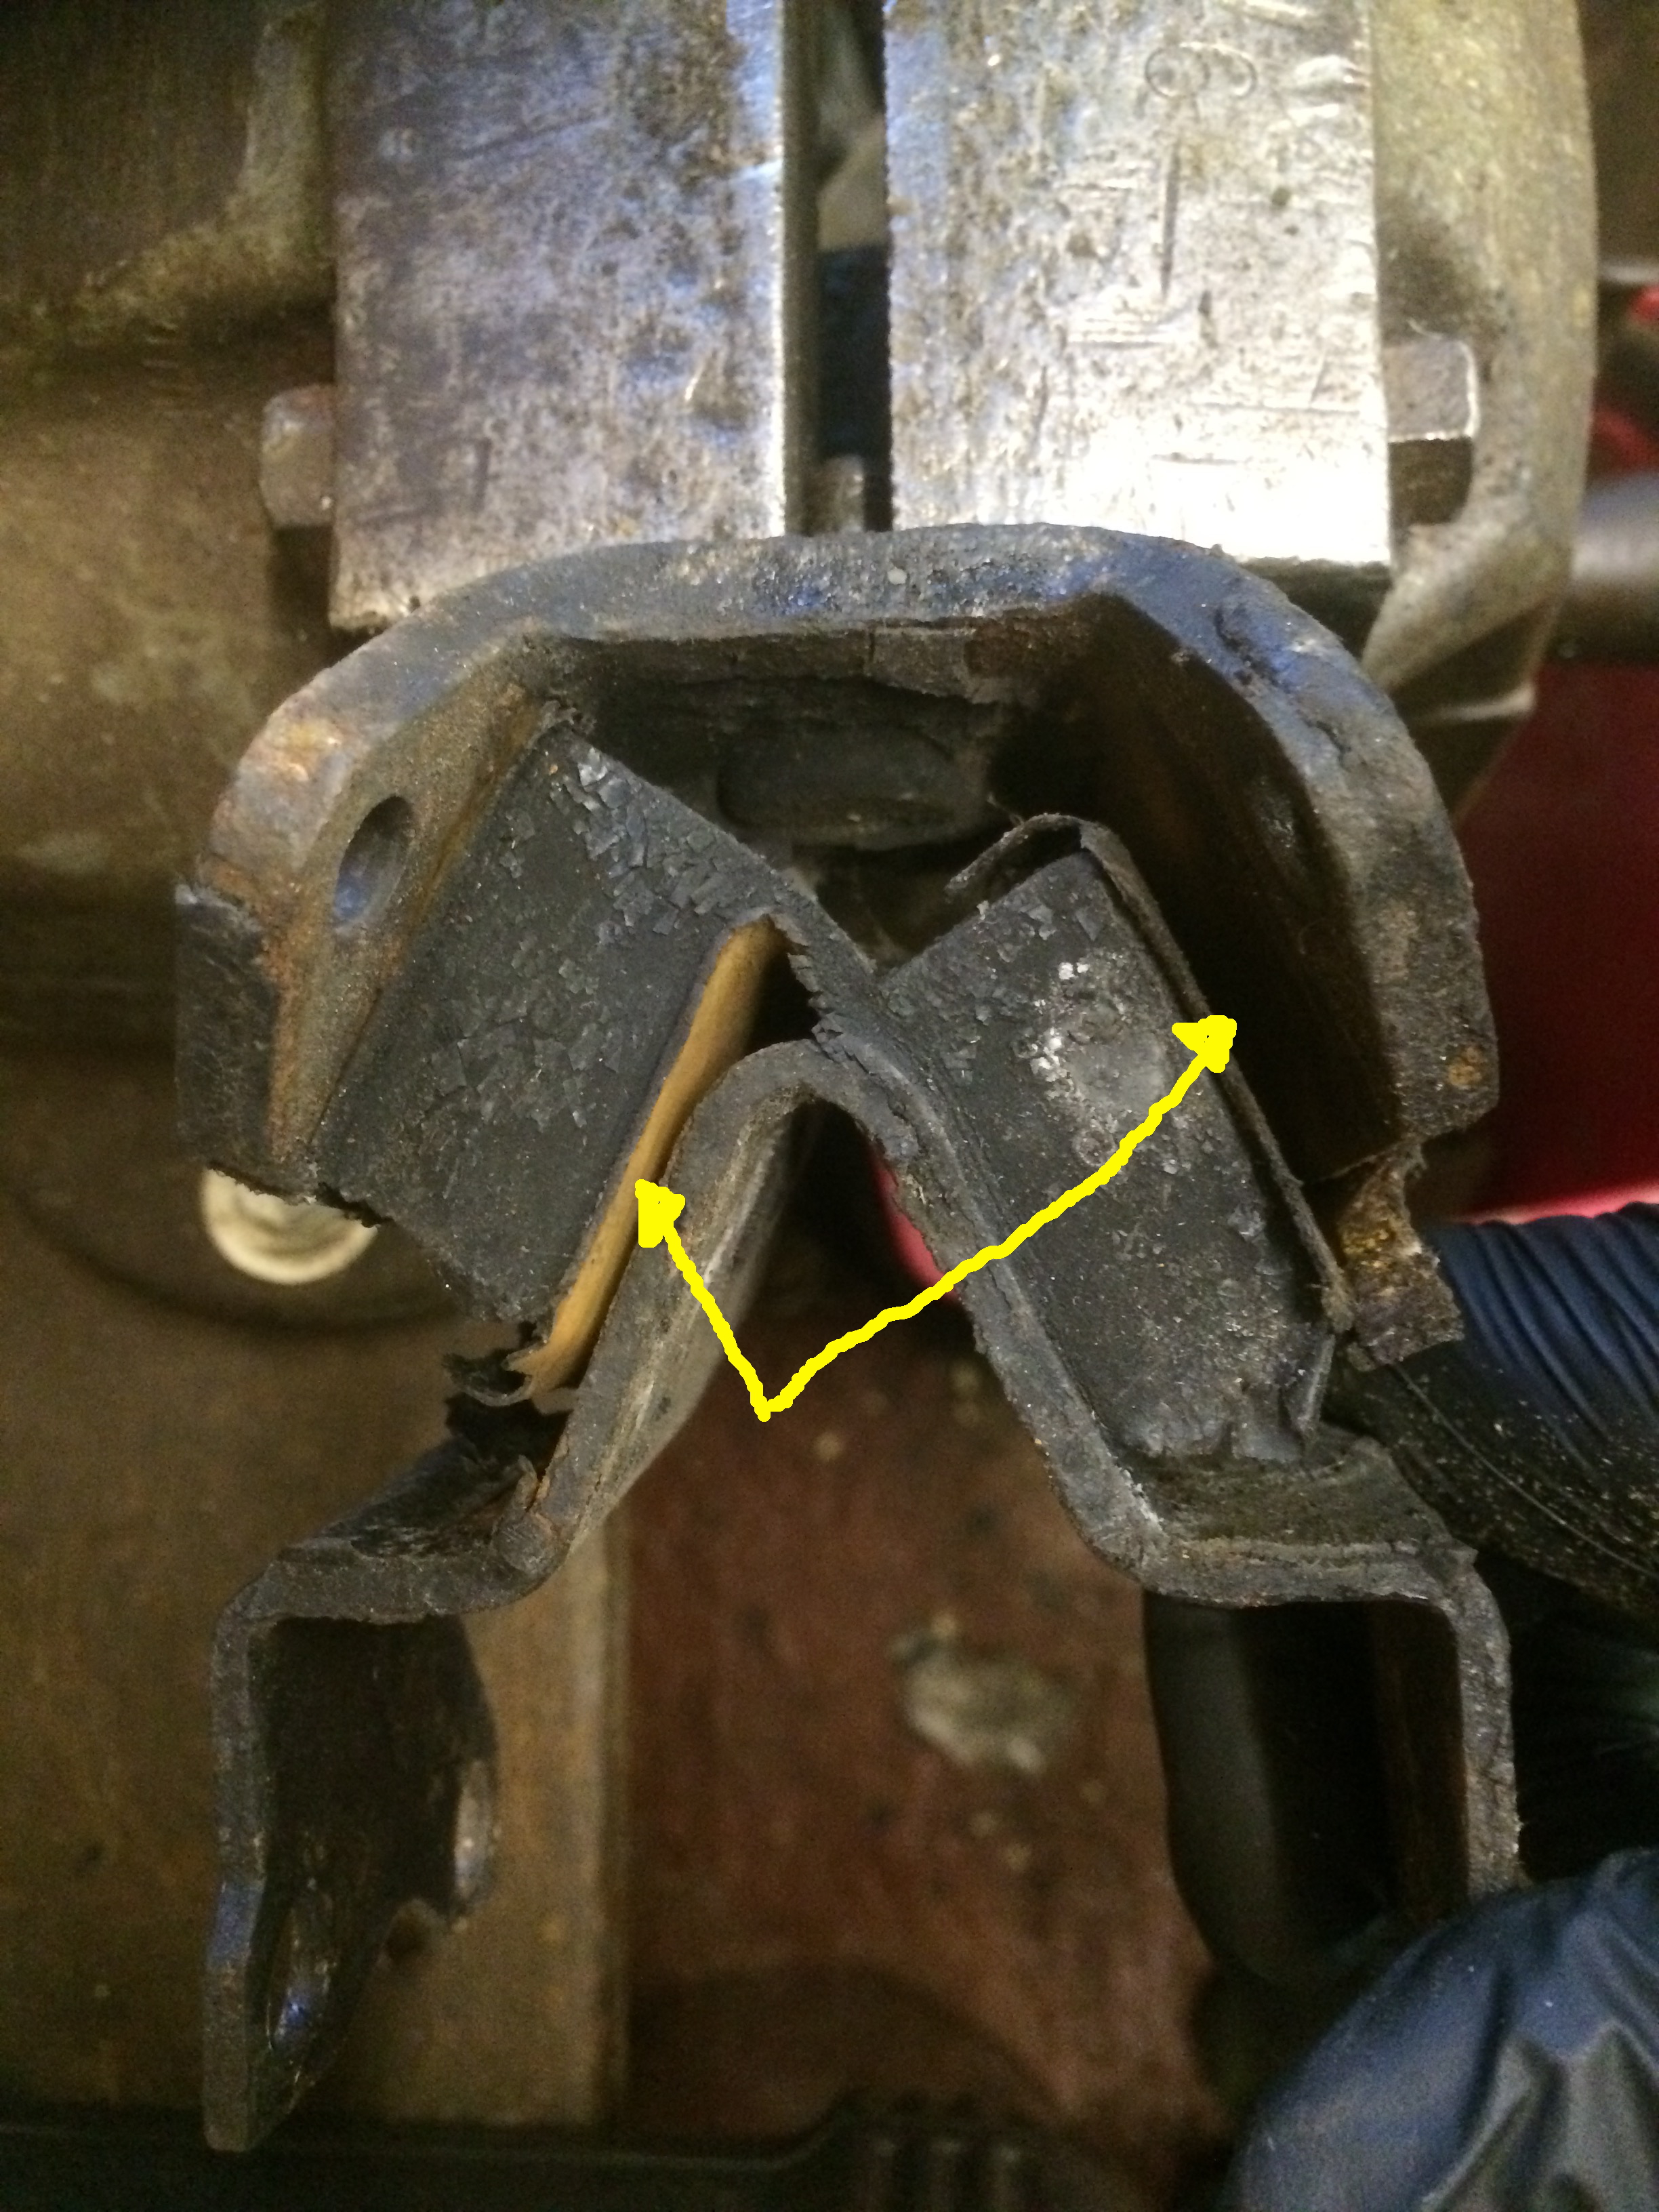
To run the fuel feed and return lines back into the spare wheel area in the boot I had to run a the fuel pipes over the rear suspension cage. This meant I had to drop the whole rear suspension cage. This is not too much of an issue as there are only eight bolts holding the four mounting bushes to the chassis and then the bolts holding on the rear trailing arms. The full suspension cage is really, really heavy so if you need to do this please take extra care. I managed to lower it without incident and ran the two pipes over the top of the cage area exiting via an existing hole in the boot. I also took the chance to change one of the small trailing arm bushes whilst it was off as well. No drama so not really worth writing up specifically. During the refitting of the cage I discovered that one of the four Metalastic mounting bushes had come apart and needed changing. As I had four new bushes on a shelf I decided to change them all. I had refitted the suspension about 3 years ago and the car has not really moved since then so it was just time based deterioration of the bush as they were all OK when I last looked at them.
Changing the bushes is not that hard, just a little awkward to get to some of the nuts inside the cage. It is however a bit of a pig getting the holes lined up when reassembling things. My recommendation is to loosely fit the bushes to the cage, offer the cage up to the chassis and only tighten the bolts once you have managed to get the bolts that go through the chassis pushed all the way through and nuts screwed on. Trying to align the bolt holes through the chassis with the bushes firmly attached to the cage is not going to work! I am speaking from experience here so don’t waste the time trying to align it with jacks, using leverage and so on.
The failed bush is shown below with a little sideways pressure is applied. The faults are highlighted with the arrows. The light brown side has come away from the inverted “V” shape in the bracket. The right hand rubber has also come away from the outer bracket.
Its all reassembled now and back on its wheels.
Fuel Tanks
The twin tanks in the S1,S2 and S3 models are notorious for rusting away and leaking. I did have a spare tank in the garage. It came from an old Series 3 car that I had scrapped probably 15 years ago. The fuel tank had been stashed away waiting to go into the car to replace the rusty/bodged repaired ones that are currently in the car. The S3 tanks have the low fuel drain that I will need for the single external pump option I am going to go with. Unfortunately even though I stored this tank with the view to use it, on close inspection I discovered it does have some pin holes up at the top around the fuelling hole. The pipe assembly appears to be braised in place so no chance of just welding up the holes and I don’t have the facility to braise. I will probably just put some kind of epoxy or liquid metal over the area as a temporary fix whilst I find the funds to replace both tanks with new ones. (approx £250 each)
Fitting this tank temporarily, running the outlet pipes into the boot area and searching for the switch-over valves are the next things on the TODO list.