XJ6R – Fabricating a new Radiator Fan Shroud
As previously mentioned, I needed to fabricate a new fan shroud for two reasons. First, the original XJR6 fan shroud had the fans mounted diagonally and they were too high to fit into the available space in the XJ6. Secondly they were to “thick” to fit flush where the standard fan shroud went. I did initially start with the old series 2 shroud, cut out and replaced the rusty parts and then started reshaping to fit the new two fans. Having spent quite some time on this process, I realised there was hardly anything left of the original S2 assembly and it was made up of multiple parts. The best thing to do was to throw it away and start from scratch. I used some of the steel I cut out of the bonnet of the XJR6 so it is made from Jaguar metal anyway 🙂
I should have made it entirely from one piece but I think it is OK with extra strengthening parts welded to the sides. As usual, these things evolve and if I was to make it again I would do a better job of it. The same goes for cutting away the plastic parts of the shroud assembly. Changing the design half way through has meant I cut a little too much away for the ideal final solution.
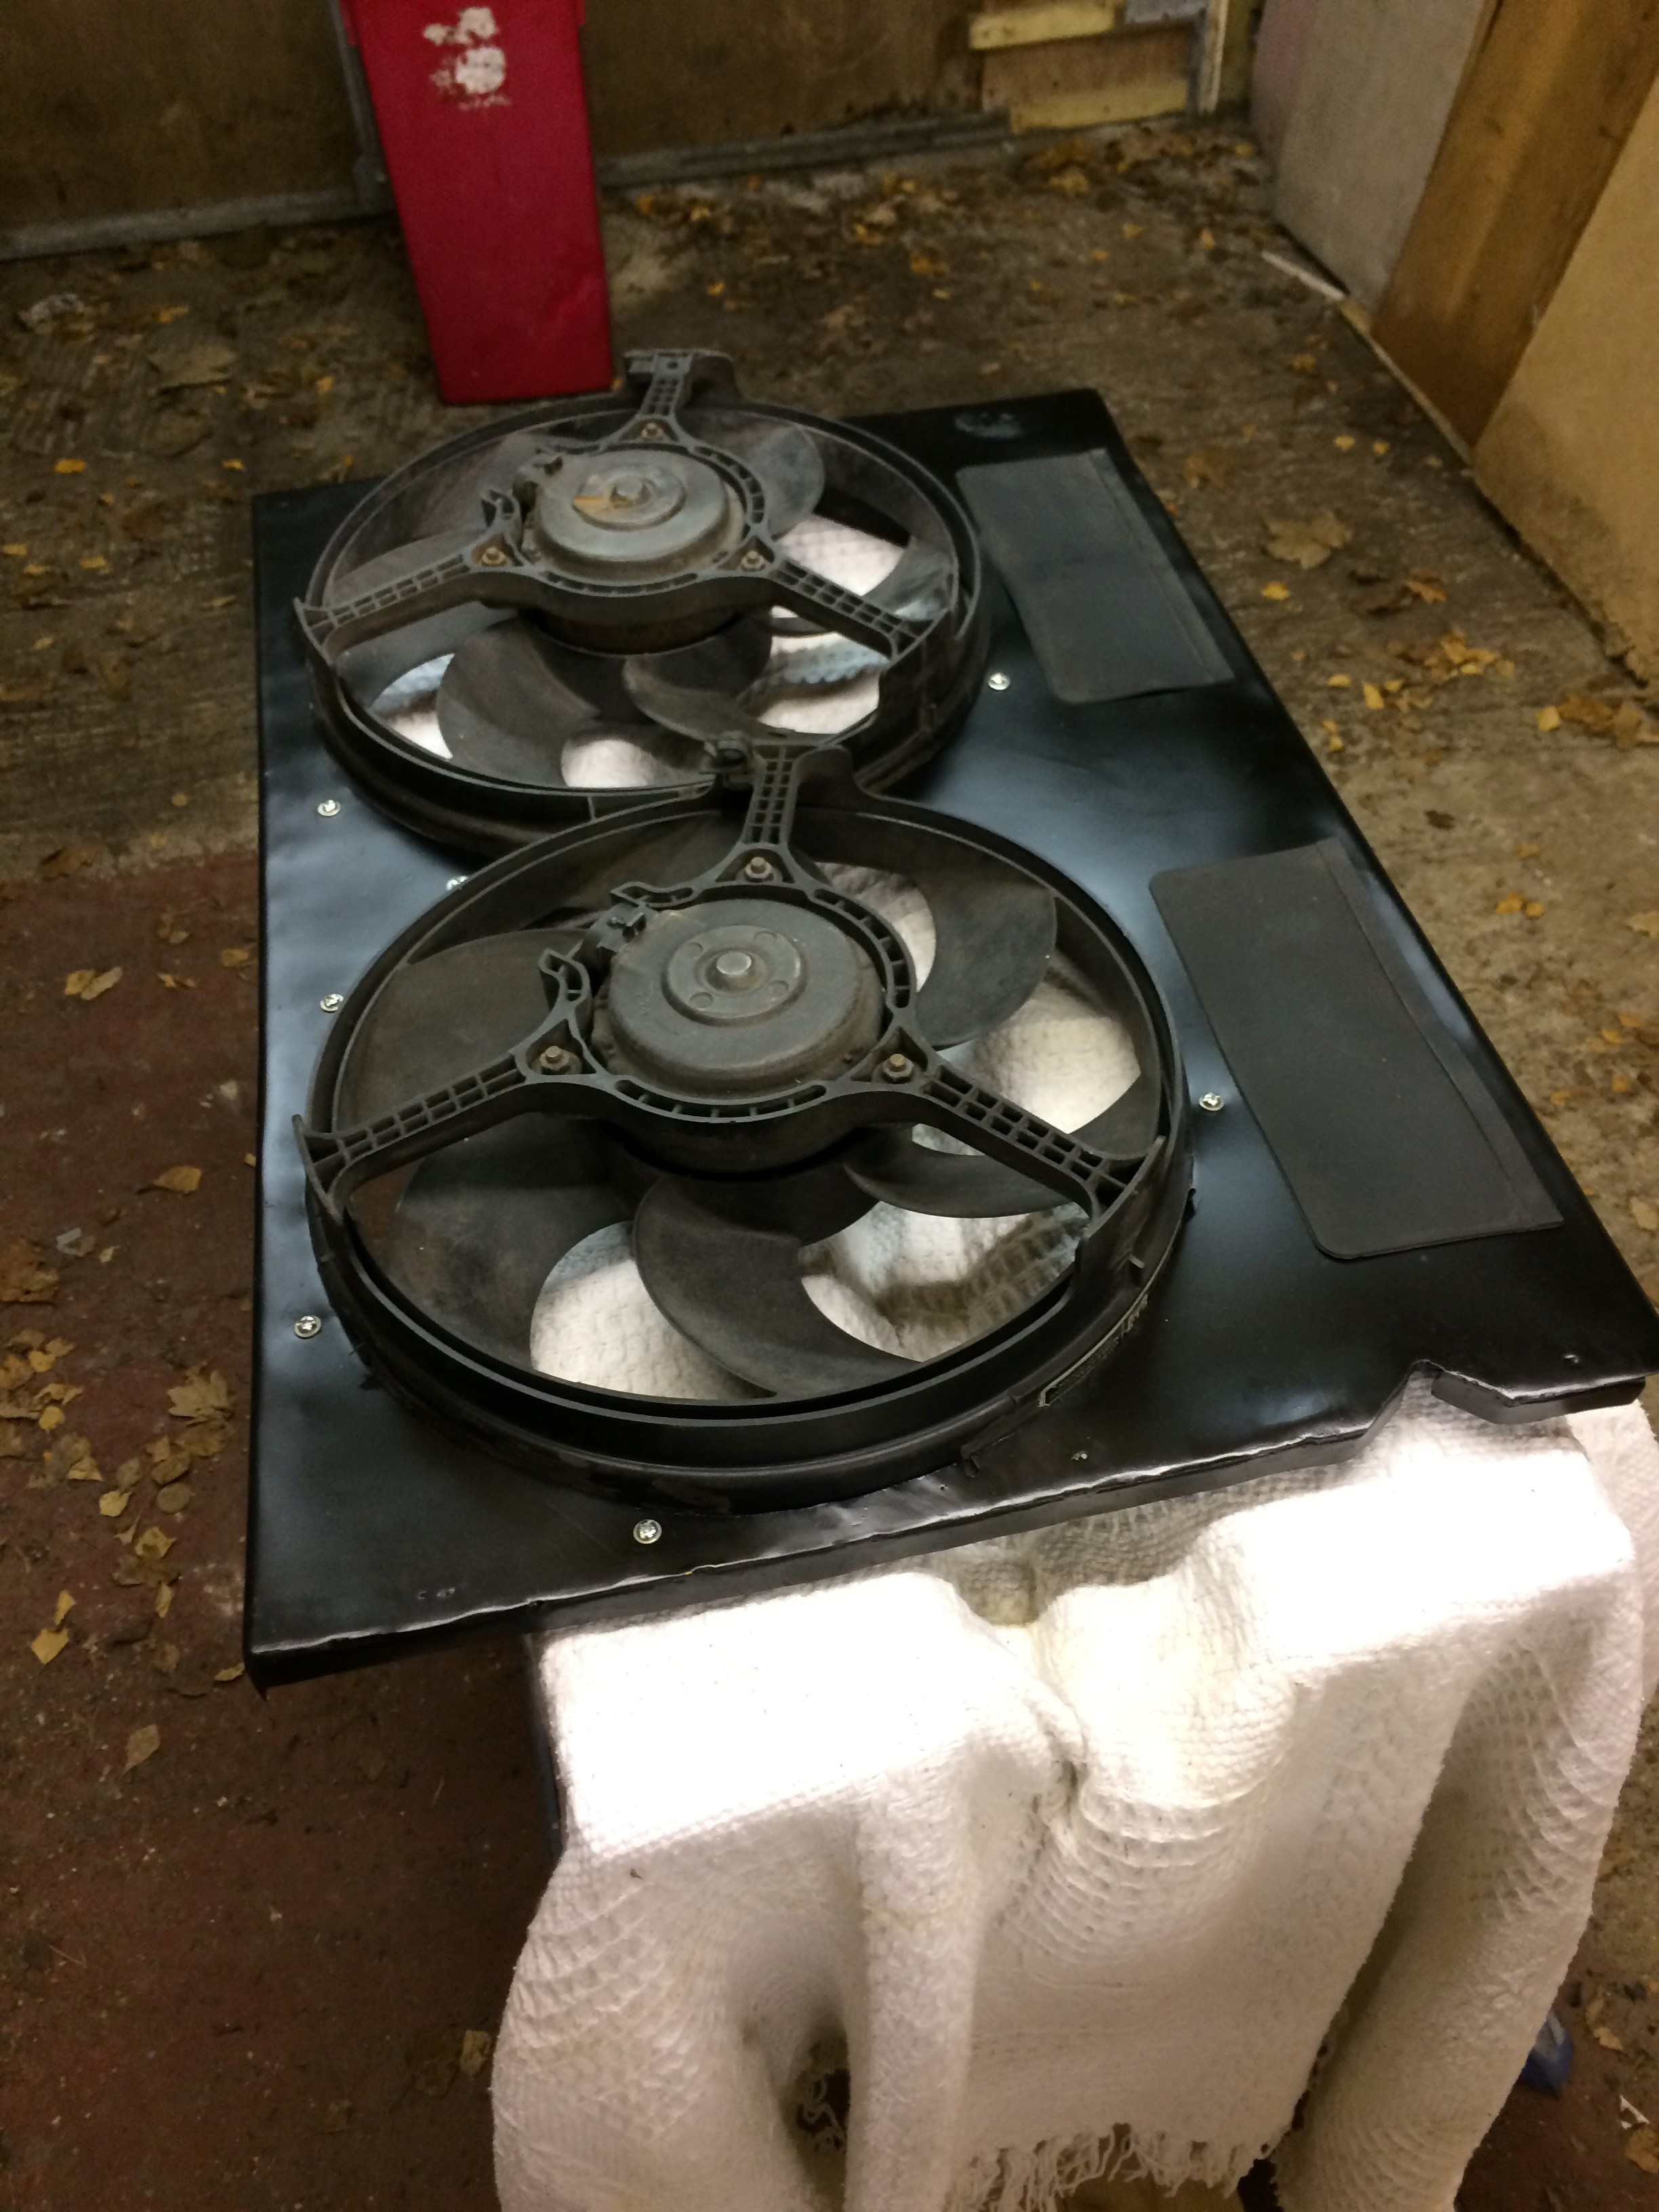
As you can see, the fans are now going to be mounted horizontally and I also cut out holes for the two rubber flaps using those from the original plastic XJR6 assembly. I did try to fit in part of the plastic molding around the two flaps as there was the word Jaguar molded into the frame and it would have added to the aesthetics even if it is under the bonnet. Unfortunately it would have been too big and I would only have had one flap in the centre too.
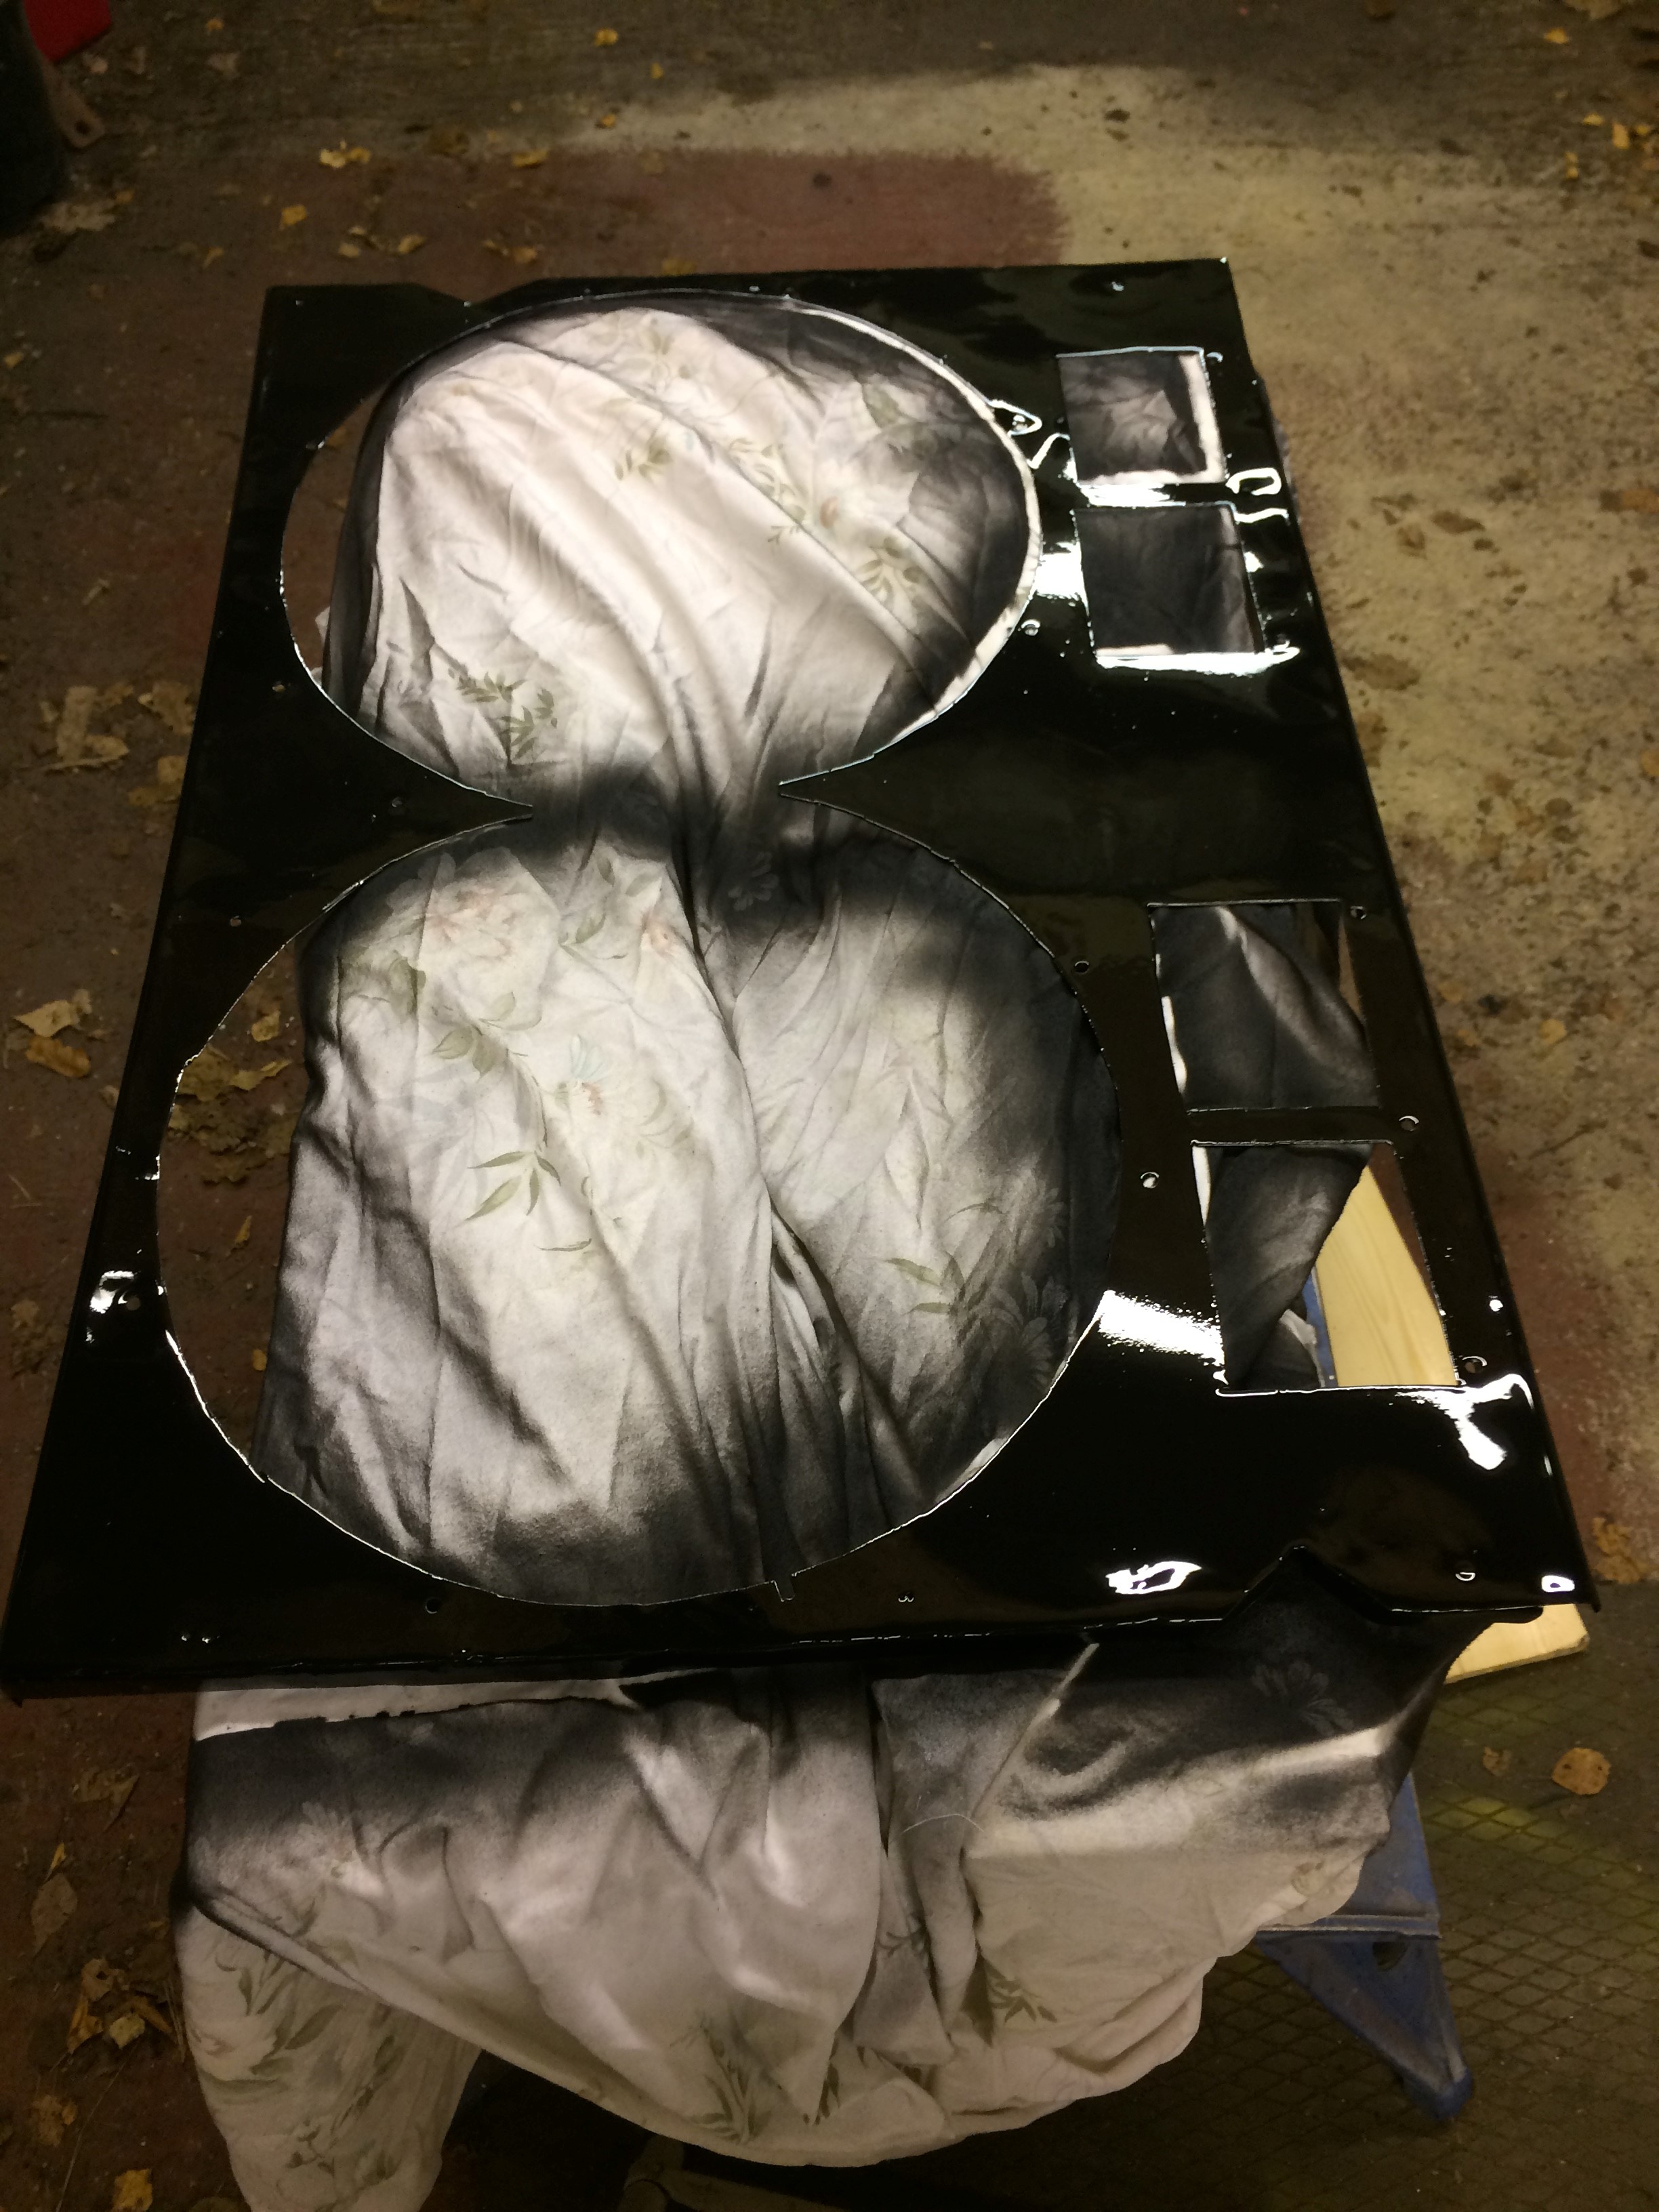
In the right hand picture you can see the finished, fully assembled shroud with the two fans and the two rubber flaps in place. The paint has a satin finish as I don’t like the mechanical parts all being gloss black.
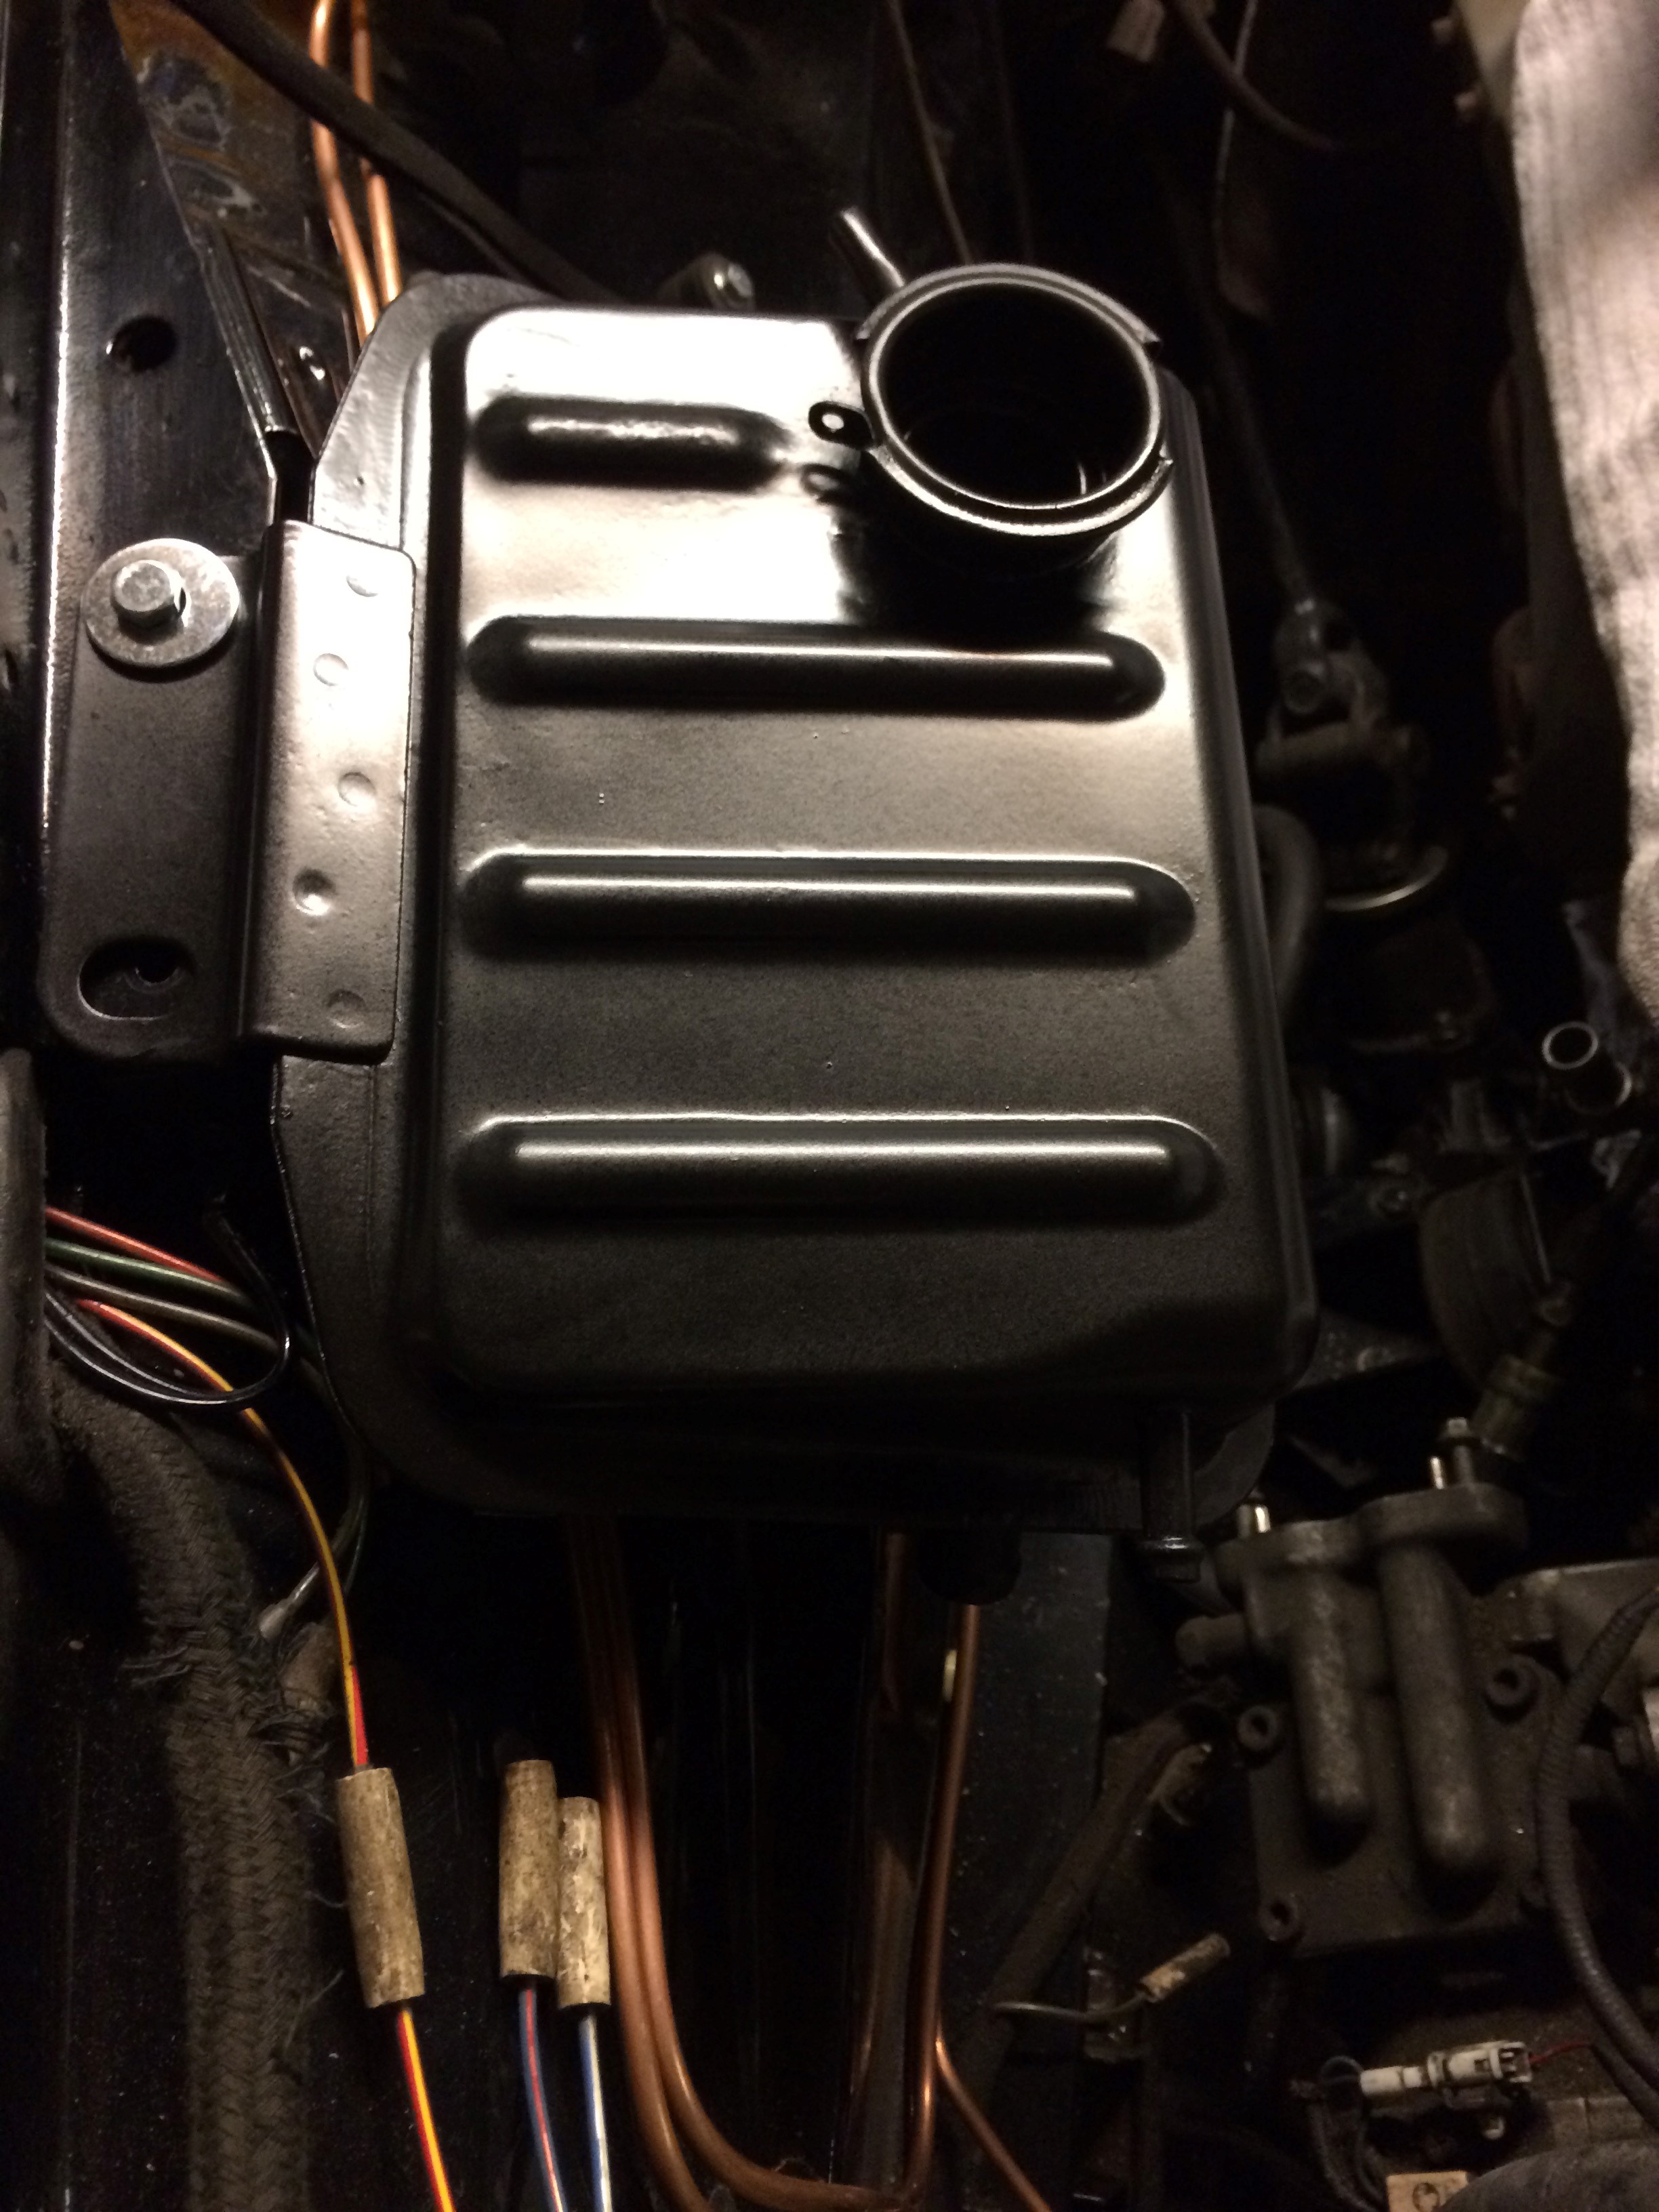
Whilst I waited for the paint to dry between coats (primer then a couple of coats of black) I turned my attention to the header tank and the power steering fluid tank. I did look at a few options for the header tank. Finding a solution to the actual location took a little head scratching too. I decided that it would have to go on the left hand side of the engine bay (looking from the front). There is no space where the original went because that space is now taken up by the supercharger and associated piping. There is also the requirement to find a space for the power steering reservoir. On the series 2 XJ6, the reservoir is part of the power steering pump and mounted on the engine. On the XJR6, it is a stand alone reservoir which is mounted on the wing.
Reading the Jaguar forums, there was a recommendation to use an early XJS header tank. It is not too large and has mounting holes at an angle to be mounted on the wing. I did a little searching and found a second hand one on the well known auction site. There were three to choose from. One looked a little rusty, the other two looked better but all three would require cleaning and repainting.
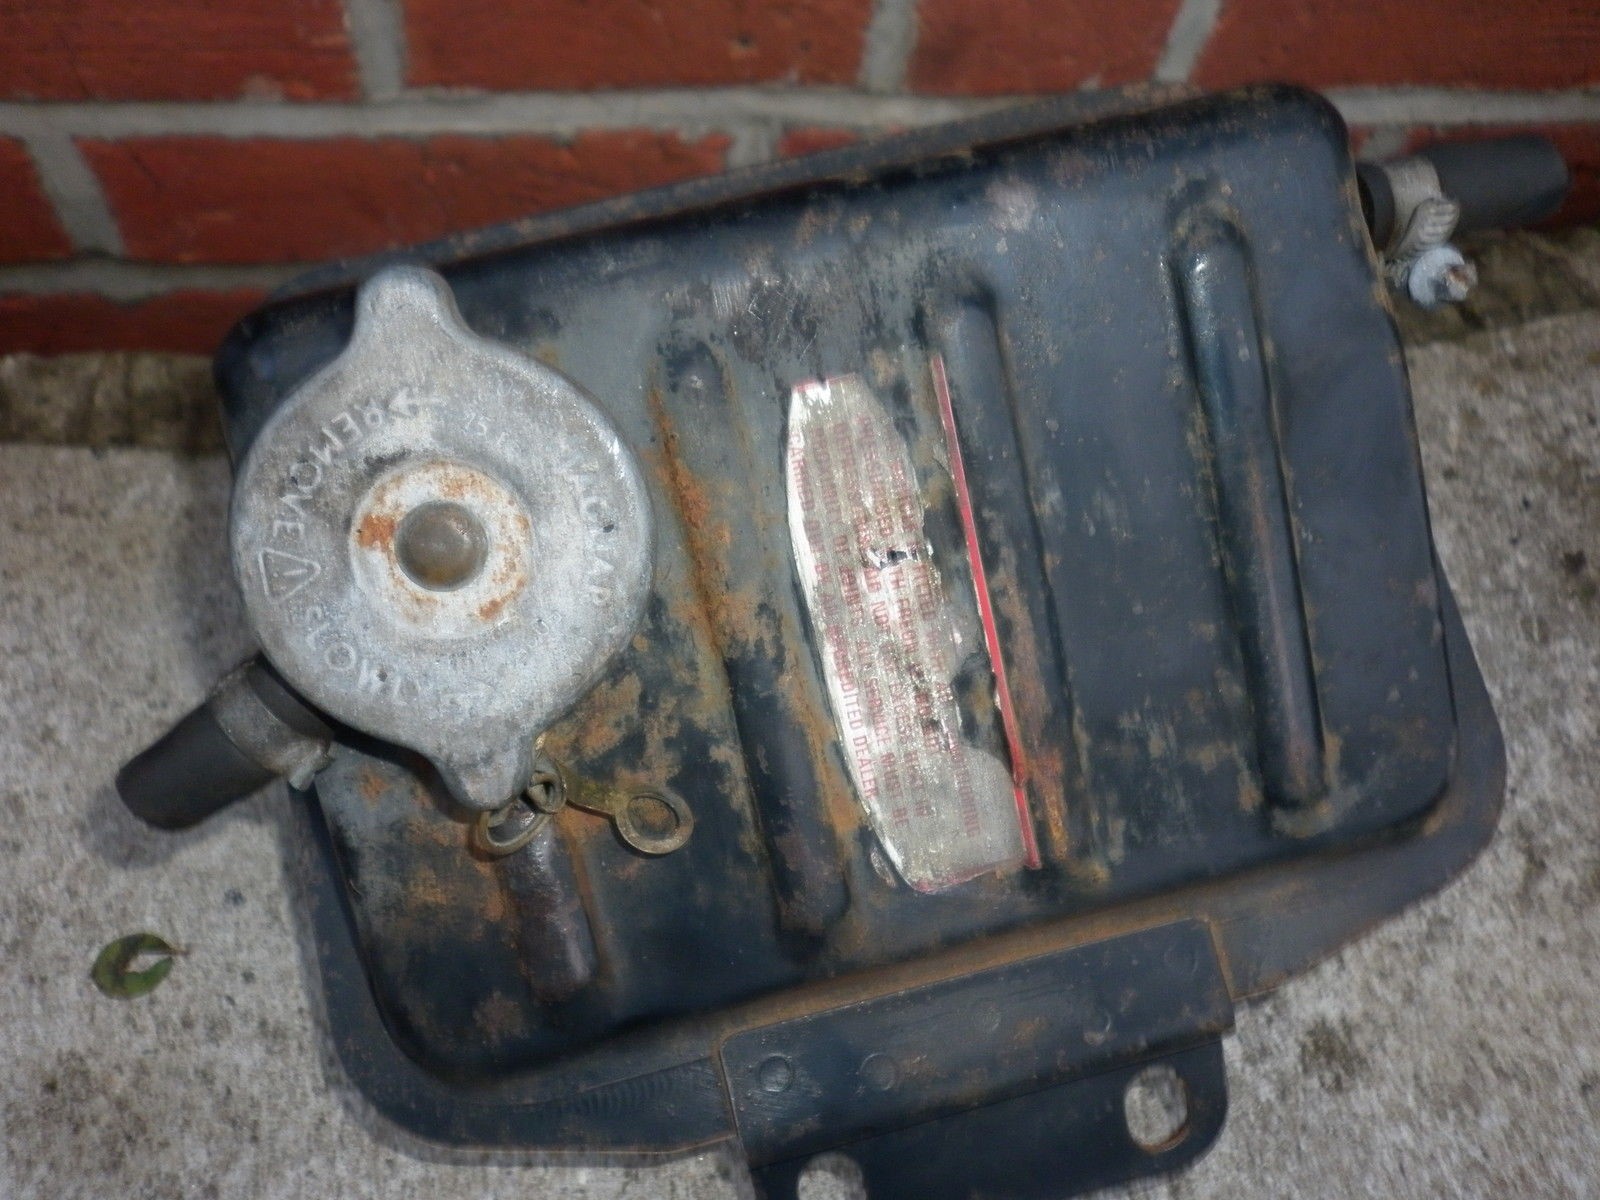
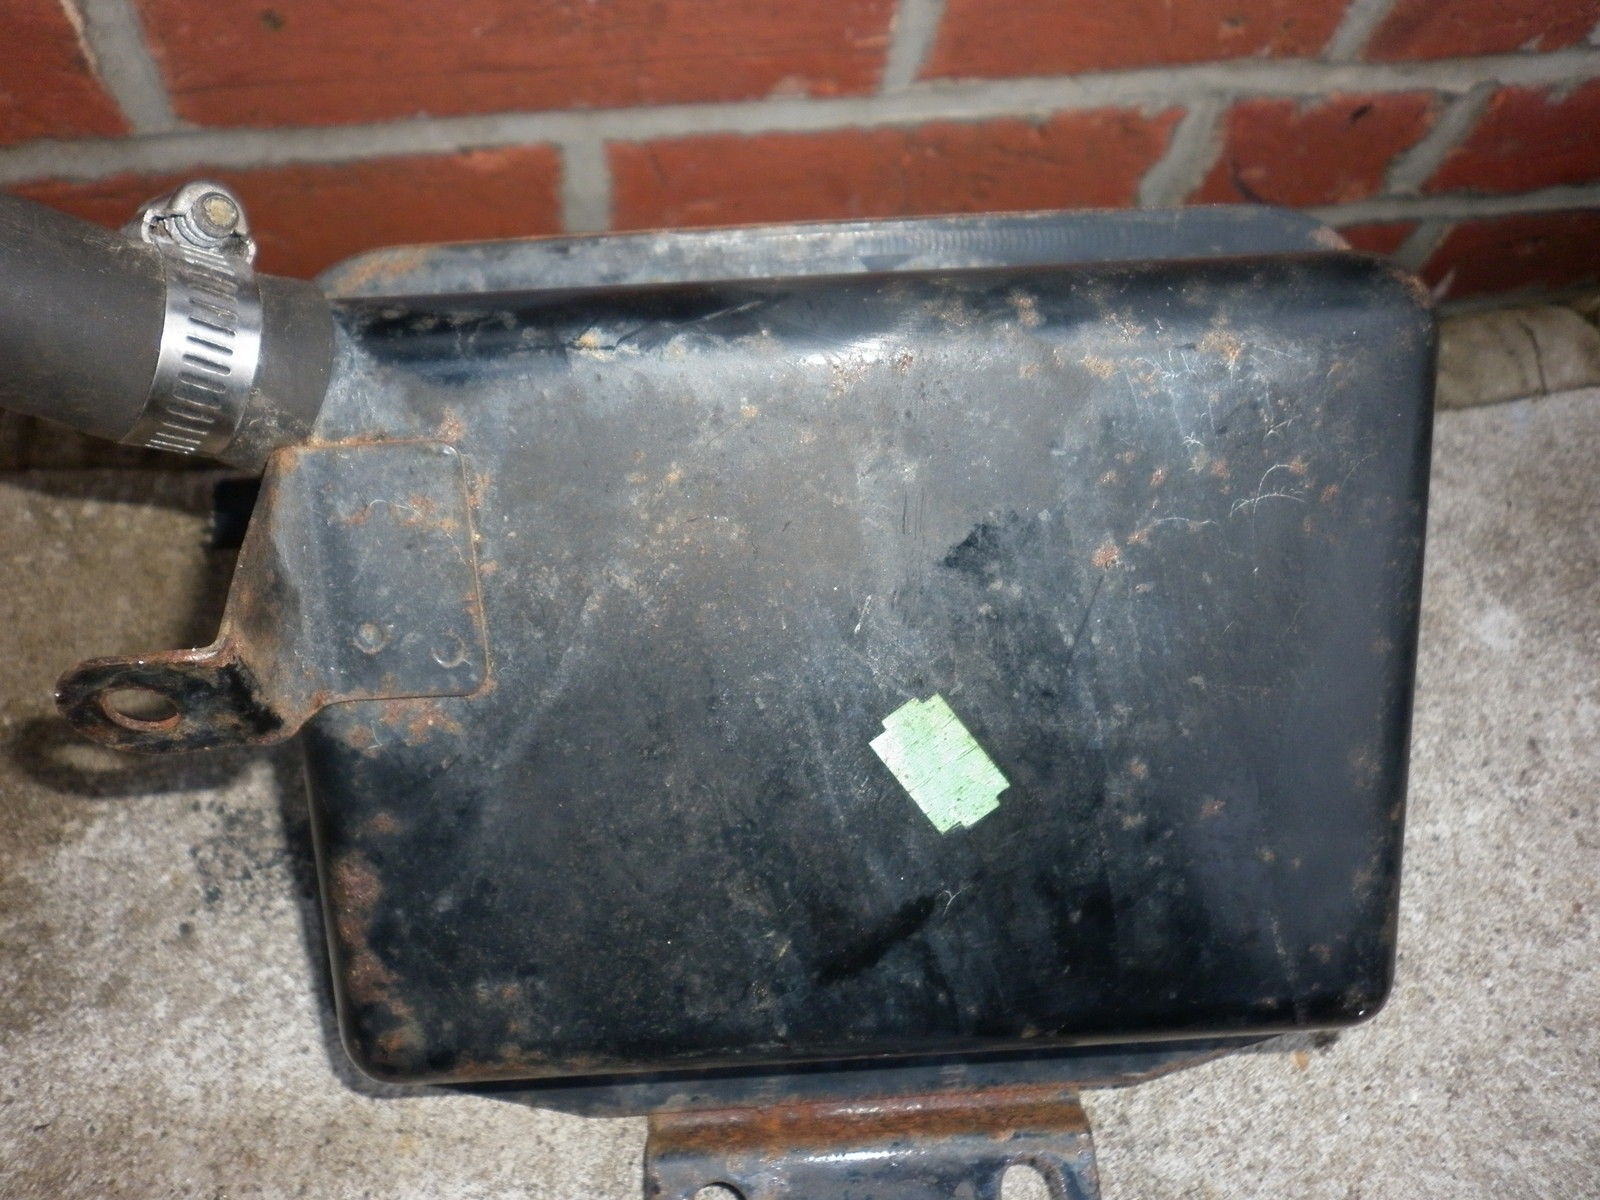
I chose the cheapest one which was about half the cost of the others but it sure did look the worst. As long as it was just surface rust and not all the way through then it would be fine. After a good going over with a wire brush wheel in my trusty angle grinder it was ready for paint. A couple of coats of primer and then the satin black and it looks fine.
If I come across a safety sticker I might just put that on too. I decide to fit it on the mount next to the support braces that go diagonally across the engine bay. The other mounting is further down the wing and will be via one of the rubber mounts used for the air filter box on the XJS.
The picture below shows the final painted header tank with just one bolt pushed into the hole to hold it in place for the photo.

I had mocked up the location of the header tank and the reservoir so I deliberately left a small amount of space between the header tank and the brake master cylinder. I then spent a little while working out the piping for the power steering. It turns out, the old Series 2 high pressure pipes have the same fittings as the XJR6 power steering pump. There was an issue with the fixed metal parts of the pipes as I think they originally went over the right hand side of the steering rack tower and this would now be too close to the exhaust.
I think the exhaust pipe may hit the steering rack any way, so something else to tackle when I get to it. I happened to have a spare steering rack from an earlier XJ6 that had a different pipe layout. These were much closer fit to the rack and “U” shaped. That meant that I could run the pipes the other side of the steering rack tower and onto the pump/reservoir whilst avoiding close proximity to the exhaust pipes.
Another issue I worked on is that the cooling fans were controlled by a dual temperature switch mounted in the radiator. It turned on one or both fans based on temperature. The problem is, I am not using the XJR6 radiator so there is no where for the switch to go. I previously mentioned that although the original Series 2 radiator had a switch in it, the two radiators I now have do not. After a bit of searching, I came across the “Car Builder Solutions” web site and they have an aluminum housing for the M22 dual switch that goes inline with the large cooling pipe. The biggest they do is 38mm and so I will use reducers on both sides to fit. This is a slight reduction in diameter but hopefully will not cause an issue.
All of the above is ready to fit but as often happens, I ran out of time to assemble it.
If I don’t post before next week, I wish you a very Happy Christmas (or Holidays if your religion prefers) and a Happy New Year.
I only started this site a year ago and hoped to have the conversion completed way before now! Somehow, Life gets in the way sometimes and it has been a tough year for me personally. Hopefully 2017 will be a great one for me and for you too.
🙂