XJ6R – Front Suspension Rebuild
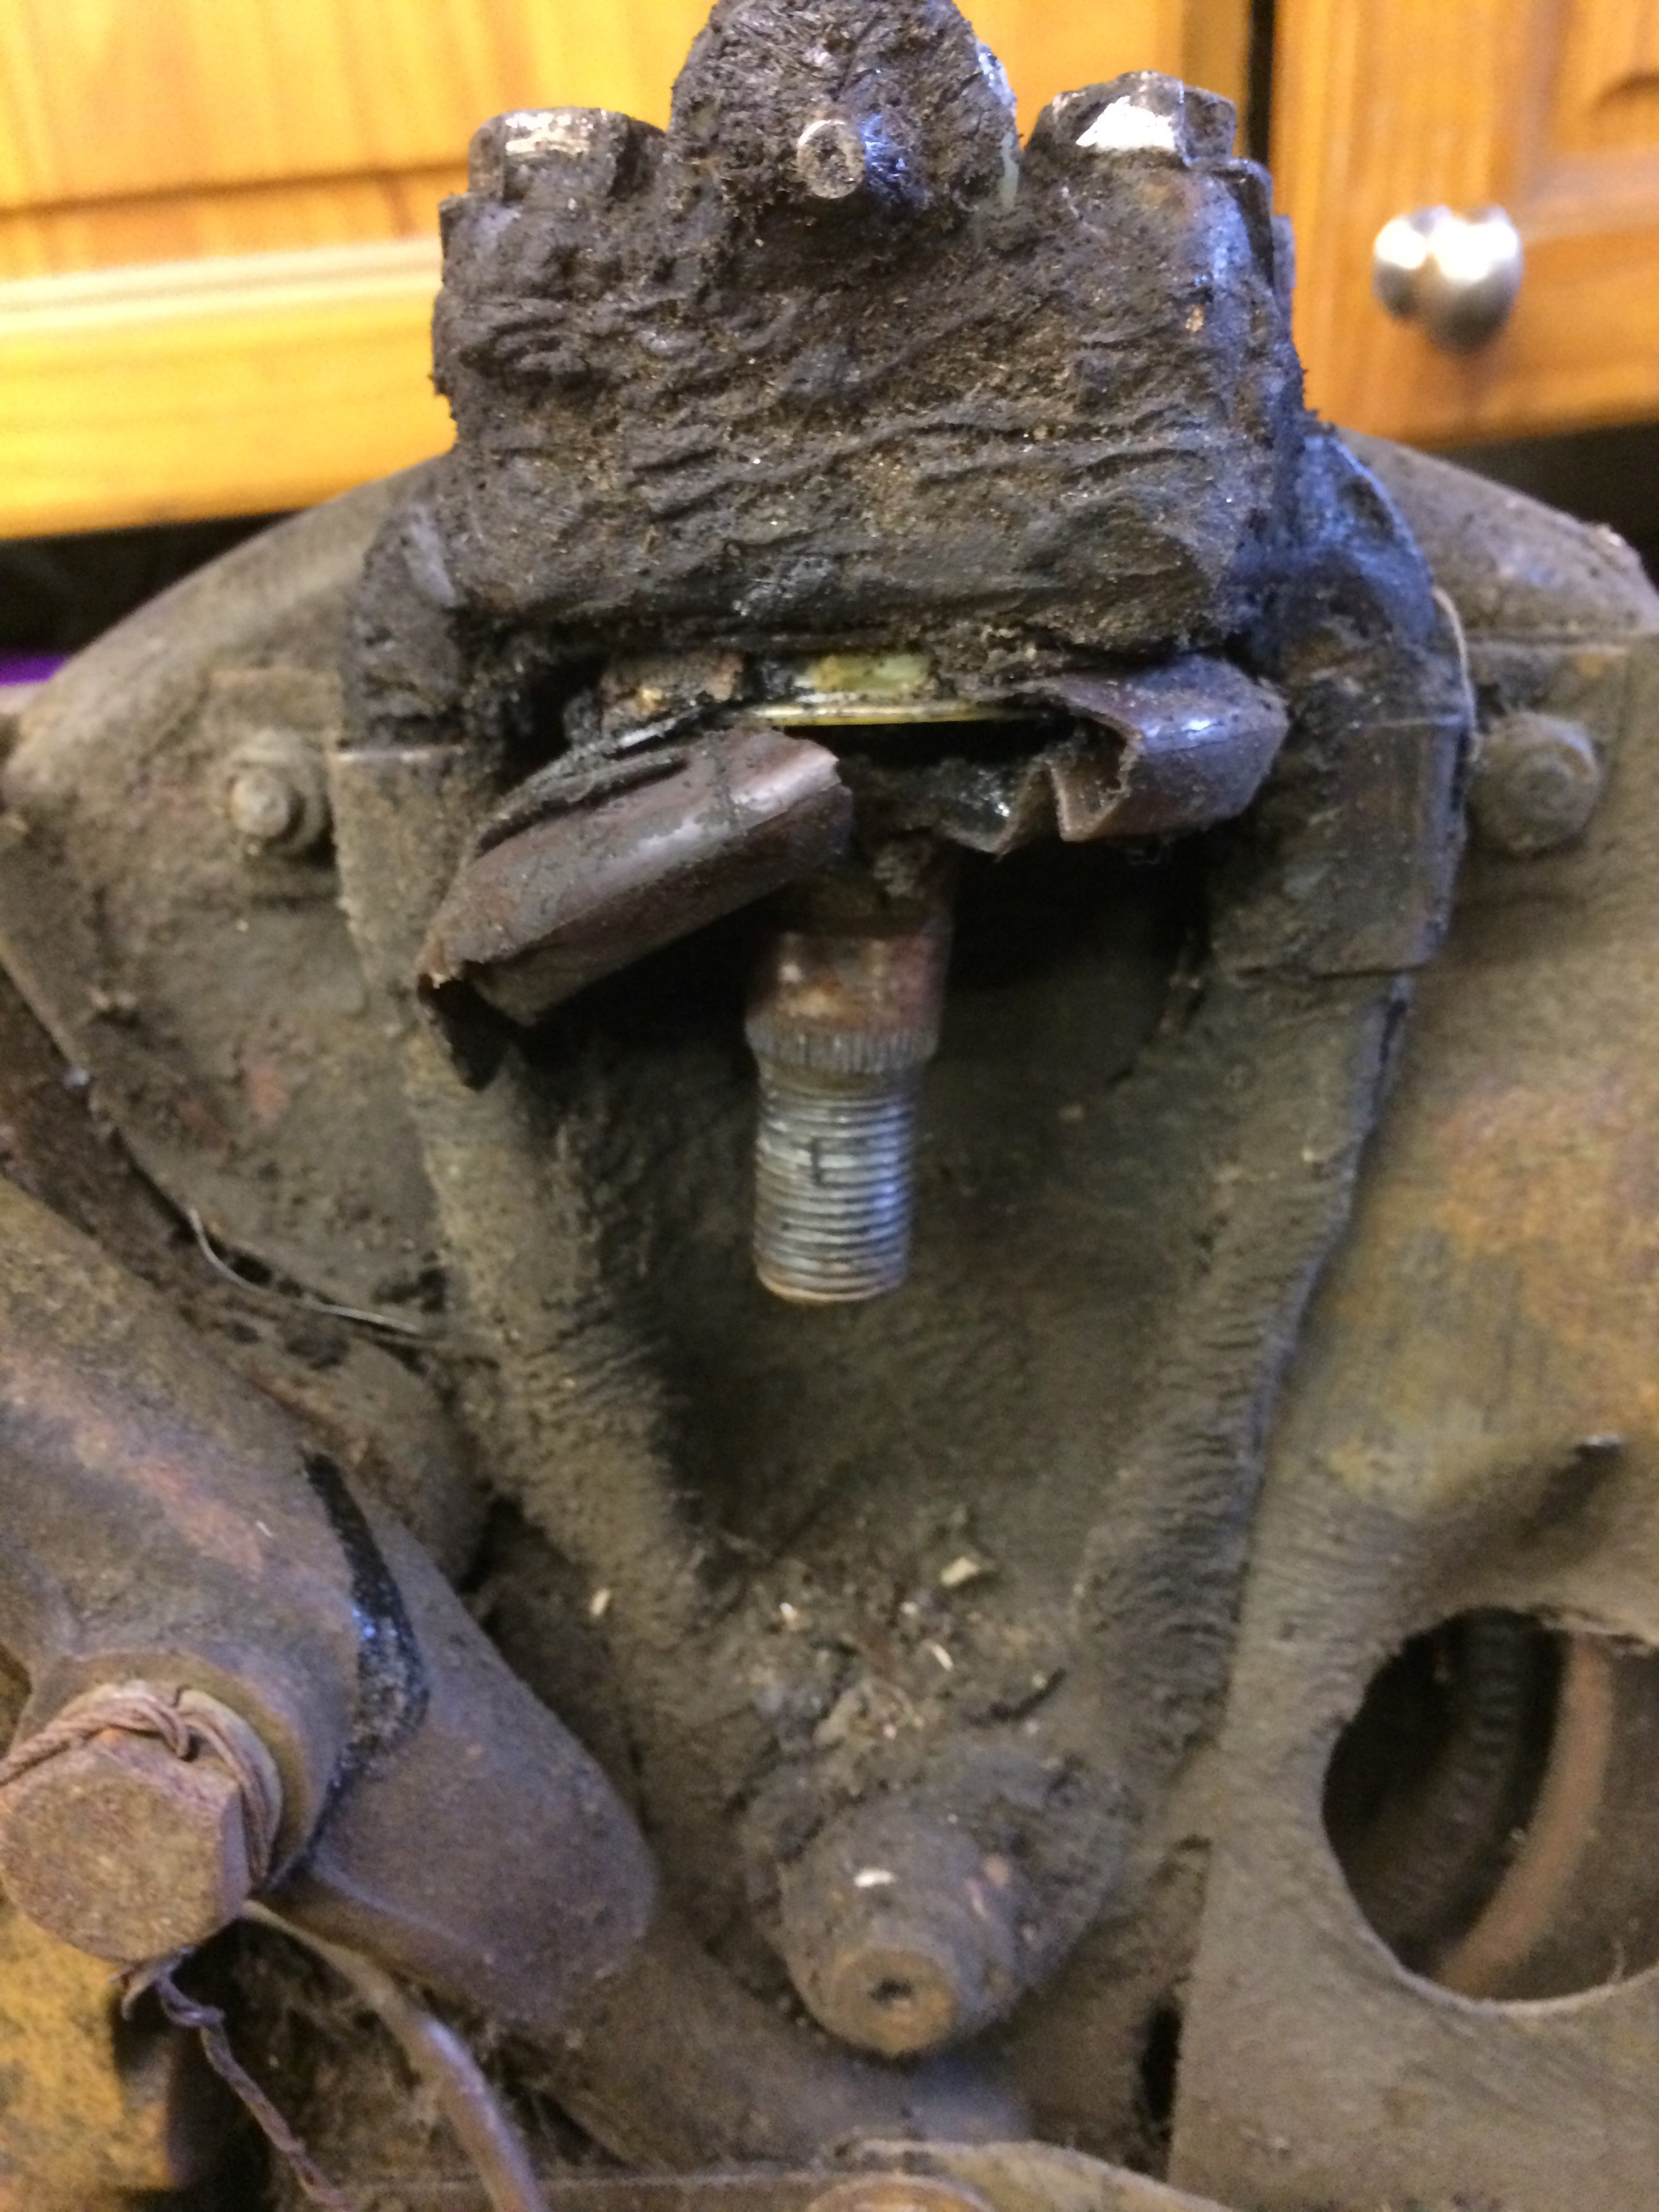
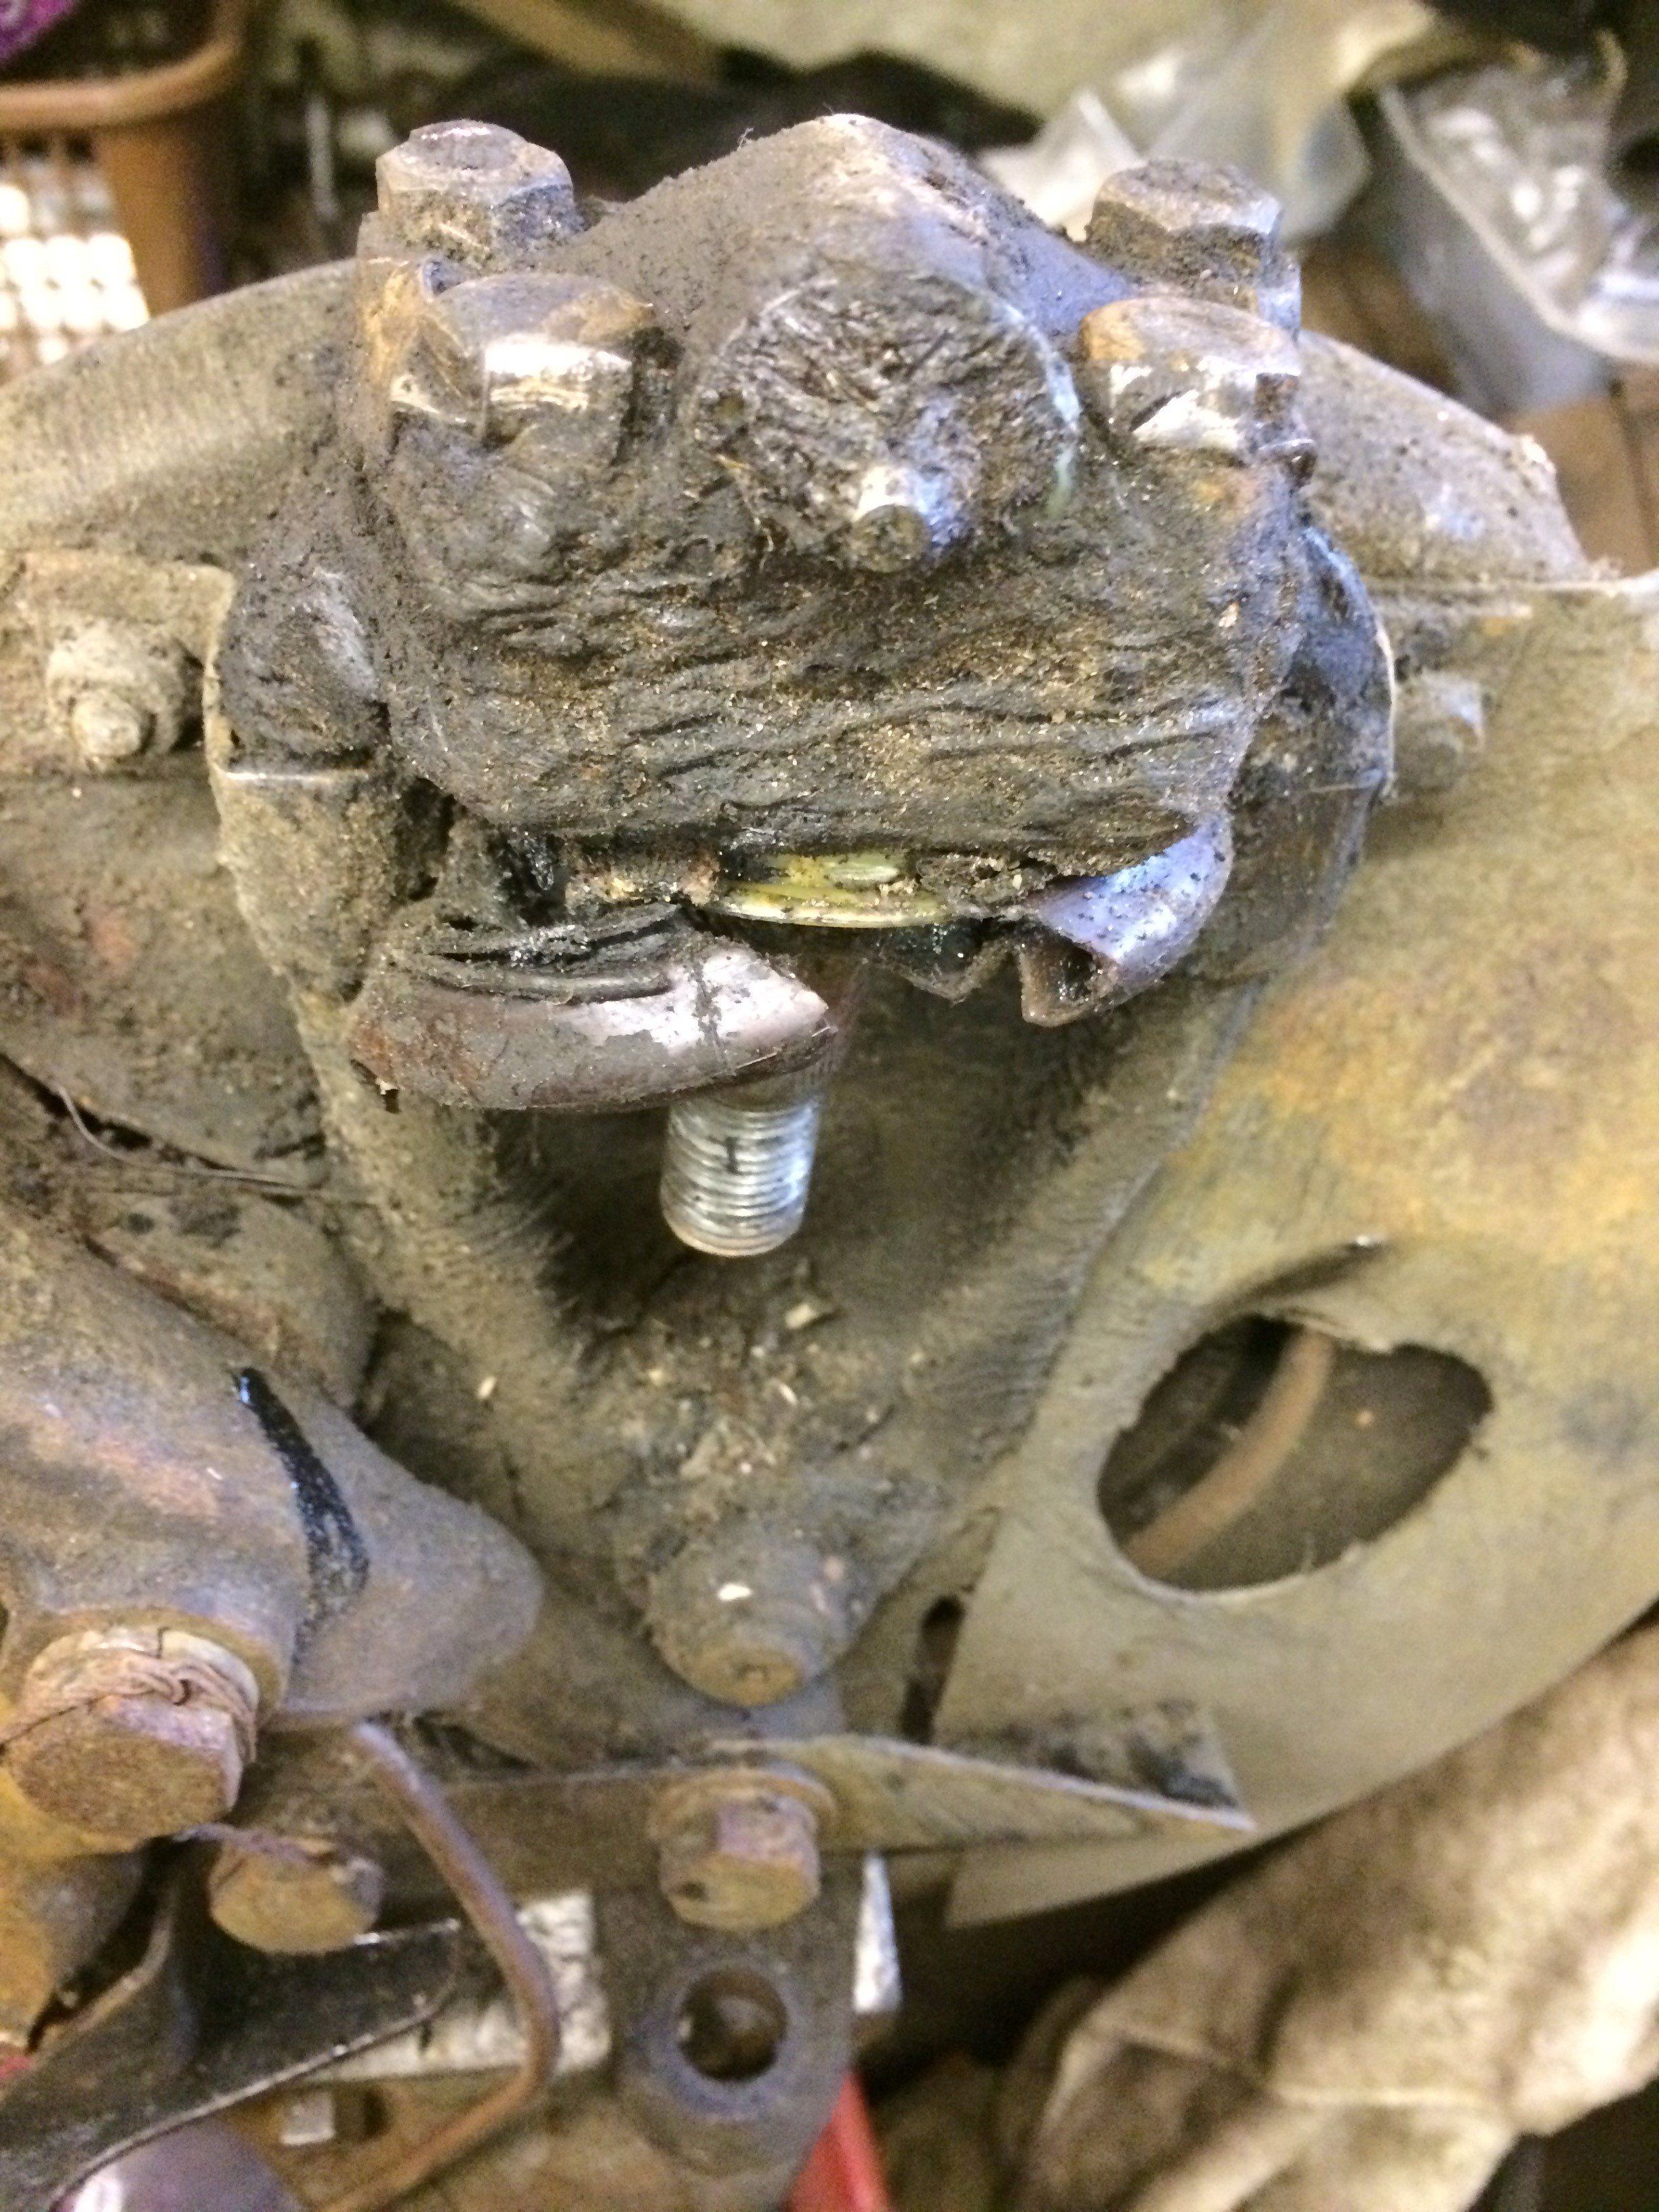
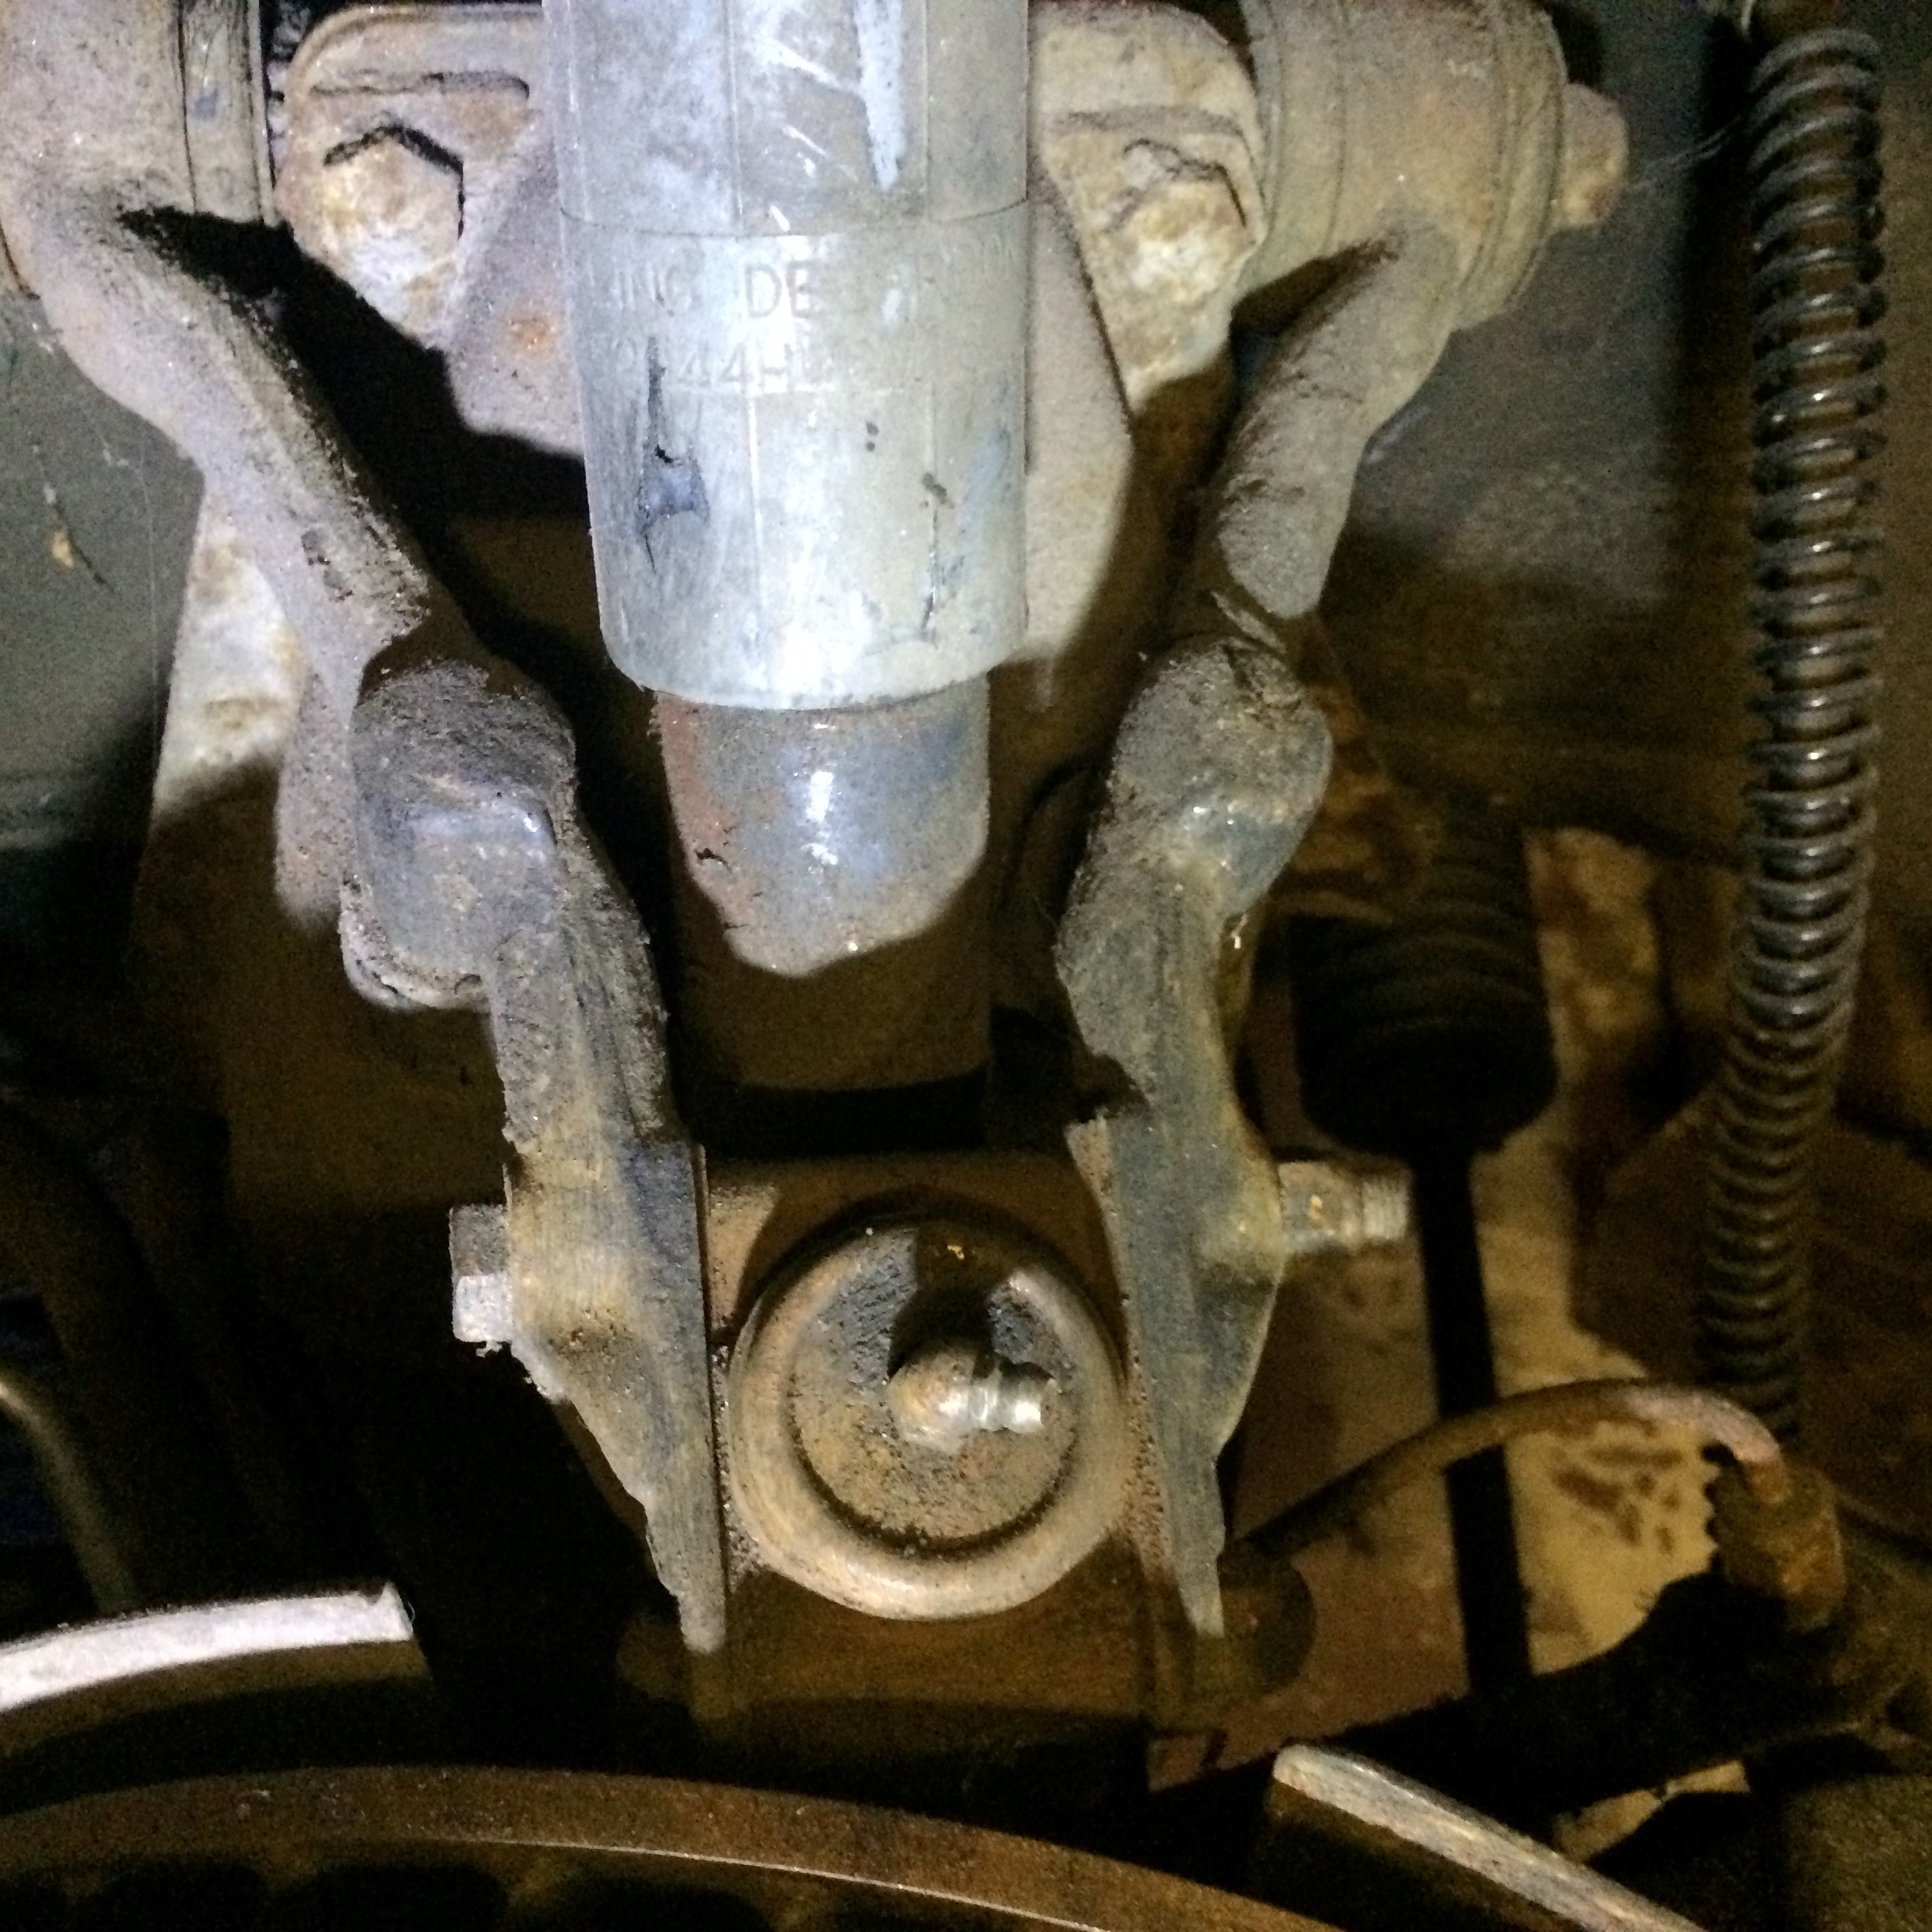
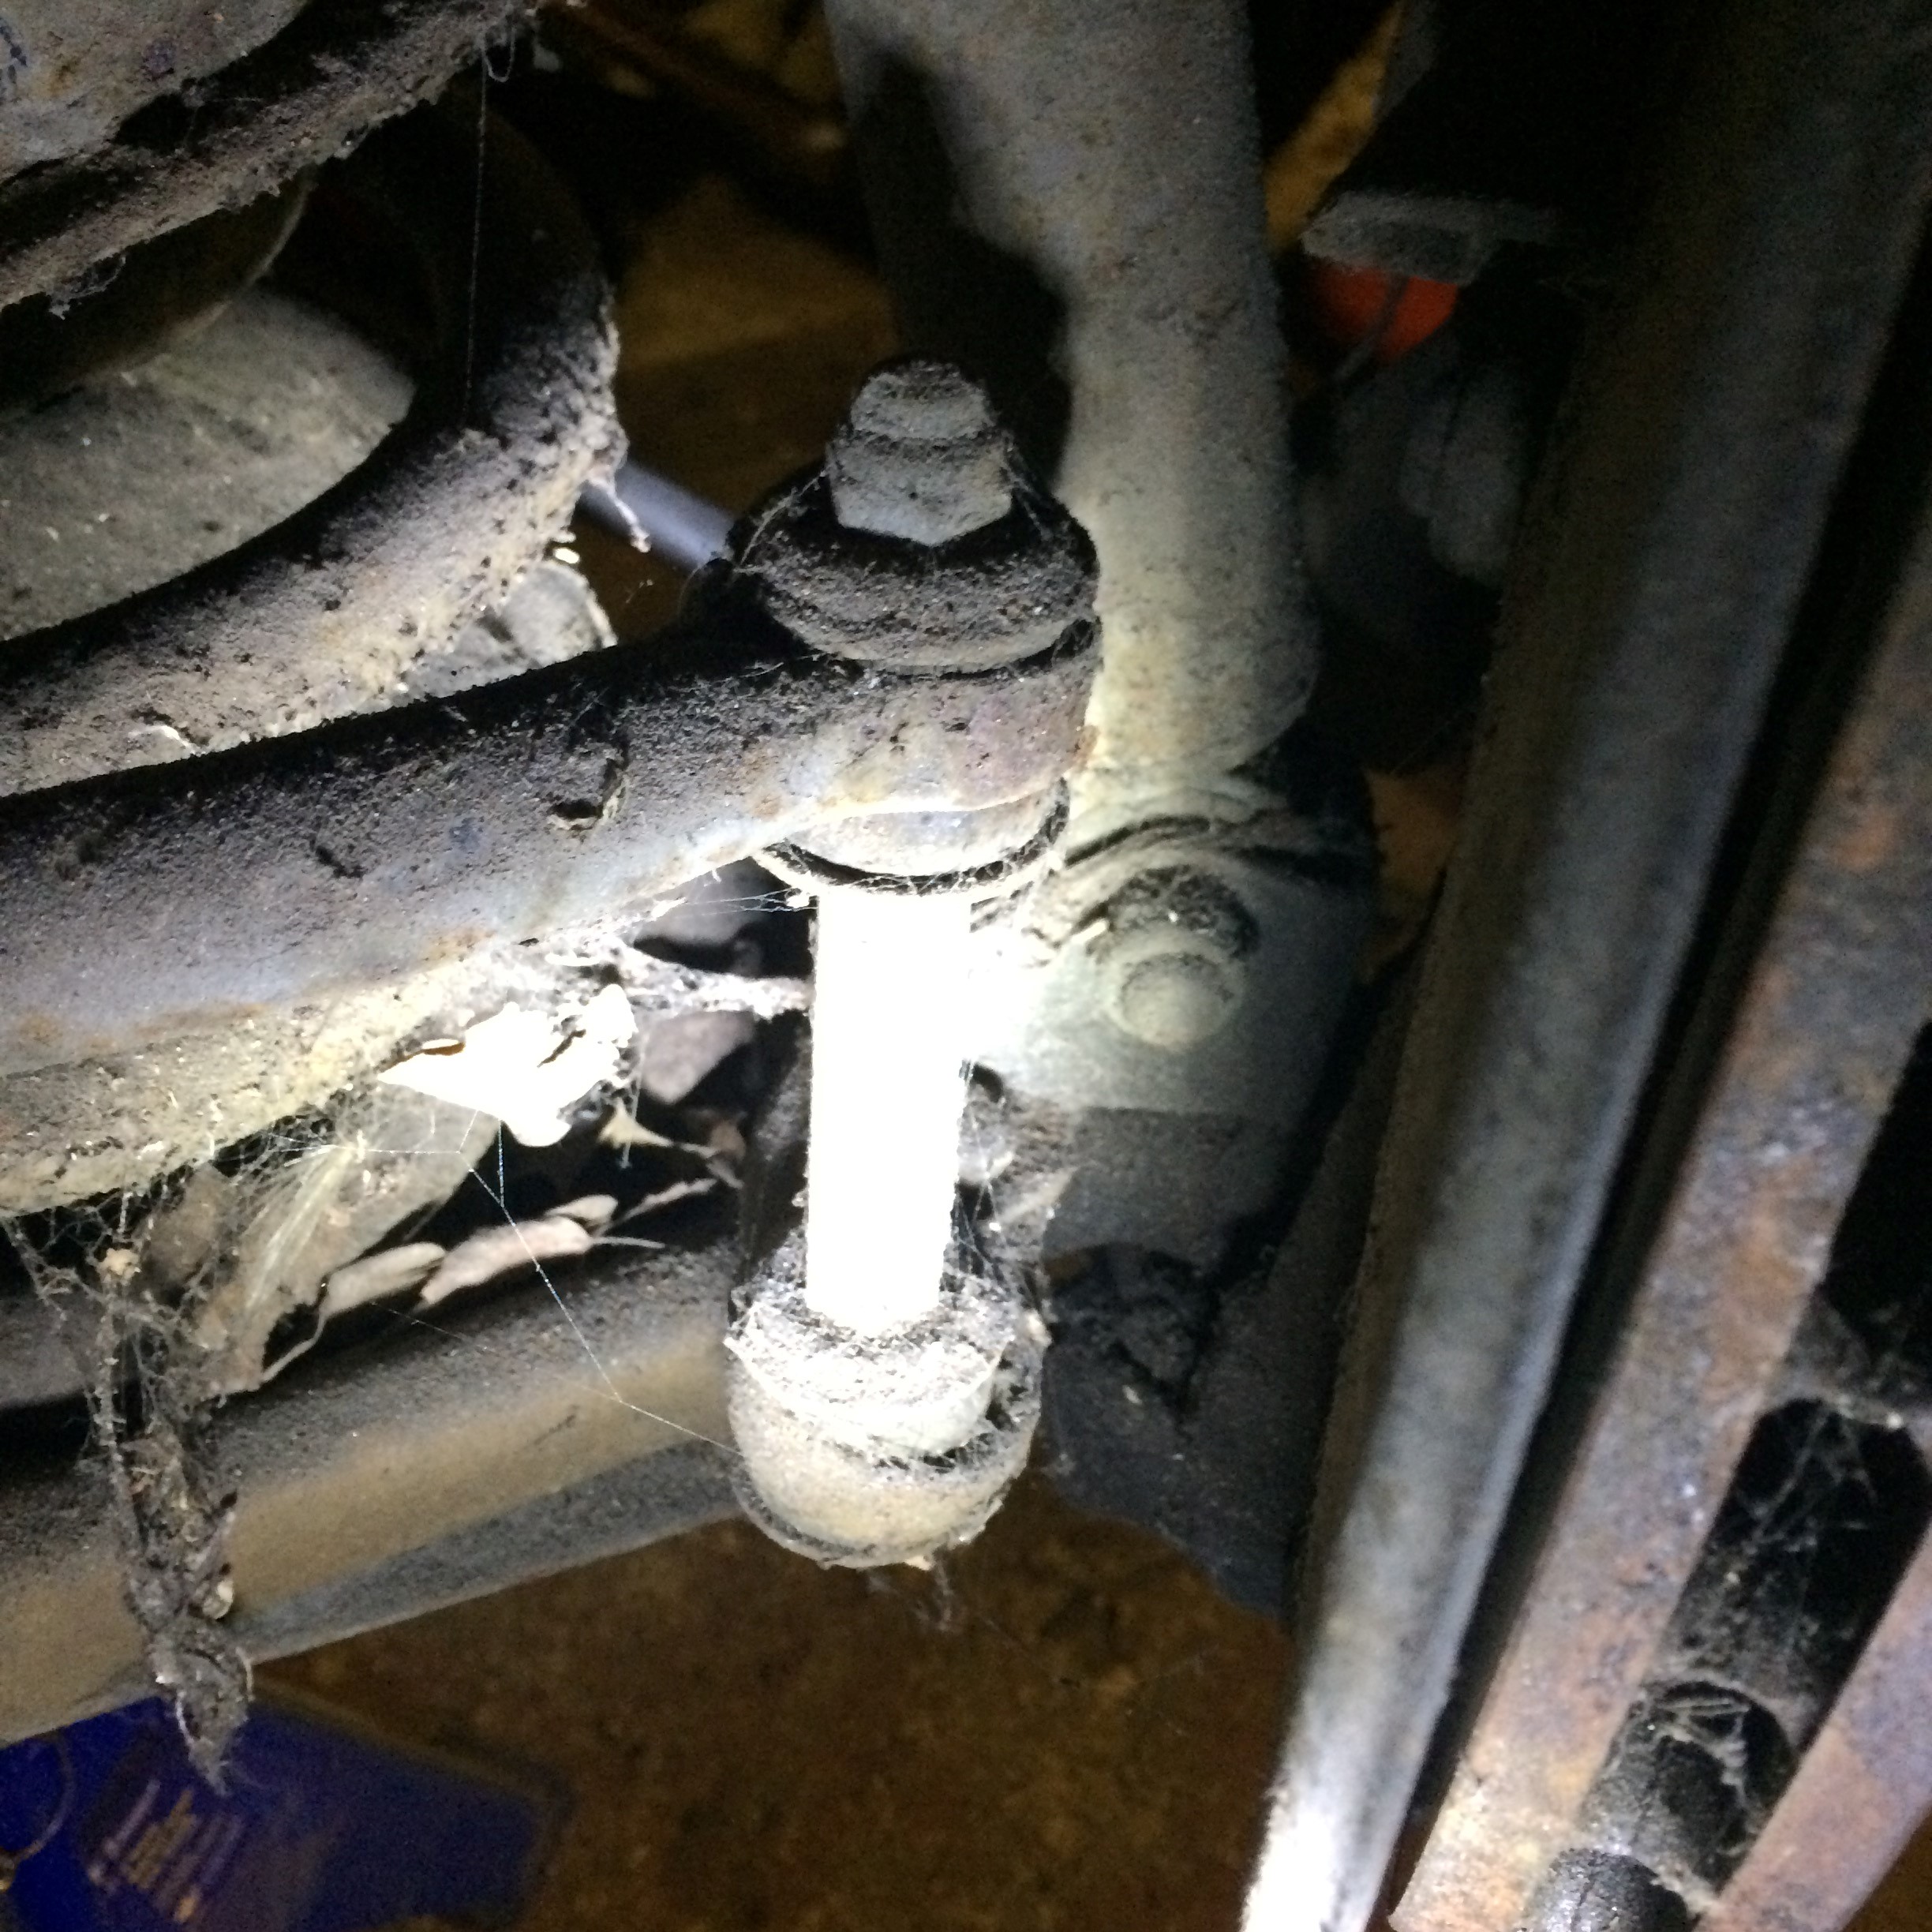
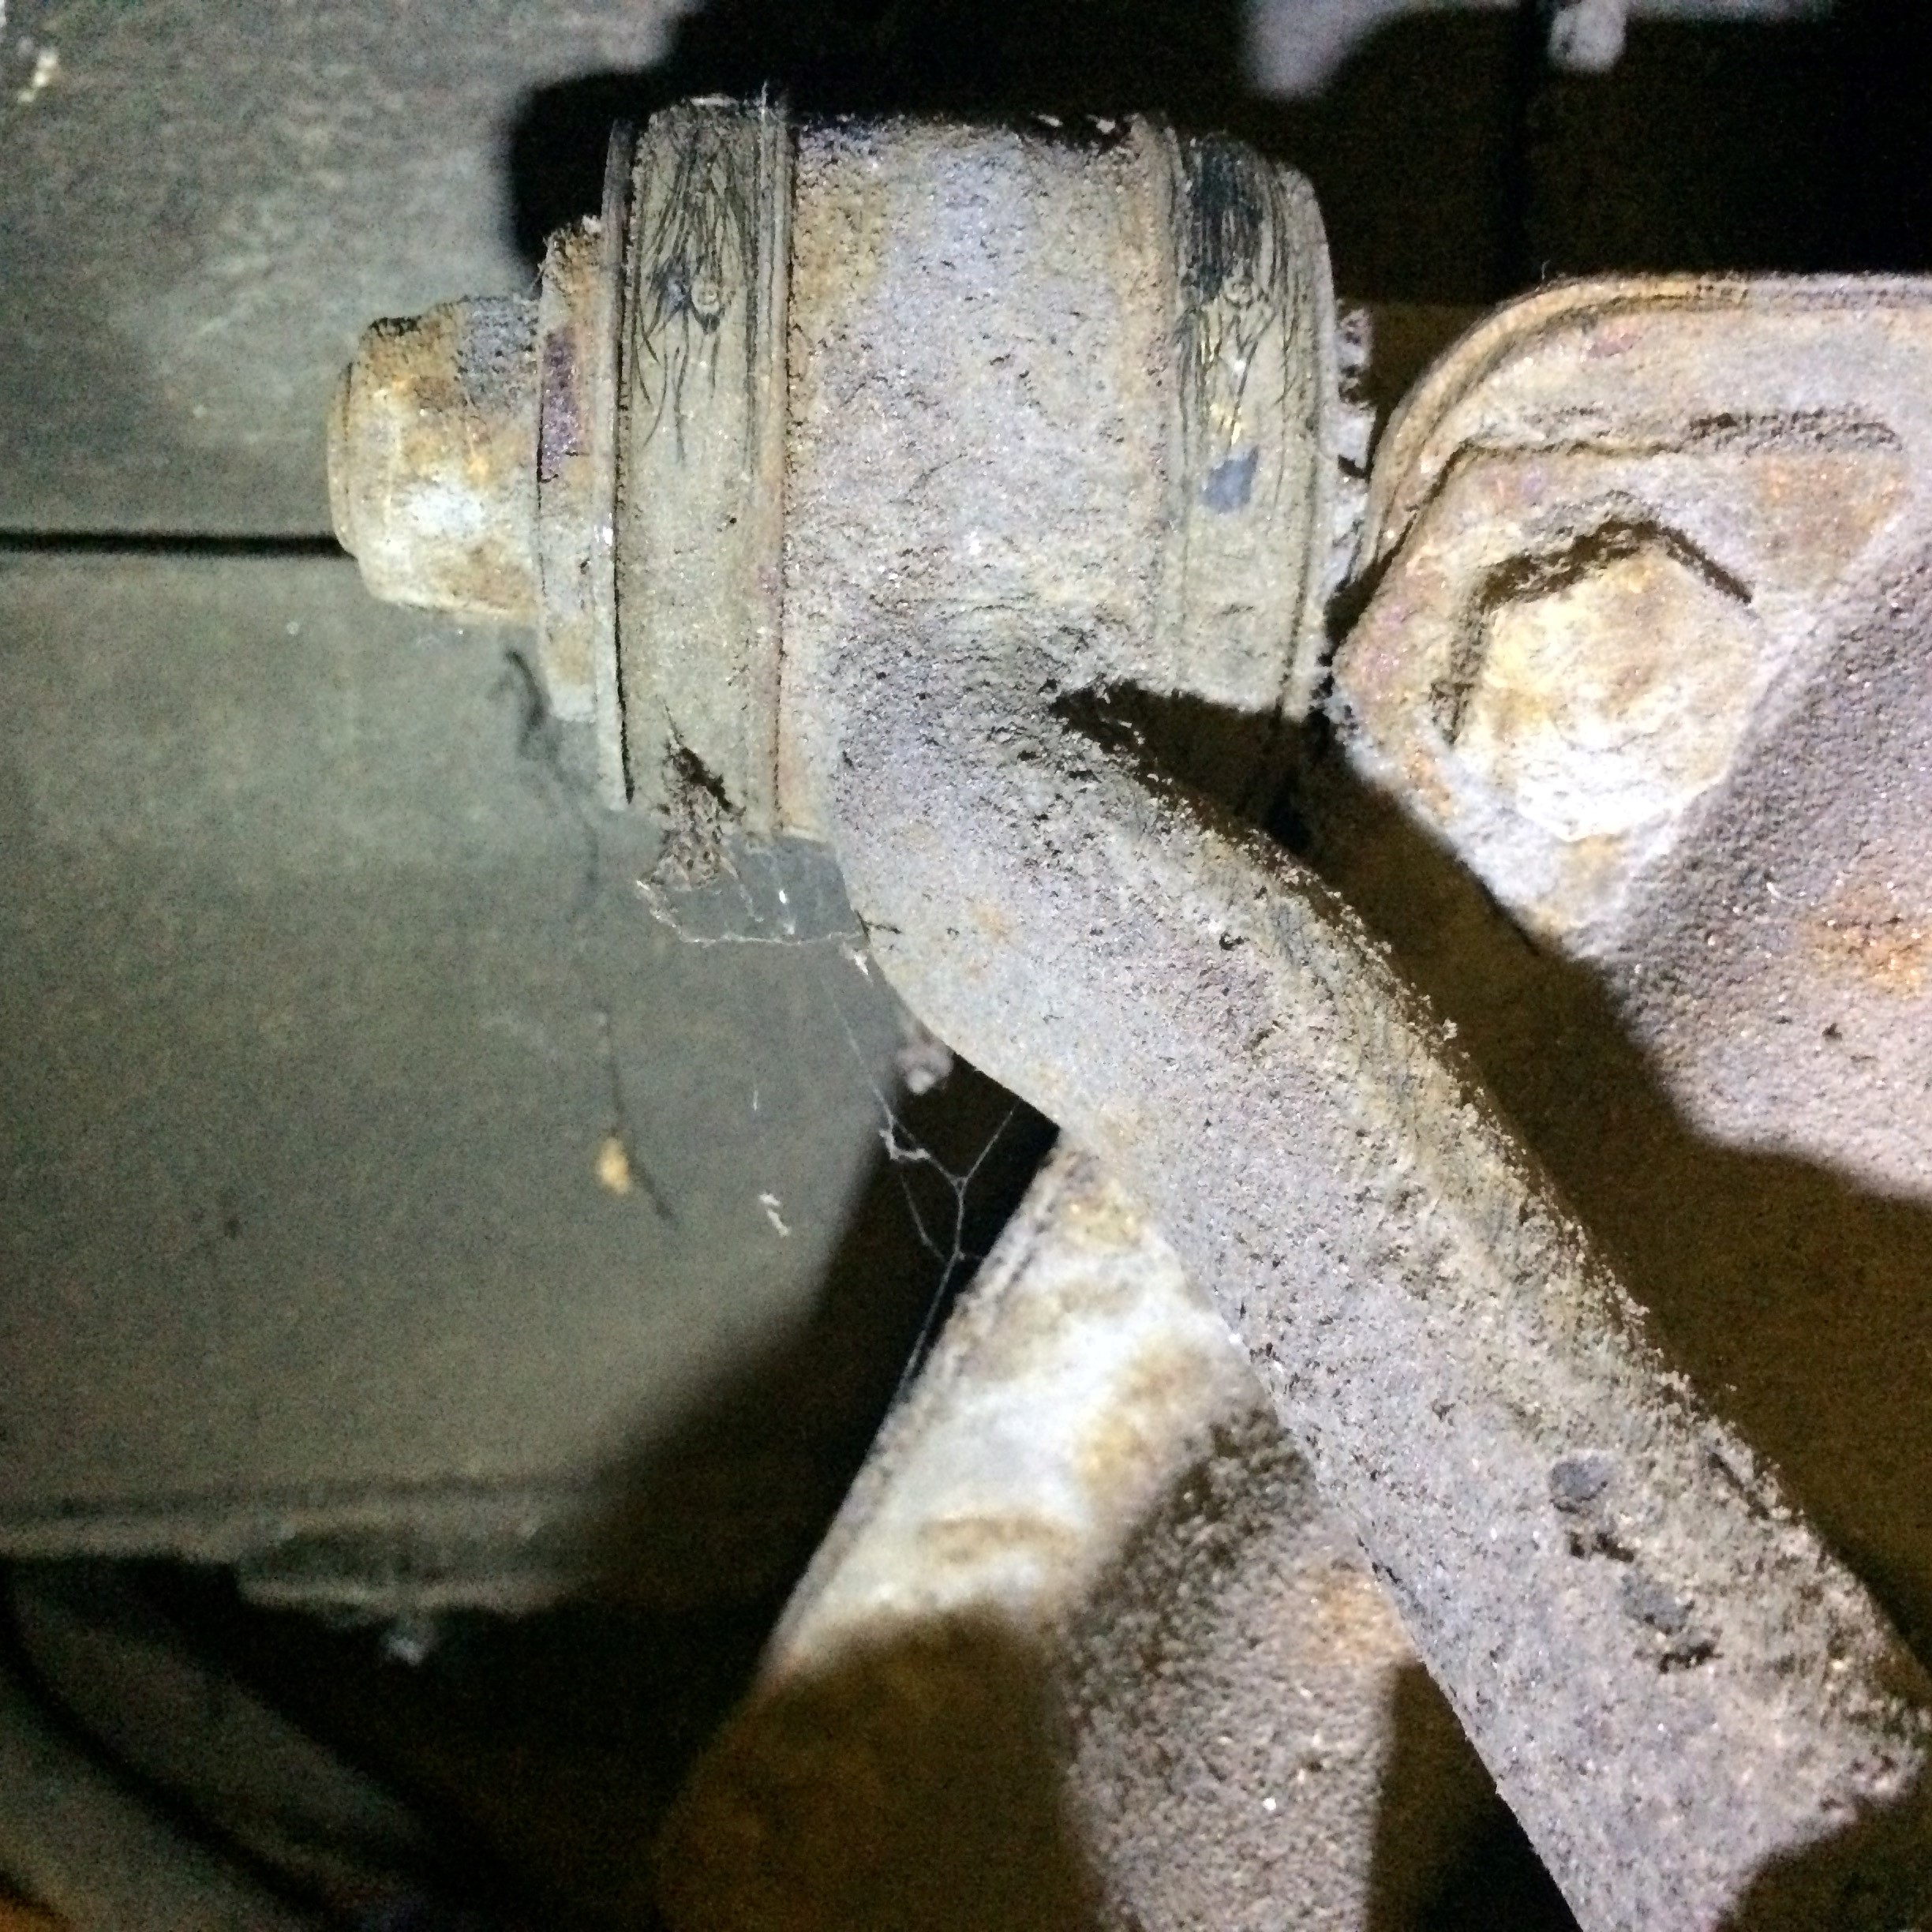
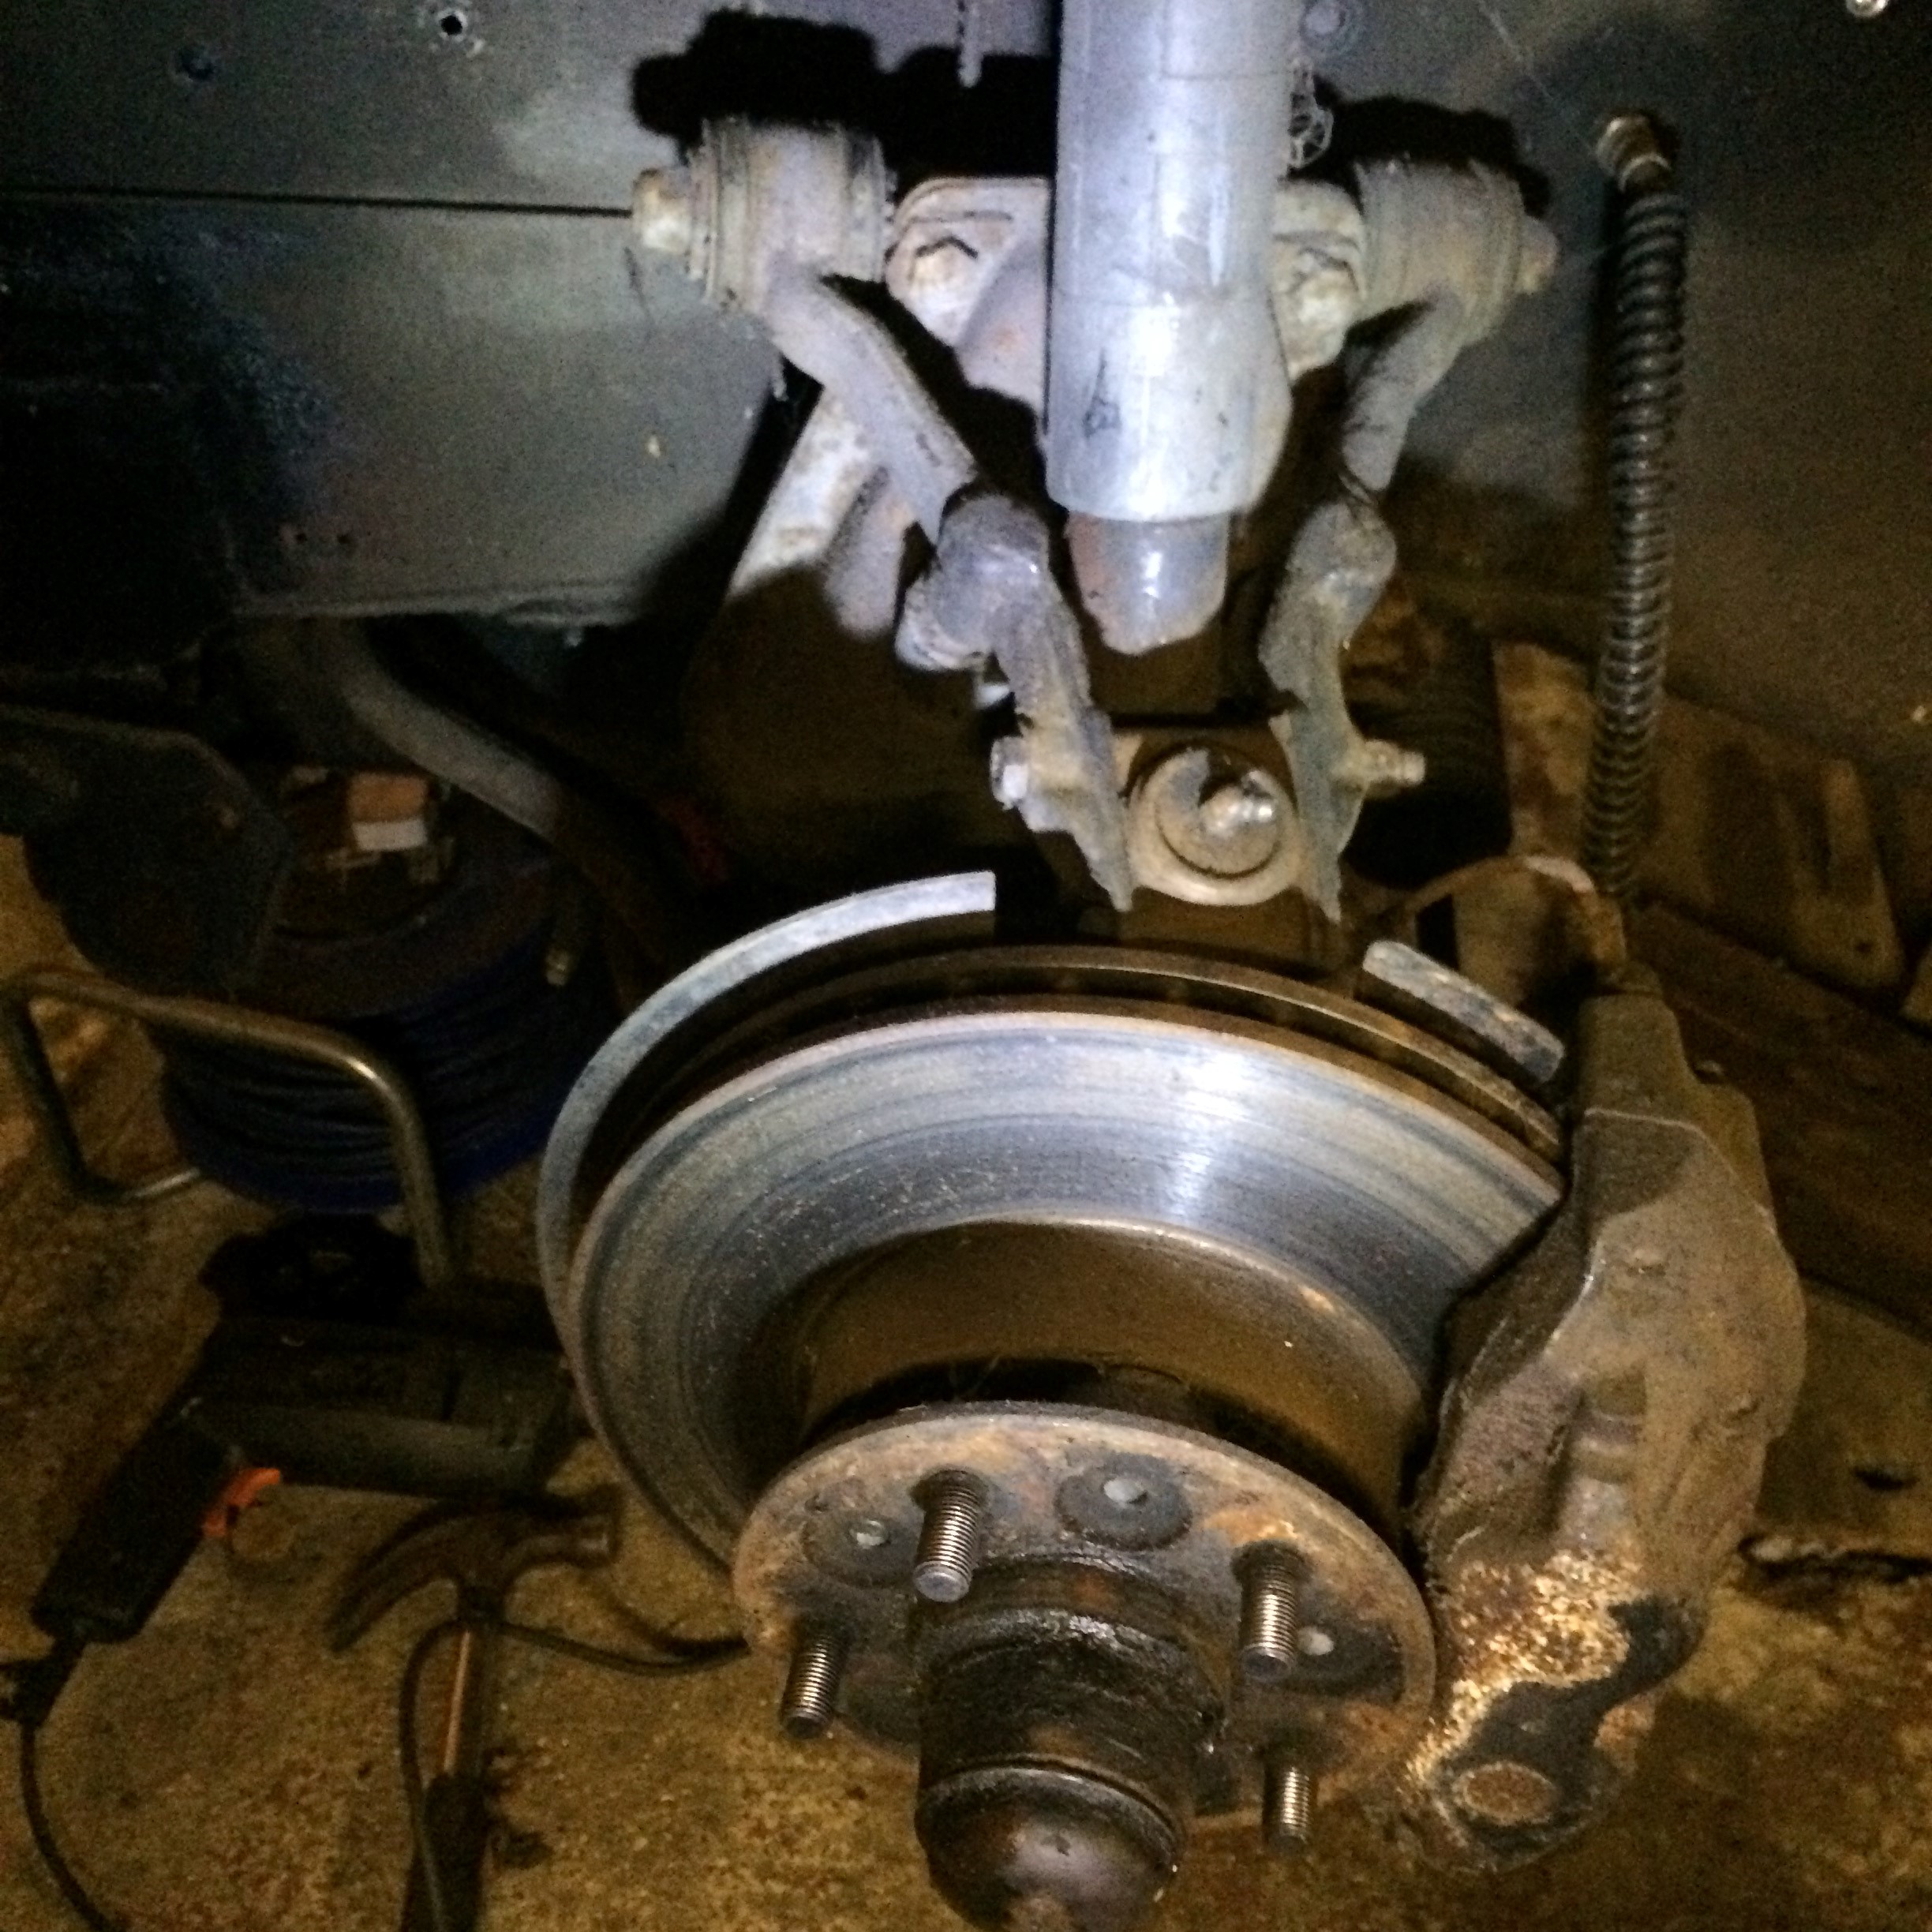
The front suspension had not been touched in years. The track rod ends although were probably OK wear wise but looked bad because the rubber “boots” were perished. The “boots” on the lower ball joints looked bad too. Springs, shock absorbers and all the bushes looked rusty and worse for wear.
I therefore decide to replace all rubber bushes and ball joints and clean up as I went along. First thing was to order all the associated parts from a few suppliers attempting to get the best price and availability. I had already changed the front subframe bushes with poly bushes however I went with standard rubber for the rest.
Of course I could not resist cleaning and painting along the way and so it took a lot longer than I thought it would. I have still one side to reassemble but the drivers side is now complete. It looks reasonably good even if I say so myself. during this rebuild, I am not after concourse or any thing close to it. I just want it to not look rusty and work the way it should.
There were a few minor “challenges” along the way. Please be very careful removing the springs as with even all the weight of the car on one spring it still has a lot of tension forcing the spring tray downwards. I did not have the correct spring compressor so I used a jack, a number of G cramps and a threaded rod to remove and re-assemble the springs. Some of that pressure did damage the threads so I had to replace some bolts. I did clean up and repaint the springs and the surrounding metal work too. The spring trays were full of rust and road debris. It took a lot of cleaning away of the debris before I could even separate the springs from the tray. The lower fulcrum shaft on the drivers side was a bit of a pain to remove. Unfortunately I did damage the thread a little in my efforts to remove it. Luckily re-cutting/cleaning up the thread with a die managed to save it. It was not the cost of the replacement of the shaft that was the issue but more of the fact it had a 4-5 week lead time. (I have since seen some in stock! and half the price)
Post Re-Conditioning
Here are a few photos of the state of the suspension before I started

Lower ball joint replacement
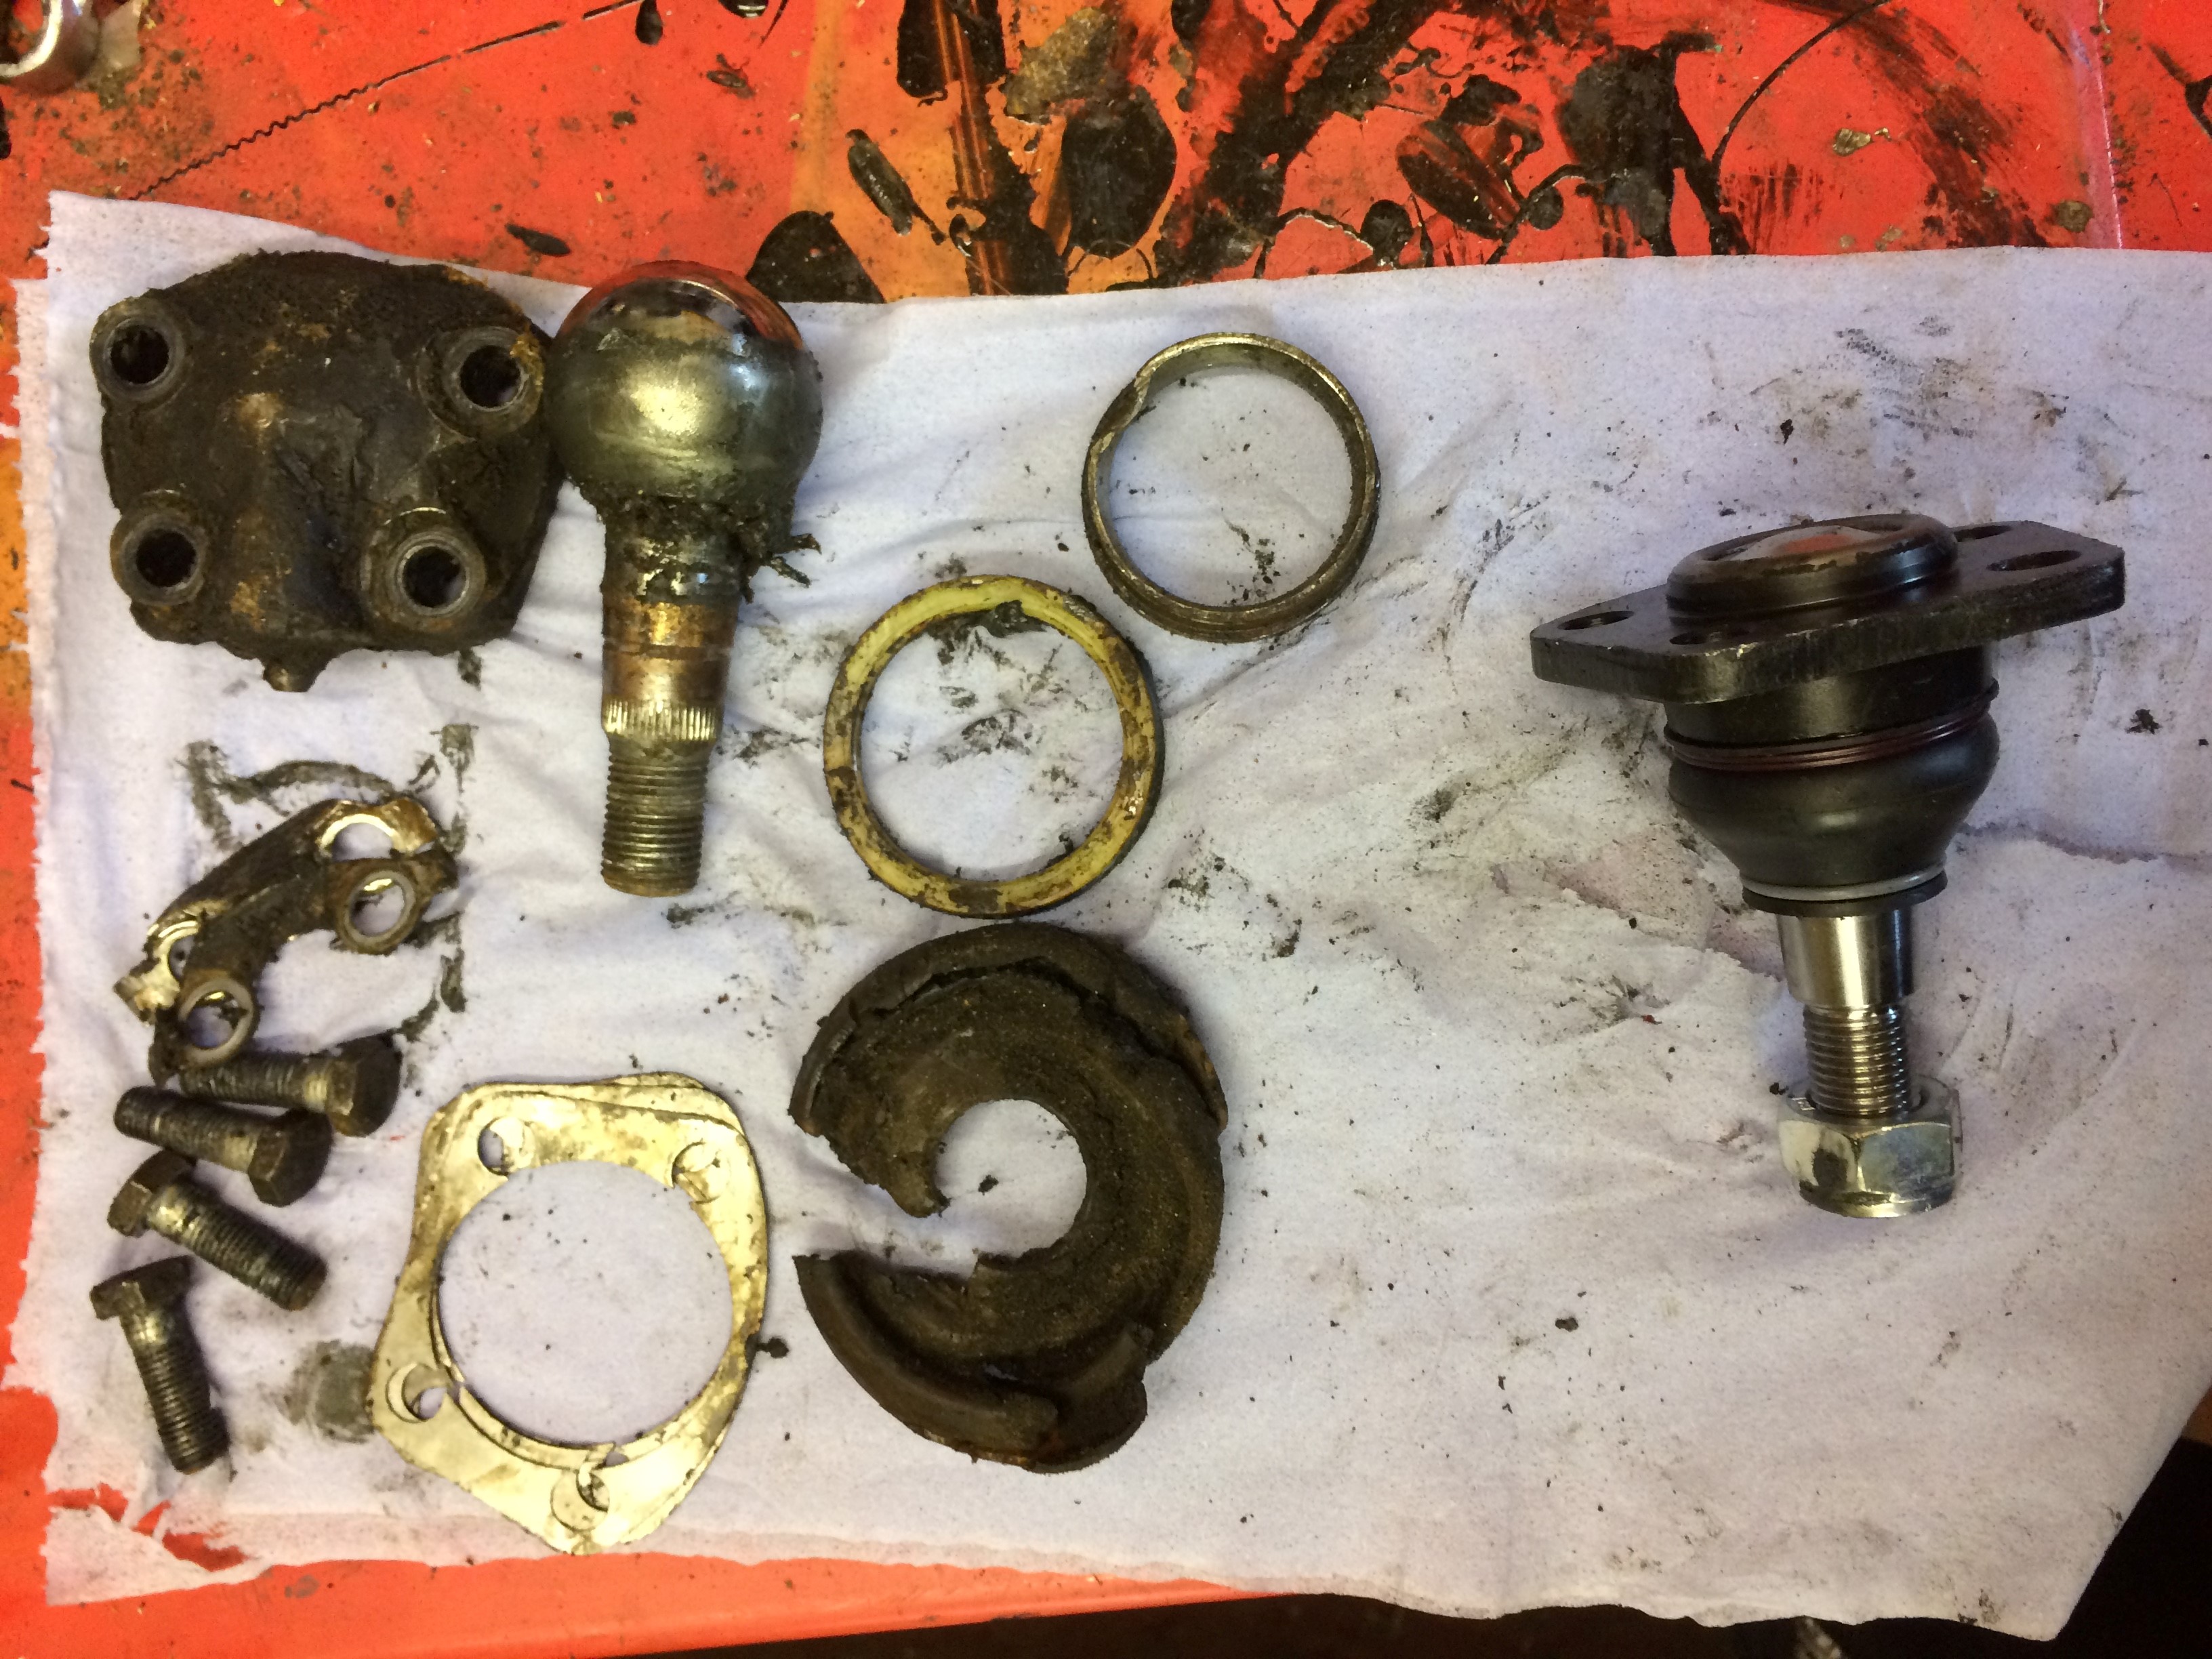
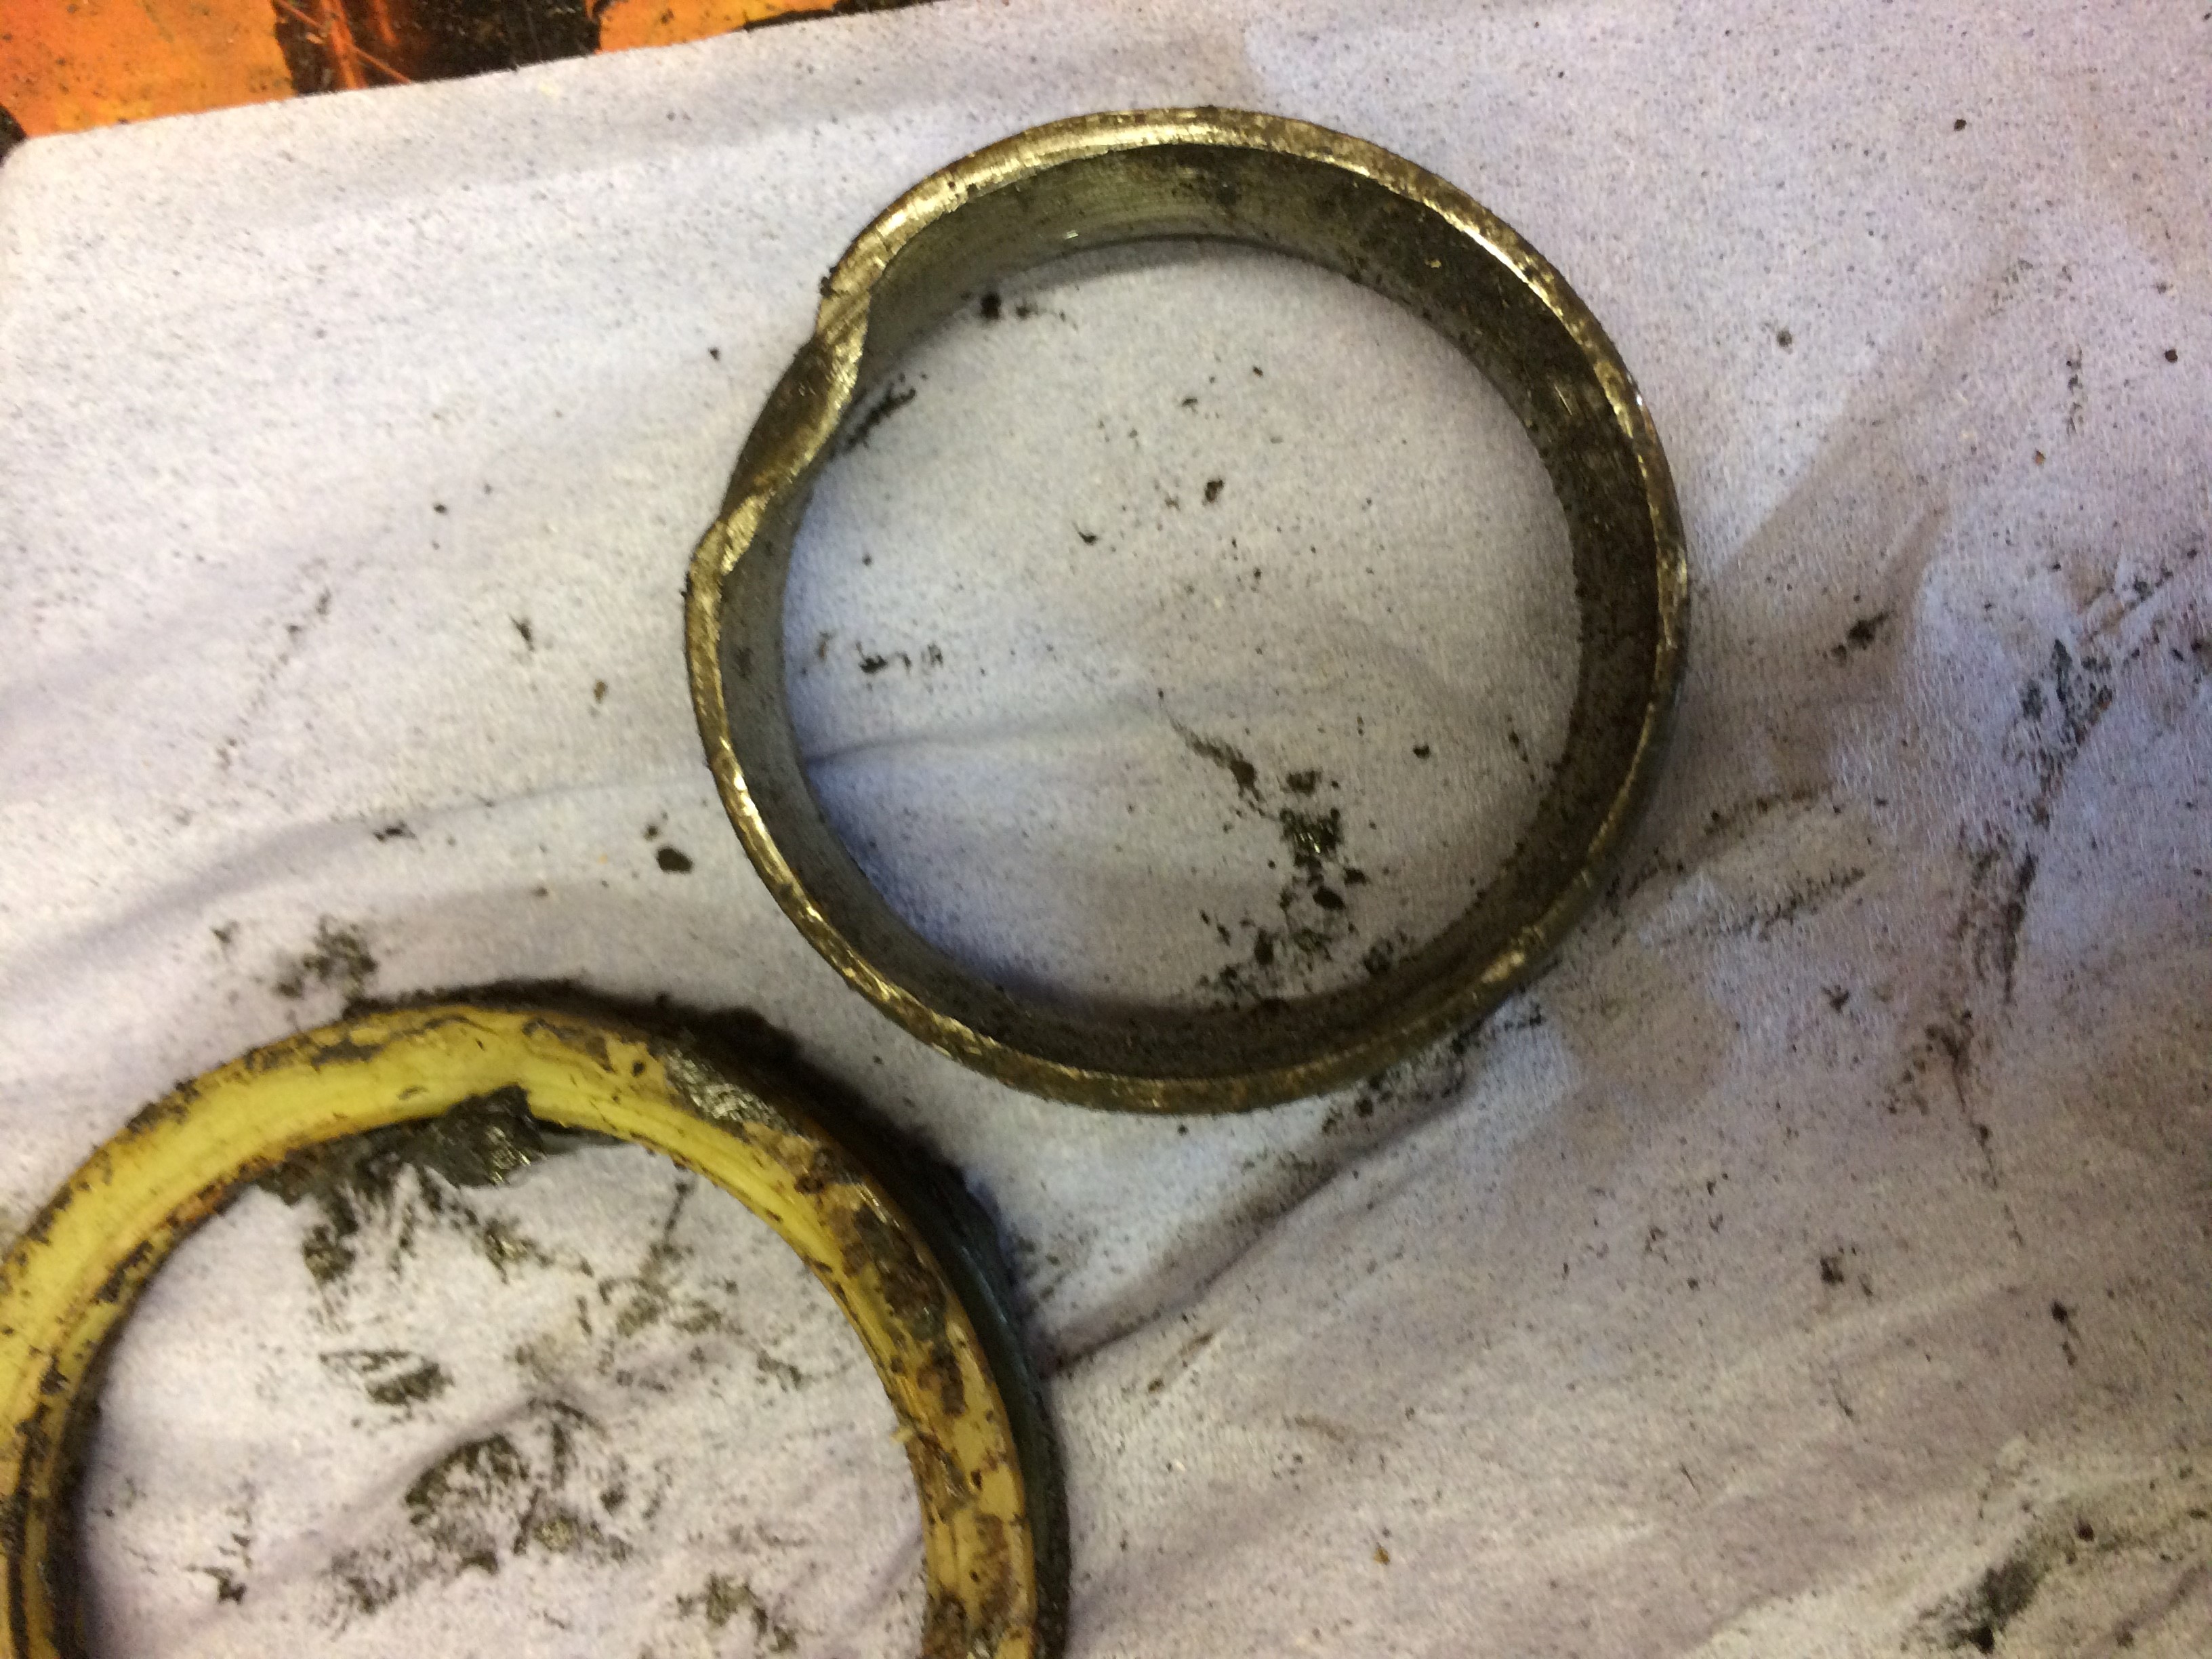
As from the first pictures in this post, you can see the split ball joint covers, if nothing else needed replacing. Removal of the lower ball joint was pretty straight forward and resulted in the items pictured below along with the more modern, single piece replacement on the right hand side. You do have to remove the metal ring insert prior to fitting the new style ball joint.

The only non standard thing I did was to not insert all of the spacer rings at the top of the springs. The XJR engine is an Aluminium block rather than the cast block of the original XJ6 engine. It seemed to make sense that the front of the car would therefore sit a little higher with a lighter engine installed. With that in mind I left out the two, quarter inch thick nylon/plastic ring spacers back on the top of the springs. I might come to regret that decision so we will have to wait and see.