XKR – Green Shower
Some of you may well have heard about the “XK Convertible Green Shower” issue. It is caused by the hydraulic pipes that drive the convertible roof latch degrade over time and then leak. This then drips/pours through the grill in the overhead console and covers mainly the gear lever/centre console and splashes you too. I had heard of this and I had seen a pipe replacement and a pump replacement in the service history for my car. Well it turns out they only changed one of the pipes and the second failed a few years later as per the images.
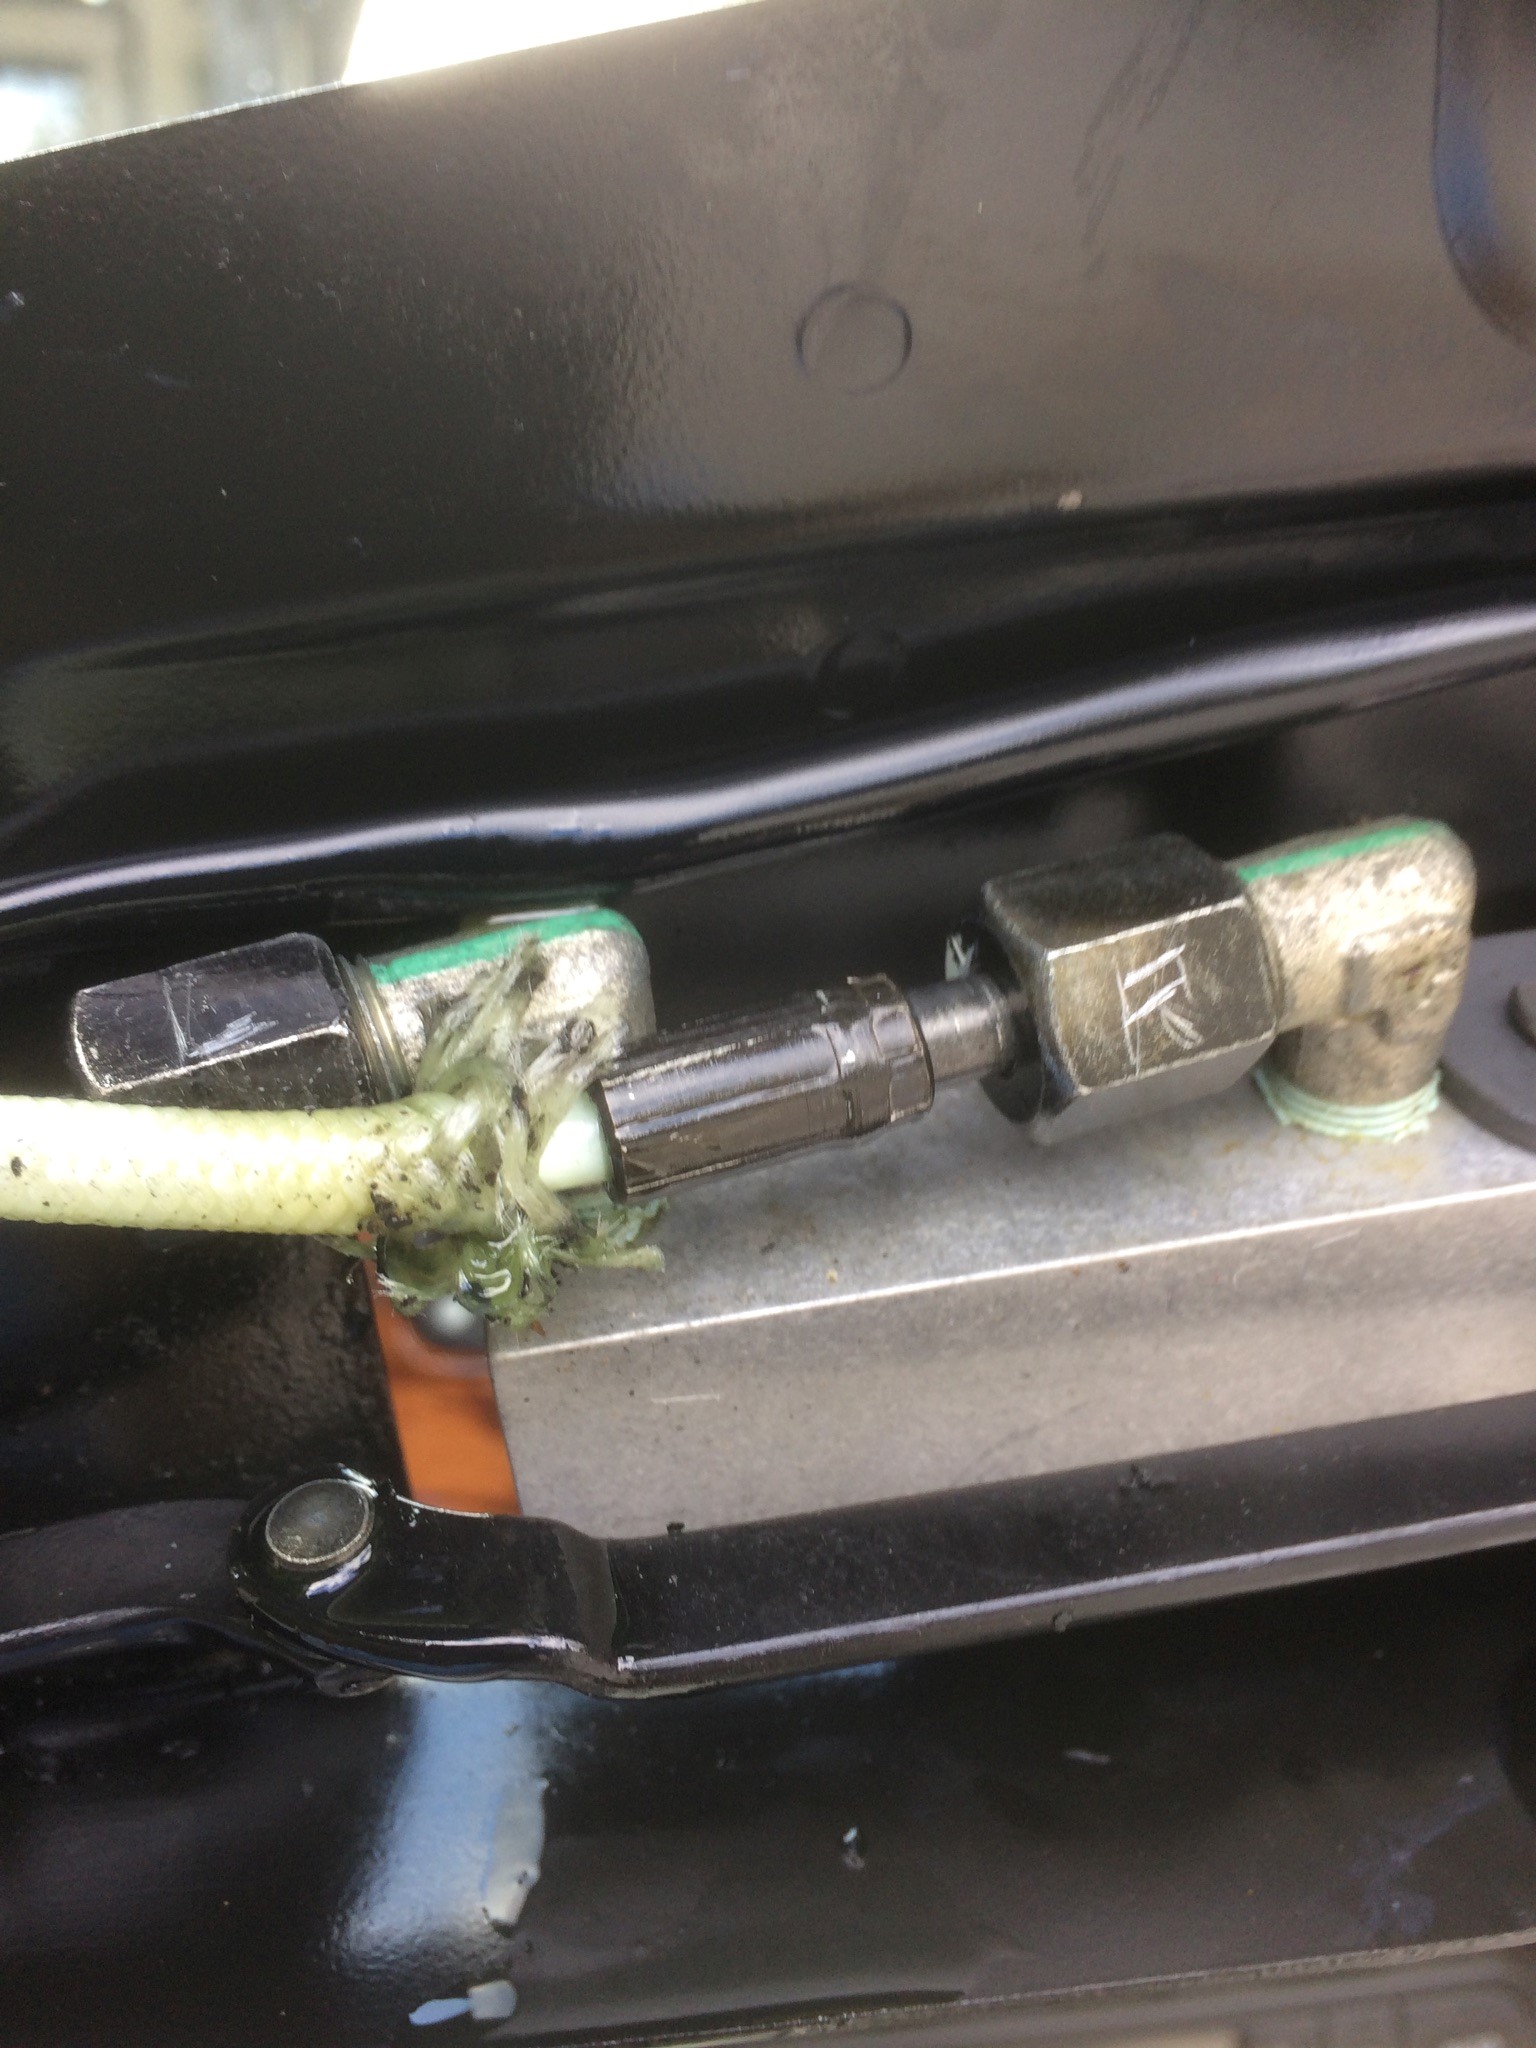
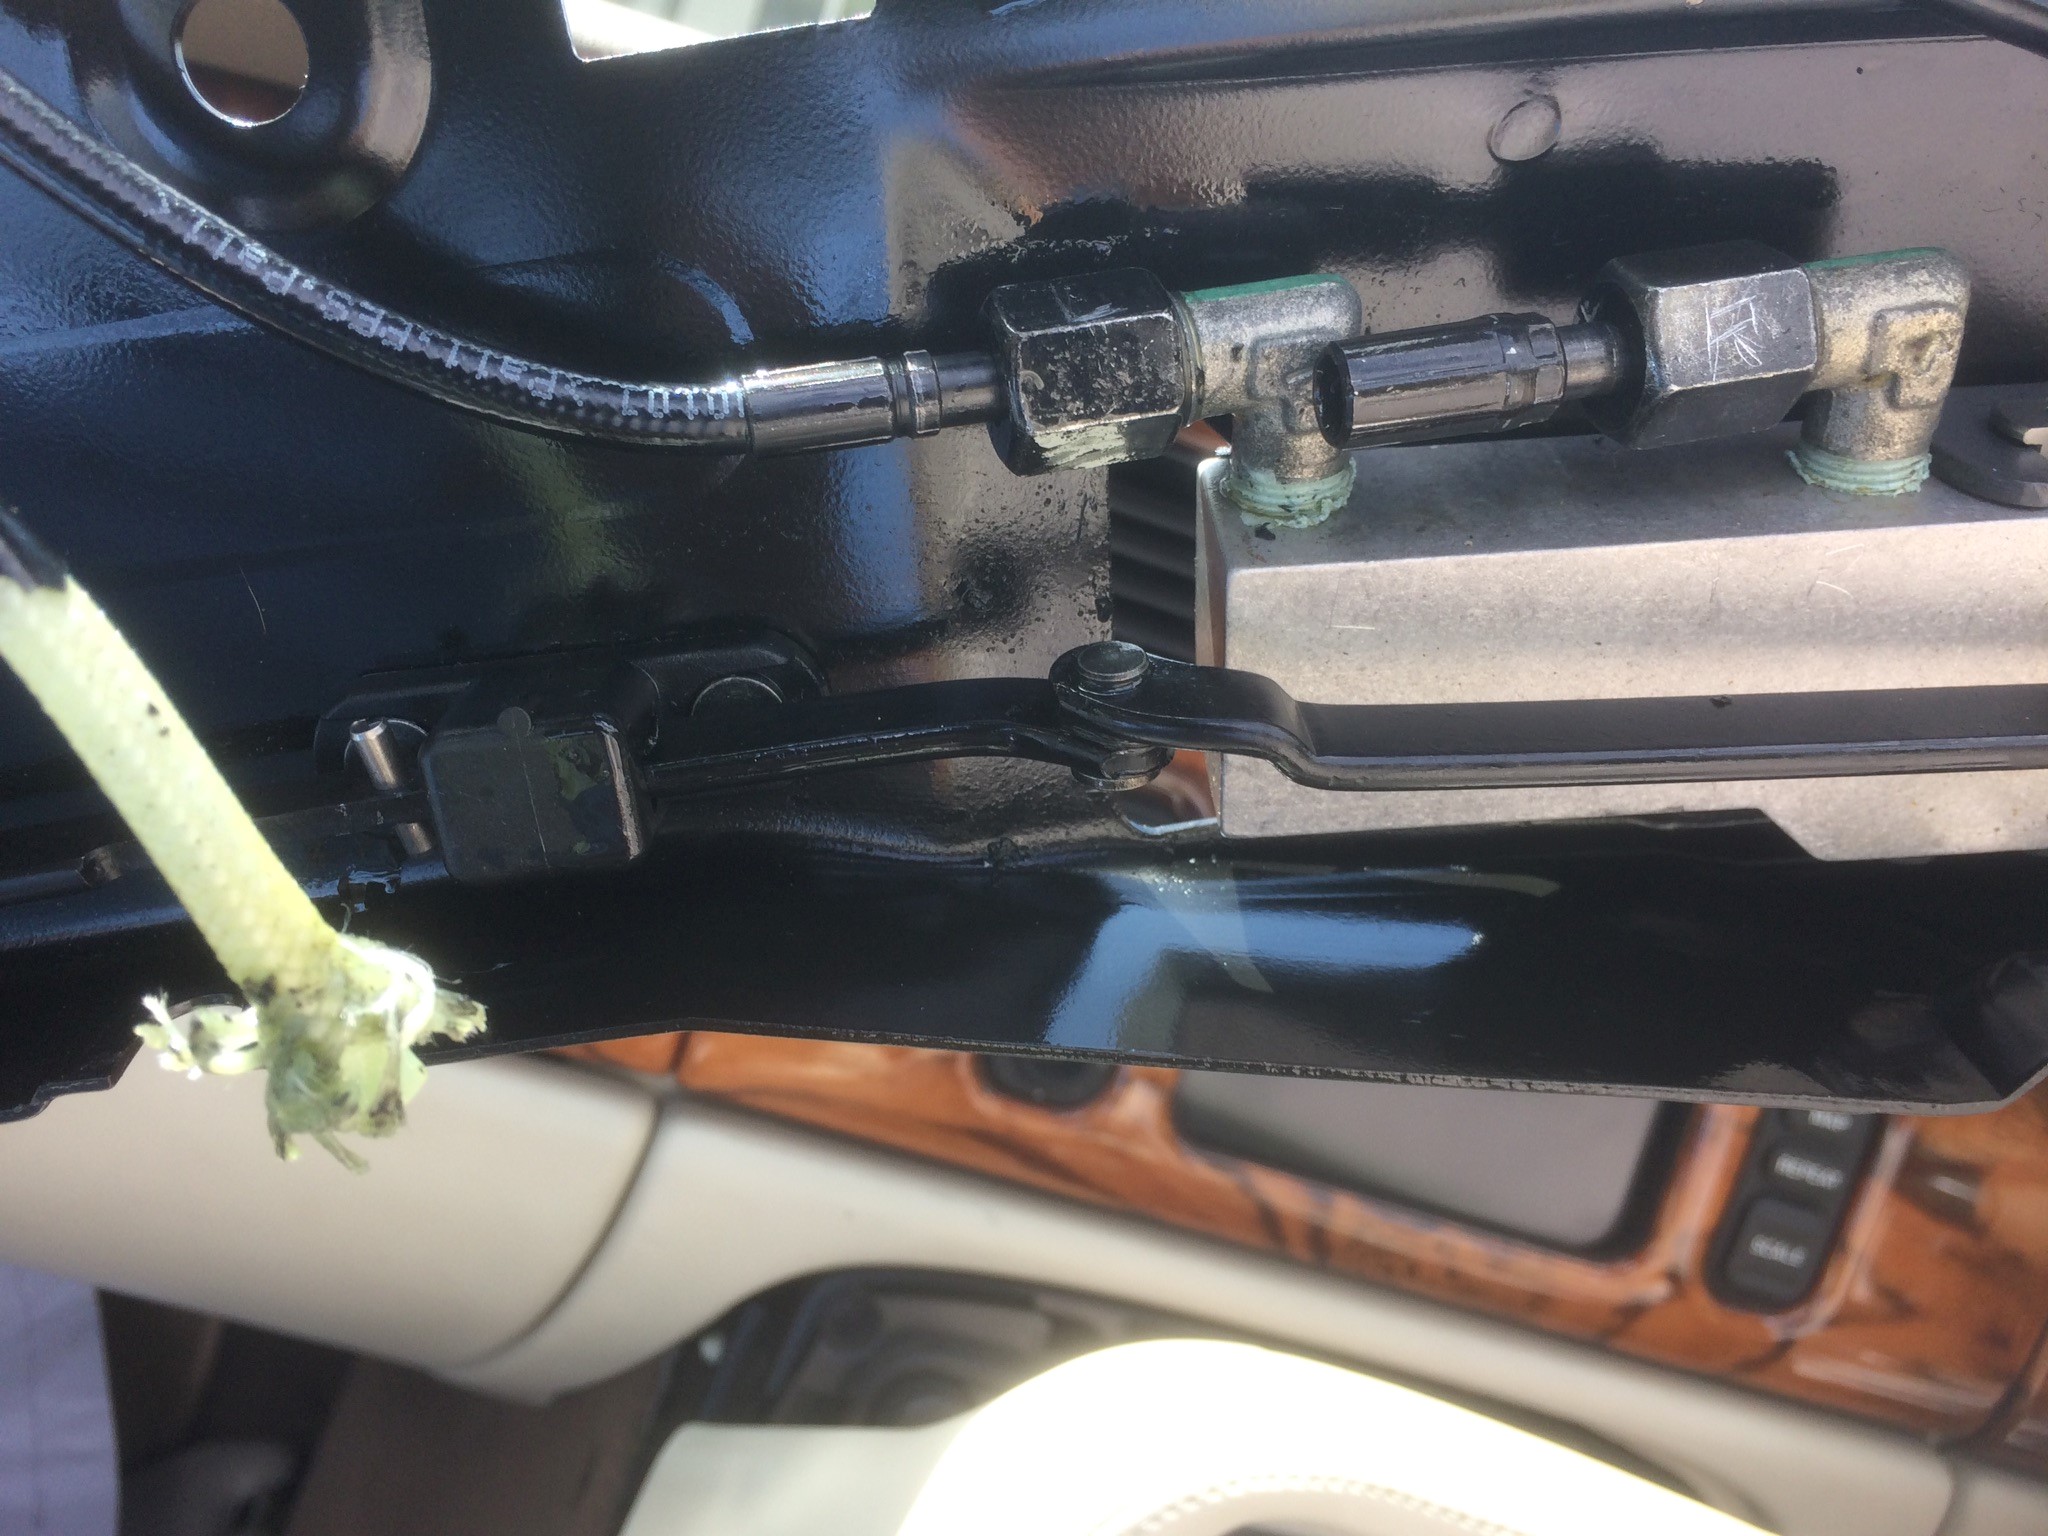
The previous repair was to swap out only part of the pipe rather than the whole pipe. This allows for just the removal of the windscreen surrounding interior panels rather than the major job to replace the whole pipe/s. This was an official repair option which jaguar later stopped supplying.
Having done some research on the various forums I tracked down a replacement set of pipes with a higher pressure rating than the Jaguar ones. I decided this was a better option as I did not want to use the Jaguar ones again plus these were also higher rated and cheaper.
The ones I purchased were from CRH https://www.cabriolet-roof-hoses.com/ and I just went for both front hoses at £109:98. I also purchased the some replacement oil from amazon “febi bilstein 06161 Hydraulic Fluid (Green) 1 Litre” You only need one Litre.
I also watched all the 9 episodes of a DIY repair on youtube https://youtu.be/5DuIuveFbHE there are 9 episodes. If you start watching these you will also see one pop up in the viewing list with a warning trying to tell you it is not an easy repair and to call him to do it for you. Sure, are you coming over to the UK to do it for me?
I agree it is quite a big task as you do have to remove a lot of interior parts to replace the pipes but none of it is challenging, it just takes time. The steps are as per the youtube video 1-9 but summarised for a UK right hand drive car as follows:
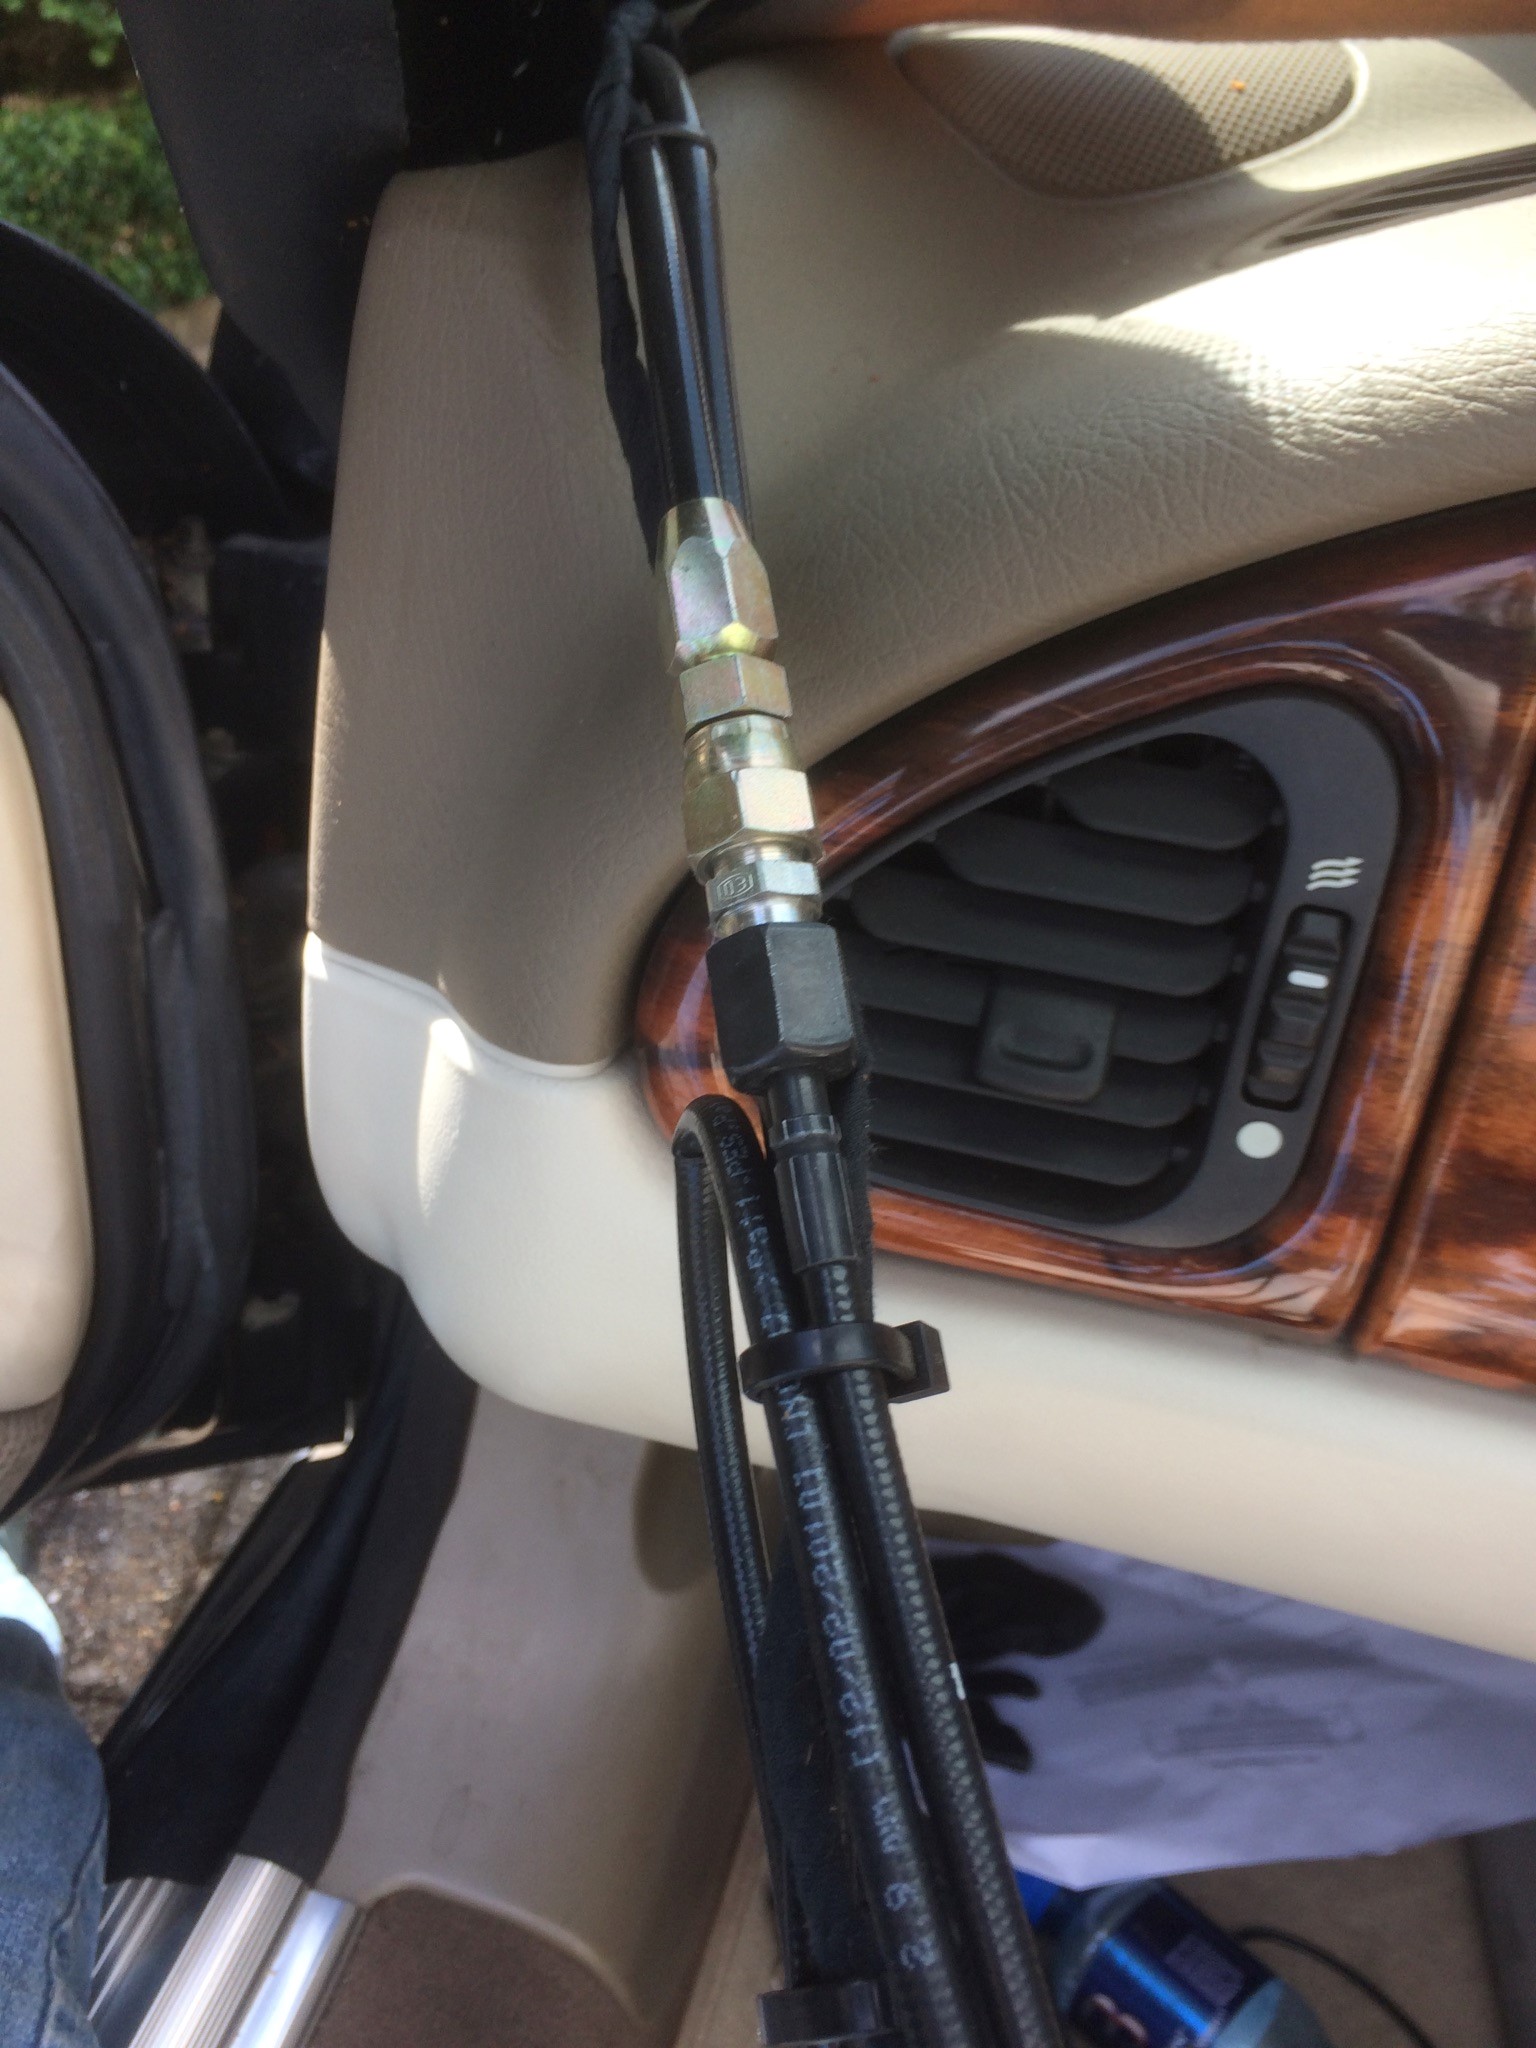
- Remove the trim around the windscreen and A pillars
- This is where the first pipe repair was situated
- Remove centre console
- Remove Passenger seat
- Remove rear seat lower squab and then the back
- Remove the various rear seat side trim panels
- Lift the roof about 1/3 to get access to the exit hole into the boot
- Pull out the old pipes and replace with the new ones
- I eased the pump out so I could refill the fluid. There is just a cm or two above the hole when in place but you can fill in place using some kind of pump and pipe setup
- Rerun the pipes following the same route
- I would recommend attaching the pipes to both ends before putting the interior back as I needed to lose a little bit of slack. I did this alongside the centre console rather than in the foot well.
- Once fitted I did a few open and close sequences and it works fine.
- Put the various interior parts back in taking the opportunity to clean those parts not easily accessed when fully assembled.
- Open the roof and take a well earned drive in the sunshine with the wind in your hair
If you are reasonably handy then I would definitely recommend attempting the repair and watching the Youtube video.
Just Go For it 🙂
1 Response